10 Clever DIY Bedroom Lifehacks Every Homeowner Needs
Upgrade your sleep space this weekend with practical DIY bedroom lifehacks that silence squeaks, block light, and organize clutter.
We spend roughly a third of our lives in the bedroom, yet it is often the last room in the house to receive any maintenance attention. Homeowners naturally focus their DIY energy on high-traffic, visible areas like kitchens and bathrooms, leaving the sleeping quarters neglected. But a few targeted tweaks in your personal space can drastically improve your rest, daily comfort, and morning routine.
Rather than focusing on expensive decor or major renovations, the most impactful upgrades are often strictly functional. If you are tired of waking up to a squeaky floorboard, battling early morning sunlight, or digging through a cluttered nightstand, you can solve these issues in a single weekend. Here are the most effective DIY bedroom lifehacks every homeowner should know to create a more peaceful, usable retreat.
Silence the Squeaks: Doors, Hinges, and Floors
Nothing shatters the tranquility of a bedroom like a door that shrieks every time it opens or a floorboard that groans underfoot. I once spent three months waking up my spouse every morning just because I avoided fixing a squeaky floorboard—a repair that ultimately took me exactly five minutes.
For door hinges, skip the standard WD-40, which is a solvent that will eventually dry out and attract dust. Instead, use a dry graphite powder or white lithium grease. Tap the hinge pin up about halfway using a hammer and a nail, apply a few drops of the lubricant, and tap the pin back down. Open and close the door a few times to distribute the grease. The squeak will vanish instantly.
Fixing a squeaky hardwood floor requires a slightly different approach. Squeaks happen when wood rubs against wood or against a loose nail. Here is a simple, non-destructive method to silence them:
- Locate the squeak. Walk the floor slowly to pinpoint the exact board that is moving.
- Apply the powder. Sprinkle a generous amount of talcum powder, baby powder, or powdered graphite directly over the seam of the offending floorboard.
- Work it in. Use a soft paintbrush or your finger to sweep the powder deep into the crack.
- Test and clean. Walk over the board a few times to work the powder down into the joint where the friction is occurring, then vacuum up the excess.
If the powder trick fails, you may have a subfloor issue. You can buy specialty breakaway screws at the hardware store for about $20. These allow you to drill directly through the hardwood into the joist, after which the screw head snaps off below the surface, leaving an invisible, squeak-free repair.
Hack Your Way to True Blackout Windows
Sleep experts agree that a pitch-black room is essential for quality sleep, but standard store-bought blackout curtains rarely do the job perfectly. Even the thickest curtains often suffer from light bleed around the top and side edges, allowing early morning summer sunlight to flood the room.
One of the easiest diy bedroom lifehacks is to modify your existing window treatments to create a true seal. For the sides of your curtains, purchase a roll of adhesive-backed hook-and-loop tape (like Velcro) for around $10. Attach one side to the outer edge of your curtain fabric and the other directly to the wall beside the window frame. When you close the curtains, press the edges to the wall to completely seal out ambient light.
If you have blinds and don't want to install curtains, you can cut blackout liner fabric to the exact dimensions of your window glass. Attach small magnetic tape squares to the corners of the window sash and the fabric. You can snap the liner into place at night and easily remove it in the morning.
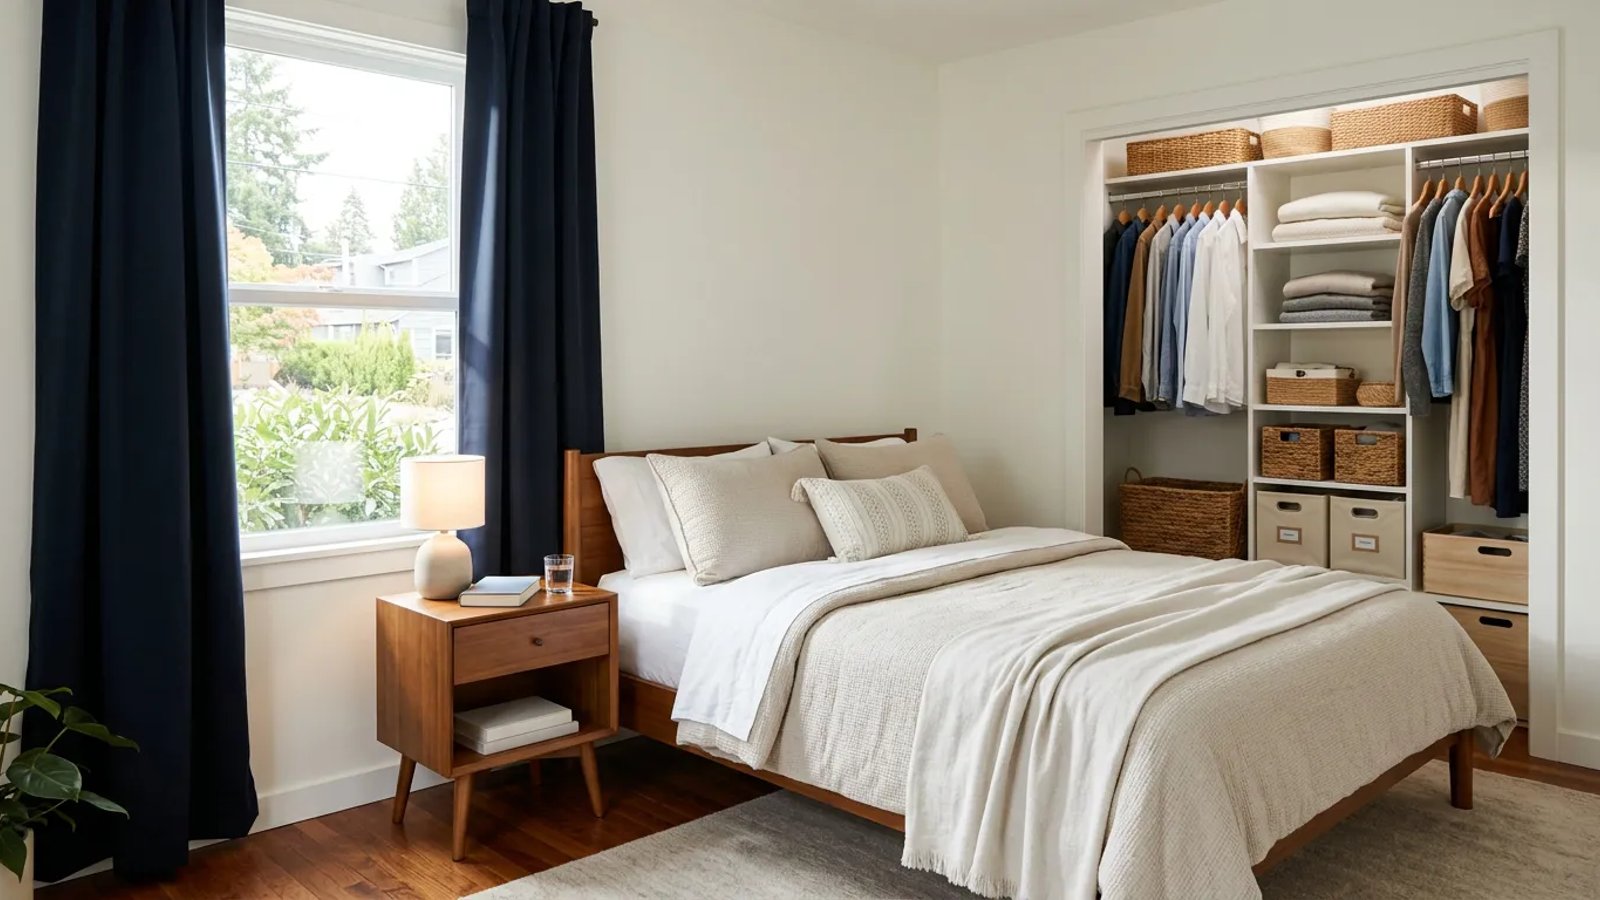
Hardware Store Closet Storage Solutions
Bedroom closets are notorious for wasted vertical space. Instead of buying expensive custom closet systems, take a trip to the basic hardware aisle. You can double your usable storage with items that cost less than $15.
Start with standard spring-loaded tension rods. While normally used for window curtains, a sturdy tension rod placed two feet off the closet floor creates an instant secondary rack. This is the perfect height for hanging trousers, scarves, or even high-heeled shoes (hooking the heel over the rod). It requires zero tools and leaves no holes in the wall.
Next, pick up a pack of 2-inch heavy-duty steel S-hooks. These are incredible for organizing items that normally clutter shelves. Hook them over your main closet rod to hang jeans by the belt loops, store heavy purses by their straps, or organize belts.
Reclaiming vertical space is the secret to a functional closet, turning chaotic piles into easily accessible displays.
For cascading clothes, buy a few feet of lightweight plastic utility chain. Hang one end of the chain from an S-hook on your main rod, and let it dangle vertically. You can now hook multiple clothes hangers into the descending links of the chain, storing five or six shirts in the horizontal space normally occupied by one.
Optimize HVAC Airflow and Indoor Air Quality
A bedroom that is too hot, too cold, or stuffy will ruin your sleep. Often, poor bedroom temperature control is simply an airflow issue that you can fix without touching a thermostat.
First, check the gap under your bedroom door. Central heating and cooling systems require a return path for the air. If your bedroom door is closed and the gap at the bottom is too tight, the supplied air has nowhere to go, causing the room to pressurize and restricting fresh air from entering. You should have a gap of at least 1/2-inch to 3/4-inch between the bottom of the door and the flooring. If the gap is smaller, removing the door and trimming the bottom with a circular saw will drastically improve the room's climate control.
If your bed or heavy furniture sits directly over a floor register, you are trapping conditioned air. Buy a clear plastic magnetic vent deflector for about $10. These snap onto the metal register and force the air out horizontally from under the furniture, allowing it to circulate into the room.
Finally, remove your vent covers twice a year and wash them in warm soapy water. Vacuum as far down into the duct as your hose will reach. Removing this accumulated dust prevents it from blowing directly over your bed while you sleep.
Build a Hidden Nightstand Cable Management System
The modern nightstand is often a tangled mess of phone chargers, lamp cords, and smart watch cables. This clutter makes it difficult to clean the surface and looks messy. Building a hidden cable management system is a fast, satisfying weekend project.
You will need a small surge protector, heavy-duty double-sided mounting tape (like 3M VHB), and a few large binder clips.
- Mount the power strip. Apply the mounting tape to the back of the surge protector and press it firmly against the upper back panel of your nightstand. This gets the bulky plugs off the floor and out of sight.
- Plug in the chargers. Connect your various charging blocks to the hidden surge protector.
- Route the cables. Clip large binder clips to the back edge of the nightstand. Thread the charging ends of your cables through the metal loops of the clips.
The binder clips act as perfect cable catches. When you unplug your phone in the morning, the cable won't slide off the back of the nightstand; it stays held neatly at the edge, ready for the next night.
Taking a few hours to address the functional mechanics of your bedroom pays dividends every single day. By silencing the distractions, blocking the light, and organizing the clutter, you transform your sleeping space from a simple storage room for your bed into a genuinely restful environment.