10 Clever DIY Living Room Lifehacks Every Homeowner Needs
Transform your heavily-used living space this spring with these clever, low-cost maintenance tricks. From fixing carpet dents to silencing squeaky floors, learn how to refresh your living room using everyday household items.
We spend countless hours in our living rooms. It is the central hub for movie nights, weekend lounging, and entertaining guests. Unfortunately, all that heavy foot traffic and daily use inevitably leads to scuffed baseboards, dented carpets, and dusty electronics. If you are gearing up for a spring refresh, you might be looking around and noticing all the little signs of wear and tear that accumulated over the winter months.
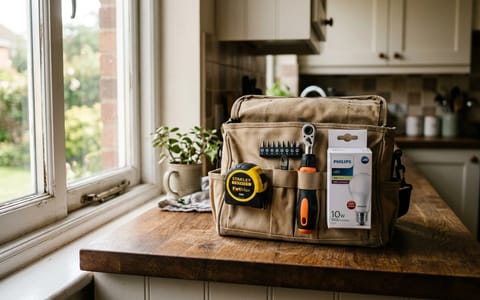
You do not need to hire a professional or spend hundreds of dollars on specialized cleaning products to breathe new life into your space. With a little ingenuity and items you likely already have in your pantry or garage, you can tackle these minor annoyances in a single afternoon. Let us explore 10 clever diy living room lifehacks that will make your main gathering space more comfortable, efficient, and welcoming.
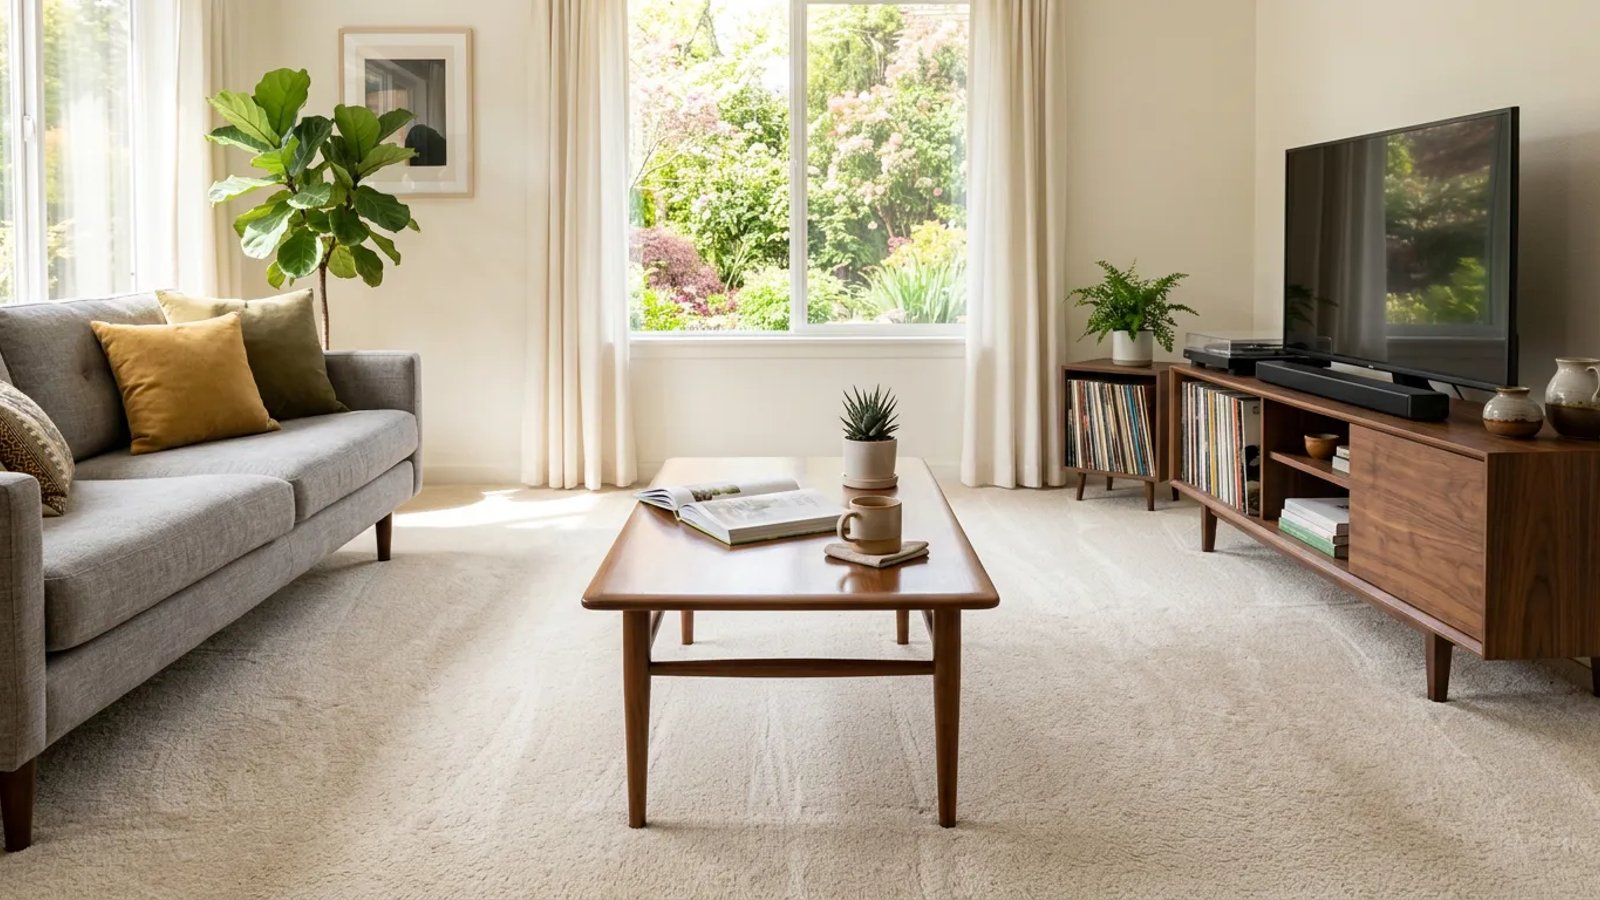
1. Erase Carpet Dents with Ice Cubes
Moving a heavy sofa or coffee table often reveals deep, stubborn dents in your plush carpet. These divots occur because the heavy weight permanently compresses the synthetic or wool fibers. Attempting to vacuum over them rarely works, and pulling at them can damage the carpet backing. The most effective solution is surprisingly simple and relies on the slow release of moisture.
When you place a standard ice cube inside the dent, it melts gradually over several hours. This slow introduction of water gives the crushed carpet fibers ample time to absorb the moisture and swell back to their original shape. It is a completely hands-off repair that works while you sleep.
- Place the ice. Set one or two standard ice cubes directly into the carpet dent. If the dent is particularly long, line up several cubes.
- Let it melt. Leave the ice cubes alone for 12 to 24 hours until they have completely melted and the carpet is dry to the touch.
- Fluff the fibers. Take a standard spoon or a dull coin and gently scrape the edge back and forth over the area to fluff the fibers upright.
2. Hide Wood Furniture Scratches with a Walnut
Wooden coffee tables and media consoles take a beating from keys, remote controls, and decorative items. Over time, superficial scratches expose the lighter, raw wood beneath the dark stain, making the damage highly visible. Instead of sanding down the entire piece and completely refinishing it, head to your pantry.
A raw walnut is an incredible tool for minor wood repair. The meat of the nut is soft enough not to cause further damage, while its natural oils perfectly mimic traditional wood finishes. When you rub the nut over the scratch, the oils seep into the raw wood, darkening it and sealing the surface simultaneously.
To execute this trick, crack open a raw, unsalted walnut. Vigorously rub the exposed meat of the nut diagonally across the scratch. The friction will warm the oils, helping them penetrate the wood grain. Let the oil sit for about 5 to 10 minutes, then buff the area gently with a clean microfiber cloth. The scratch will practically vanish into the surrounding grain.
3. Silence Squeaky Floorboards with Talcum Powder
As the seasons change and humidity levels fluctuate, hardwood floors expand and contract. This subtle movement causes the wooden planks to rub against the subfloor or against each other, resulting in a high-pitched squeak every time you walk across the room. It is a common annoyance, but one that rarely requires ripping up the floor to fix.
Talcum powder, or even standard baking powder in a pinch, acts as an excellent dry lubricant. By working a fine powder into the seams between the noisy floorboards, you eliminate the friction causing the sound.
Sprinkle a generous amount of powder directly over the squeaky seam. Use a soft-bristled paintbrush or a dry toothbrush to sweep the powder deep into the cracks. Once the joints are filled, walk over the area a few times to work the powder further down, then wipe away any remaining surface dust with a damp cloth so your floor does not become a slip hazard.
4. Tame Cable Clutter with Binder Clips
Nothing ruins the aesthetic of a beautifully decorated living room quite like a tangled rat's nest of black cables dangling beneath the television. Cable management boxes can be expensive, and zip-ties make it incredibly frustrating when you need to swap out a single HDMI cord. The solution lies in your home office supplies.
Large, heavy-duty binder clips are perfect for routing cables out of sight. Clip them directly to the back edge of your TV stand or media console. Then, thread your power cords, HDMI cables, and speaker wires through the silver metal loops of the clips. This keeps the cords elevated, separated, and entirely hidden from the front view.
For thicker power strips, you can use a strip of double-sided heavy-duty mounting tape to attach the power strip directly to the back of the furniture unit. This ensures that only one single power cord drops down to the wall outlet, instantly giving the room a much cleaner, streamlined appearance.
5. Fix Sluggish Remotes with Rubbing Alcohol
If you find yourself mashing the volume button on your TV remote multiple times just to get a response, the internal contacts are likely coated in a microscopic layer of skin oils, dust, and snack residue. Remotes are the most frequently touched items in the living room, yet they are rarely deep-cleaned.
To restore your remote to factory-fresh responsiveness, you need 90% isopropyl alcohol. High-percentage alcohol is crucial because it evaporates almost instantly, meaning it will not leave behind moisture that could short out the delicate circuit board.
Remove the batteries first. Dip a cotton swab lightly into the alcohol—do not soak it—and meticulously clean around the edges of every rubber button. For sluggish internal contacts, you can often pop the plastic casing open with a flathead screwdriver and gently wipe the rubber contact pads inside. Reassemble the remote, and you will find the buttons click crisply and respond on the first press.
6. Refresh Upholstery with Baking Soda
Sofas and fabric armchairs act like giant sponges, absorbing cooking odors, pet smells, and general stale air over the months. Commercial fabric freshening sprays often just mask these odors with heavy, artificial perfumes that trigger allergies and fade quickly.
Baking soda is a natural alkaline powder that actively neutralizes acidic odor compounds rather than just covering them up. It is an incredibly cheap, non-toxic way to deep-clean your upholstery.
Baking soda does not just mask odors; it fundamentally alters the pH of the odor molecules, neutralizing them at the source.
Remove all throw pillows and blankets from your couch. Sprinkle approximately one cup of dry baking soda generously over the seat cushions, backrests, and armrests. Use a dry scrub brush to gently work the powder into the fabric fibers. Let it sit for at least 20 to 30 minutes—or overnight for severe odors. Finally, use the upholstery brush attachment on your vacuum to thoroughly suck up all the powder, taking the trapped odors and surface dust with it.
7. Erase Wall Scuffs with a Tennis Ball
The painted baseboards and lower walls of your living room frequently fall victim to dark scuff marks from shoes, vacuum cleaners, and moving furniture. Scrubbing these marks with harsh chemical cleaners or abrasive sponges often removes the paint right along with the scuff, leaving a dull, noticeable patch on your wall.
A standard, clean tennis ball is the perfect tool for this specific problem. The fuzzy felt exterior provides just enough gentle friction to grab onto the rubber or plastic residue of the scuff mark without scratching the underlying latex paint.
Simply hold the tennis ball in the palm of your hand and rub it firmly in a circular motion directly over the scuff mark. The dark streak will transfer from the wall onto the tennis ball in seconds. If you have a lot of scuffs low to the ground, carefully cut a small slit in the tennis ball and slide it over the end of a broom handle so you can erase marks without bending over.
8. Stop Rug Slippage with Acrylic Caulk
An area rug that constantly slides across your hardwood or tile floor is more than just an aesthetic annoyance; it is a serious tripping hazard. Dedicated rubber rug pads are effective, but they can be surprisingly expensive, especially for large 8x10 room-sized rugs.
You can create your own custom, non-slip backing using a tube of 100% silicone or acrylic caulk from the hardware store, which usually costs less than $5.
Flip your area rug completely upside down on a clean floor. Using the caulking gun, draw thick, 1-inch lines of caulk spaced about six inches apart across the entire back of the rug. You can also run a continuous bead along the outer perimeter to prevent the corners from curling. The most important step is patience: let the caulk cure completely undisturbed for 24 hours. Once dry, the rubbery strips will grip the hard floor perfectly, locking the rug in place.
9. Brighten Dull Baseboards with Dryer Sheets
Baseboards possess a unique ability to attract and hold onto airborne dust and pet hair, creating a dingy outline around your entire living room. Wiping them down with a wet rag often just pushes the wet dirt around, creating muddy streaks in the corners.
Instead of a wet rag, use a used laundry dryer sheet. Dryer sheets are designed to eliminate static cling in your clothing, and they apply that exact same anti-static property to your woodwork. When you wipe down your baseboards with a dryer sheet, it picks up the existing dust while simultaneously leaving behind an invisible, anti-static micro-coating.
This coating actively repels floating dust and pet dander, meaning your baseboards will stay clean for weeks longer than if you had simply wiped them with a damp cloth. Keep a handful of used dryer sheets in your cleaning caddy specifically for this task.
10. Plump Sagging Couch Cushions
Over time, the foam core inside your sofa cushions begins to break down and compress, leading to a saggy, uninviting couch that is difficult to stand up from. Replacing a high-quality sofa is a massive expense, but restoring its shape is a simple DIY project that takes less than an hour.
Most modern sofa cushions feature a zipper hidden along the back edge. Unzip the cover and carefully pull out the foam core. Head to your local craft store and purchase a roll of high-loft polyester quilt batting—usually around $15 to $25 depending on the size.
Wrap the foam core entirely in two or three layers of the quilt batting, much like wrapping a present, and use a light spray adhesive to hold the batting in place. Carefully stuff the newly wrapped foam back into the fabric cover. The batting fills out the corners and adds a layer of plush, resilient volume, making your couch look and feel brand new.
Maintaining a beautiful, comfortable living room does not have to be a costly or time-consuming endeavor. By utilizing these simple DIY living room lifehacks, you can address the daily wear and tear that accumulates over the year. A little bit of targeted maintenance goes a long way in preserving the value of your furniture and the welcoming atmosphere of your home.