The Essential New Homeowner Checklist for Your First 30 Days
Overwhelmed by your new house? This essential new homeowner checklist covers the critical safety, energy, and maintenance tasks you need to tackle in your first 30 days.
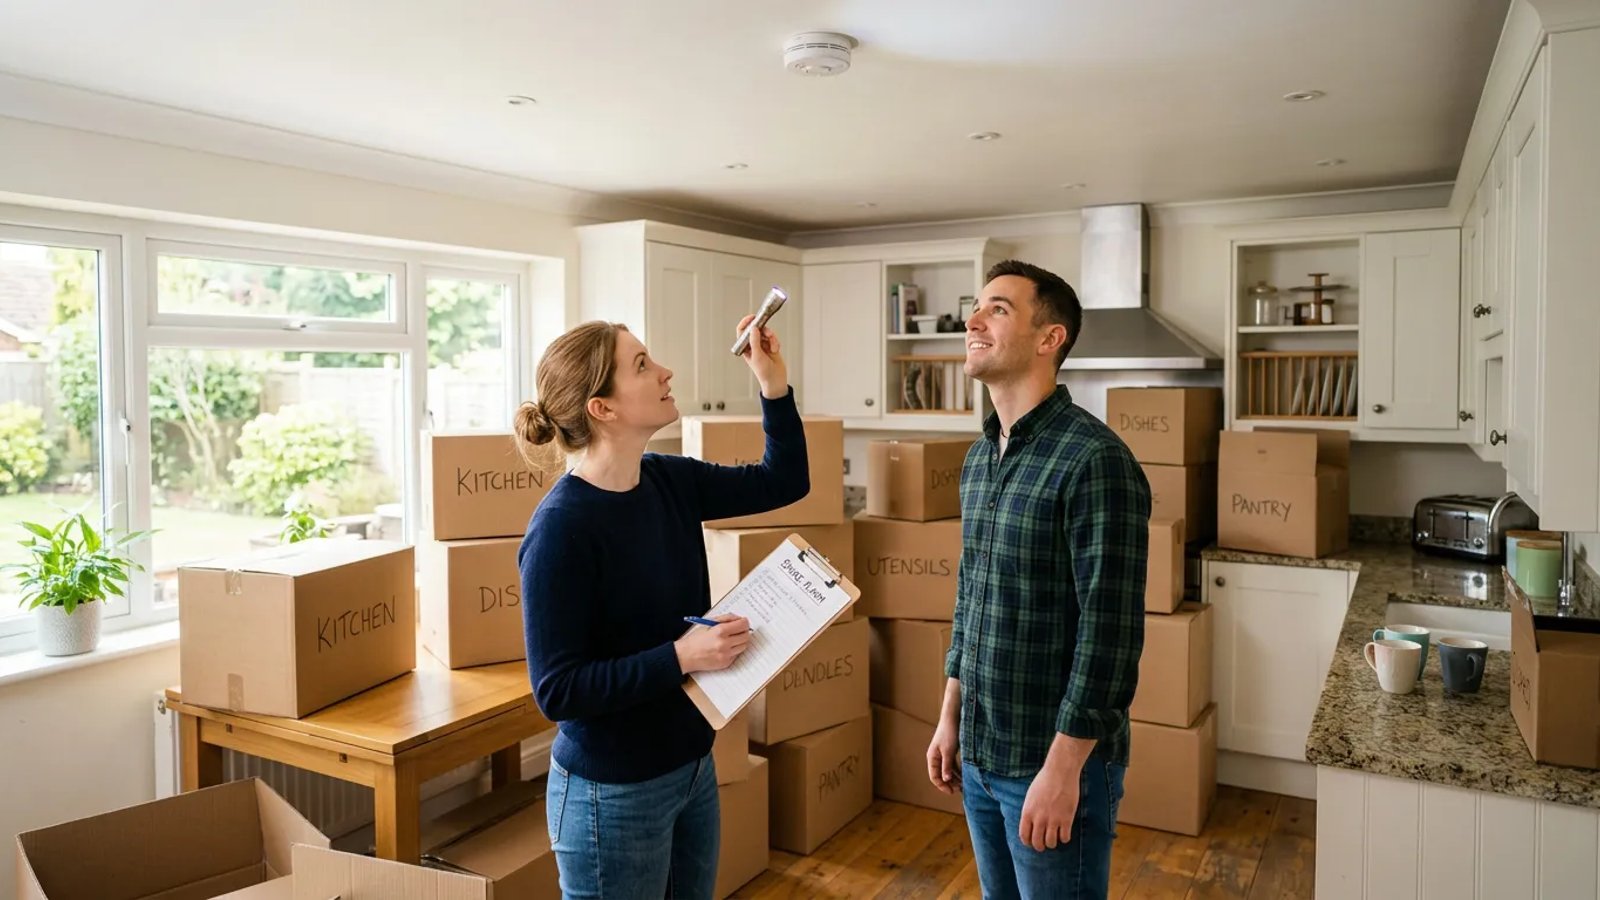
The boxes are stacked to the ceiling, the takeout pizza has arrived, and you finally have the keys to your new house. The first month in a new home is an incredibly exciting milestone, but it is also notoriously overwhelming. Suddenly, every pipe, wire, and appliance is your responsibility, and it is hard to know exactly where to begin.
Establishing a solid maintenance baseline right away is the secret to protecting your massive new investment. By following a structured, prioritized new homeowner checklist, you can systematically secure your property, optimize your energy usage, and catch minor issues before they turn into major structural repairs. Rather than waiting for a pipe to burst or a breaker to trip, this proactive approach transforms the chaos of moving in into an empowering, manageable process.
Day 1: Immediate Safety and Security
Before you even think about unpacking the decorative pillows, your absolute first priority is securing the physical envelope of your home and preparing for immediate emergencies. You are officially the captain of the ship, which means you need to know where the lifeboats are.
First, change the locks on all exterior doors. You have no idea who the previous owners gave spare keys to—dog walkers, contractors, or neighbors. A basic Kwikset or Schlage deadbolt runs $15 to $35 at a hardware store like Home Depot and takes about 30 minutes to swap out with just a Phillips-head screwdriver. If your home has complex smart locks or multi-point locking systems, you might need a locksmith, but standard deadbolts are a highly approachable DIY task.
Next, test every smoke and carbon monoxide (CO) detector in the house. Press the test button until you hear the piercing alarm. If the detectors are yellowed with age, check the manufacturing date printed on the back. Smoke detectors expire 10 years after their manufacturing date, and CO detectors expire after 5 to 7 years. If they are out of date, replace the entire unit, not just the AA batteries.
Finally, locate your main water shutoff valve. If a pipe bursts in the middle of the night, you will not have time to Google where the valve might be. In colder climates, check the basement or utility room on the wall facing the street. In warmer climates, it might be outside or in a box near the curb. Turn the valve off and on once to ensure it is not seized up from years of neglect.
Week 1: Quick Energy Wins and Air Quality
Once you survive the first weekend and the immediate safety concerns are handled, shift your focus to the systems that run quietly in the background. The first week is the perfect time to establish your home's energy baseline, ensuring you aren't overpaying on utility bills due to the previous owner's bad habits.
Start by locating your HVAC system and checking the air filter. More often than not, the previous owners stopped caring about home maintenance the minute their house went under contract, meaning that filter is likely caked in dust and pet hair. Swap it out for a fresh pleated filter. A standard MERV 8 to 11 filter costs about $10 to $20 and provides excellent filtration without choking your system's airflow.
Next, head over to your water heater. When my wife and I moved into our first place, we completely ignored the water heater settings. A week later, I nearly scalded my hands doing the dishes because the previous owner had it cranked to 150 degrees. Lesson learned. The Department of Energy recommends setting your water heater to 120°F (49°C). This temperature is hot enough to prevent bacterial growth inside the tank, but cool enough to prevent accidental scalding—and it can save you up to 10% on your water heating costs.
While you are in the utility area, take 15 minutes to inspect the dryer vent. Disconnect the flexible hose from the back of the dryer and vacuum out any lint buildup. A clogged dryer vent is one of the leading causes of house fires, and cleaning it out ensures your clothes dry faster, saving electricity.
Week 2: Mapping Your Major Systems
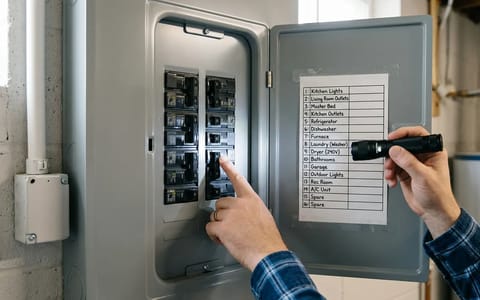
By the second week, you are likely starting to settle into a routine. Now it is time to demystify the nervous system of your house: the electrical panel. Most older homes feature breaker panels with completely illegible, faded, or flat-out incorrect labels. "Bedroom 2" might actually control the kitchen microwave.
Knowing exactly which breaker controls the kitchen island before the blender starts smoking is the true mark of a prepared homeowner.
Mapping your electrical panel requires two people, a pair of cell phones on speakerphone, and a little patience. Here is the most efficient way to get it done:
- Turn on all the lights. Walk through the house and flip on every overhead light and plug a small lamp or radio into mystery outlets.
- Station your helper. Have one person stand in the main living area where they can see multiple rooms, while the other stands at the breaker panel.
- Flip and record. Turn off breaker number one. The helper calls out exactly what just lost power (e.g., "The living room ceiling fan and the hallway outlets!").
- Label clearly. Write the specific, updated description on a fresh piece of heavy-duty paper or use a label maker, and tape it securely to the inside of the panel door.
If your home uses natural gas, this is also the week to locate your gas shutoff valve. It is usually located outside at the gas meter. You will need a crescent wrench or a specialized gas shutoff wrench to turn it. Simply locate the rectangular tang on the valve; when it is parallel to the pipe, the gas is on. To turn it off, use your wrench to turn the tang a quarter-turn until it is perpendicular to the pipe. Do not actually turn it off to test it, as you will have to manually relight all the pilot lights in your home, but make sure your wrench fits and is stored nearby.
Week 3: The Under-Sink and Appliance Audit
Water is a home's worst enemy, and the most insidious leaks are the ones that happen slowly, drop by drop, hidden away in dark cabinets. During week three, grab a bright flashlight and conduct a thorough plumbing audit.
Open every vanity and cabinet under your kitchen and bathroom sinks. Run the water on both hot and cold settings, and carefully watch the P-trap (the curved pipe) and the shutoff valves against the wall. Run your bare hand along the bottom of the pipes; your skin will detect a tiny drop of moisture long before your eyes will. If you find a damp spot, you might just need to tighten a slip-nut fitting, or it could be time to replace an aging shutoff valve.
Next, pull your washing machine away from the wall and inspect the supply hoses. If the machine is connected using old, bulging black rubber hoses, replace them immediately with braided stainless steel hoses. Rubber hoses are highly prone to bursting under pressure, and a burst washing machine hose can pump hundreds of gallons of water into your home in a matter of hours. A pair of braided steel hoses costs about $25 and takes 15 minutes to install with a pair of slip-joint pliers.
While you are checking appliances, pull the refrigerator out and locate the small quarter-inch water line that supplies the ice maker. Ensure the line isn't crimped or leaking, and vacuum the refrigerator condenser coils while you have access to the back of the unit. Clean coils allow the fridge to expel heat efficiently, extending the lifespan of the compressor.
Week 4: Establishing Your Maintenance Baseline
As your first month draws to a close, step outside. It is time to evaluate the exterior envelope of your home to ensure it is properly shedding water away from your foundation.
Grab a ladder and inspect your gutters. If they are packed with leaves, pine needles, or asphalt shingle grit, clean them out using a scoop and a garden hose. Clogged gutters force rainwater to spill over the sides, pooling directly against your foundation and potentially causing basement leaks or structural settling. While you are up there, visually scan the roof for missing, curled, or cracked shingles.
Finally, walk the perimeter of your house and check the foundation grading. The soil and landscaping should slope away from your foundation walls, dropping about six inches over the first ten feet. If you notice areas where mulch or dirt slopes toward the house, plan a weekend project to add topsoil and regrade the area. Keeping surface water moving away from your home is the absolute best defense against a damp, moldy basement.
Tackling home maintenance doesn't mean you have to fix everything in a single weekend. By systematically working through this checklist during your first 30 days, you are taking control of your property, preventing expensive disasters, and giving yourself the breathing room to actually enjoy the incredible accomplishment of buying a home. Take it one project at a time, celebrate the small victories, and welcome to the neighborhood.