How to Protect Hardwood From Dogs (Before Scratches Start)
Stop dog nail scratches before they ruin your beautiful hardwood floors. Learn simple, preventative tricks like pet-safe waxes, strategic runners, and stress-free nail maintenance.
If you share your home with a furry best friend, learning how to protect hardwood from dogs is a common struggle. Every time the doorbell rings, it sounds like a tap-dancing routine in the hallway, and your beautiful floors pay the price. We all love our pets, but watching them accidentally carve up expensive wood finishes is stressful. Luckily, there are effective ways to keep your floors looking great.
When we moved into our 1920s craftsman, the original oak floors were immaculate. Then we brought home a 70-pound Boxer mix. I quickly noticed that his frantic scrambles to the front door left faint white lines everywhere. I tested several different paw waxes, floor finishes, and runner configurations before finding a system that actually works. The good news is that you can completely protect hardwood from dogs without making your home look like a padded cell or making your pup uncomfortable.
Why Dogs Scratch Floors: Protecting Hardwood from Dogs
To fix the problem, you have to understand the mechanics of the slip. Dogs use their nails like cleats. When they run in the yard, those nails dig into the dirt to provide traction and steering. When they try that exact same maneuver on a smooth polyurethane floor, the "cleats" cannot penetrate the surface. Instead, they skid across the topcoat, leaving behind a trail of micro-scratches that can quickly wear down a typical 2-3 mil polyurethane finish.
To stop the damage, we have to intervene in one of three ways: soften the cleats, cover the high-speed zones, or reinforce the floor's surface. Let's break down exactly how to do all three.
The First Line of Defense: Painless Nail Maintenance
Traditional dog nail clippers are great for removing length, but they leave sharp, jagged edges behind. Every time you clip a nail, you are essentially creating a tiny chisel. If you want to protect your floors, you need to switch to a rotary nail grinder (like a Dremel tool designed for pets).
A grinder allows you to round off the sharp tips, completely eliminating the edges that catch on your floor finish. Here is a simple routine to get your dog comfortable with the process and keep those nails perfectly blunt.
- Acclimate your dog to the noise. Turn the grinder on and offer high-value treats while it runs nearby. Do this for a few days before ever touching their paw.
- Use the right grit. Equip the grinder with a 60-grit or 80-grit sanding band. Anything finer takes too long; anything coarser can splinter the nail.
- Grind at a 45-degree angle. Hold the paw firmly and touch the grinder to the bottom edge of the nail at a 45-degree angle. Only hold it against the nail for 2-3 seconds at a time to prevent heat buildup.
- Round the top and sides. Once the length is reduced, gently roll the grinder over the top and sides of the tip to create a perfectly smooth, dome-like finish.
Beyond protecting your floors, consistent nail grinding offers significant health benefits for your dog. Overly long nails can force a dog's toes to splay, putting stress on their paw joints and even affecting their posture and gait. Regular grinding promotes healthy paw structure and can prevent painful conditions like arthritis in the long run. It also reduces the risk of nails catching and tearing, which can be a very painful injury for your pup.
Strategic Rug Placement for the "Zoomie Zones"
You don't need to cover every square inch of your home in carpet. Dogs typically only scratch the floors when they are accelerating, decelerating, or changing direction quickly. By identifying these "zoomie zones," you can strategically place runners to absorb the impact.
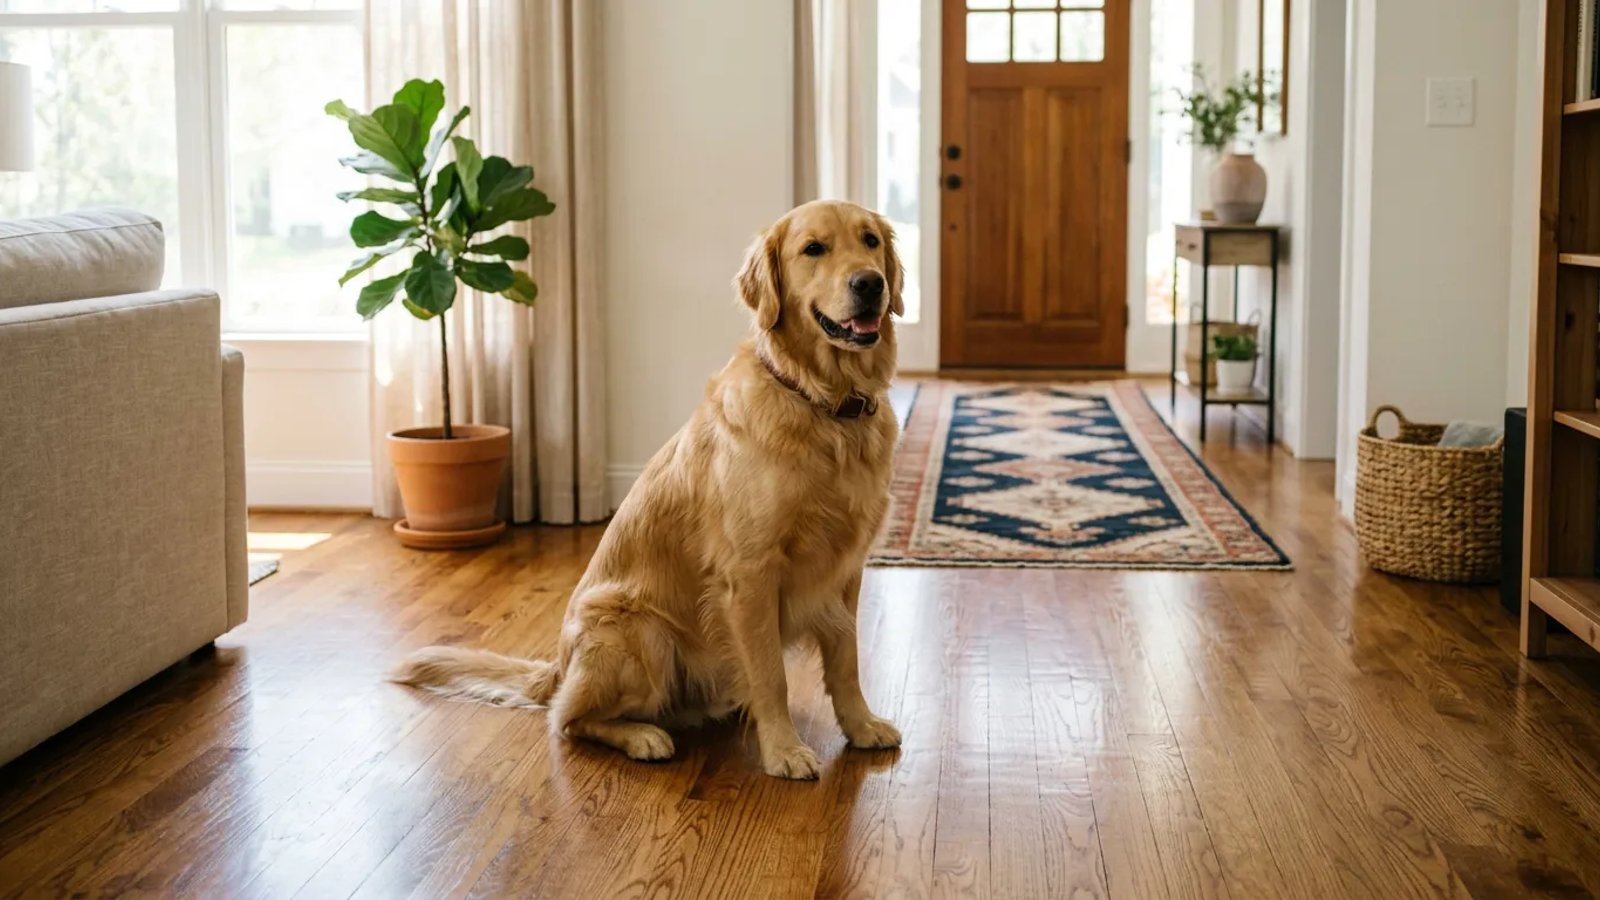
The most critical area is the front door. Create a scratch-free zone by placing a long, heavy runner extending from the entryway. You should also place rugs at the bottom of staircases and around sharp corners in your hallways.
If your dog loves to sleep on the sofa, place a small area rug right where they jump down. The landing force pushes their nails directly into the wood, and a simple 3x5 rug completely eliminates that localized wear and tear.
Applying Pet-Safe Floor Waxes and Finishes
Even with trimmed nails and good rugs, occasional slips happen. You can add an invisible shield to your wood by applying a sacrificial layer of protective wax or polish. This layer takes the brunt of the scratching, keeping the actual polyurethane topcoat completely safe.
Look for liquid carnauba waxes or specialized hardwood restorers. When shopping for these products, it is highly recommended to check the EPA's Safer Choice database to ensure the chemicals you are spreading on your floor are non-toxic for pets who lick their paws.
An ounce of prevention is worth a pound of cure, especially when refinishing floors costs upwards of four dollars a square foot.
Before applying any new wax or finish, always perform a patch test in an inconspicuous area, like inside a closet or under a large piece of furniture. This ensures the product is compatible with your specific floor finish and doesn't cause discoloration or an undesirable sheen. Different polyurethane types (oil-based vs. water-based) can react differently, so a test area is crucial to prevent surprises and to avoid costly mistakes.
Applying a liquid wax is a simple afternoon project. Sweep and mop the floor thoroughly, let it dry, and then use a microfiber mop to spread a thin, even layer of the wax following the grain of the wood. It usually dries in under an hour and leaves a brilliant, protective shine. You can reapply this sacrificial layer every three to six months depending on your home's traffic.
Clever Traction Hacks for Older Dogs
Senior dogs often lose muscle mass in their hind legs, making them highly prone to slipping on bare wood. When they slip, they panic and scramble, which causes severe scratching. Helping them gain traction saves your floors and protects their joints.
One excellent solution is applying a pet-safe paw wax directly to their pads. Originally designed for sled dogs running on ice, these waxes add a slightly tacky grip to the paw without leaving a sticky residue on your floors. You just rub a small amount onto their pads once a week.
Another option is rubber toe grips. These are tiny rubber cylinders that slide right over your dog's nails. They allow the nail to act like a rubber cleat rather than a hard plastic one, providing instant traction. They usually last about a month before needing replacement.
Training and Behavioral Tips to Prevent Scratches
While physical barriers and maintenance are crucial, addressing your dog's behavior can significantly reduce floor damage. Many scratches occur during moments of excitement, such as when the doorbell rings or guests arrive. Training your dog to manage these impulses can be incredibly effective.
Consider teaching your dog a "place" command, directing them to a designated mat or bed when the doorbell rings or someone enters. This gives them a positive outlet for their energy that doesn't involve skidding across your hardwood. Consistent positive reinforcement, rewarding calm behavior, and providing plenty of engaging chew toys can also divert their attention from frantic floor sprints. For dogs prone to "zoomies," consider taking them outside for a good run before letting them loose indoors, or engaging them with puzzle toys that encourage slower, more deliberate movement.
Living with dogs doesn't mean you have to surrender your home's value or aesthetics. By smoothing out those nails, laying down a few smart runners, and adding a quick layer of protective wax to your cleaning routine, you can keep your floors gleaming. It takes a little bit of upfront effort, but it completely removes the stress from your daily routine, letting your dog just go back to being a dog.
- Prevention is drastically cheaper than sanding and refinishing your floors at $3 to $5 per square foot.
- Cheap PVC rug pads can permanently stain polyurethane finishes; always use felt or natural rubber.
- A nail grinder with a 60-grit band smooths sharp edges that traditional clippers leave behind.
- Creating a designated 'scratch-free zone' at the front door contains the worst of the excitement-induced damage.