AC Leaking Water Inside? How to Unclog the Drain Line
A puddle of water around your indoor AC unit is usually caused by a clogged condensate drain line. Learn how to stop the leak immediately and clear the blockage using a wet/dry vacuum.
It happens every year as mid-spring weather warms up. You switch the thermostat from heating to cooling for the first time, looking forward to a comfortable afternoon. But a few hours later, you notice a growing wet spot on the drywall ceiling, or a suspicious puddle creeping out from beneath the utility closet door. Finding your ac leaking water inside is a fast track to homeowner panic.
Before you grab a bucket and brace yourself for an exorbitant emergency fee from a local HVAC technician, take a deep breath. While indoor water leaks look terrifying and can certainly cause expensive damage if left unchecked, the root cause is rarely a catastrophic mechanical failure. In the vast majority of cases, the culprit is simply a clogged pipe that you can clear yourself in under thirty minutes.
Cooling systems are designed to handle moisture, but they require a clear exit path. When that path gets blocked, water takes the path of least resistance—usually right onto your floors. Let's walk through exactly how to stop the leak, find the blockage, and get your home cooled down safely.
Why Is My AC Leaking Water Inside?
To understand why your air conditioner is suddenly doubling as an indoor water feature, you have to understand a little bit about the physics of cooling. Your AC doesn't just lower the temperature of the air; it also acts as a massive dehumidifier. Warm indoor air is blown across a freezing cold component called the evaporator coil. As the air cools down, it loses its ability to hold moisture. That moisture condenses into water droplets on the metal fins of the coil.
On a humid spring or summer day, a standard residential air conditioner can easily extract 5 to 20 gallons of water from the air inside your home. All that water has to go somewhere. It drips off the coil and falls into a primary drain pan located just beneath it. From there, gravity takes over, pulling the water down a 3/4-inch white PVC pipe—known as the condensate drain line—until it exits outside your house or into a utility sink.
The problem arises because that dark, damp PVC pipe is the perfect breeding ground for algae, mold, and mildew. Over months of inactivity during the winter, airborne dust mixes with residual moisture to create a thick, jelly-like sludge. When you turn the system back on in the spring, the new condensation hits that wall of sludge and stops. The water backs up, fills the shallow drain pan to the brim, and spills over the edge. That is exactly why your AC is leaking water inside.
Immediate Triage: Stop the Leak Right Now
When you discover a puddle, your very first priority is to stop the system from generating any more water. Do not wait to see if it improves, and do not try to diagnose the issue while the system is actively running.
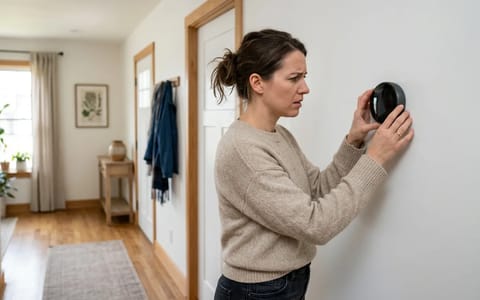
Walk straight to your thermostat and turn the cooling function completely off. Alternatively, switch the system to "Fan Only" mode. The blower fan will continue to circulate air through your vents, but the outdoor compressor will shut down, meaning the evaporator coil will stop getting cold and stop pulling moisture out of the air.
Once the system is off, clean up the surrounding area to prevent moisture from soaking into your baseboards, drywall, or subfloor. If the water has already saturated a ceiling below, you may want to poke a tiny hole in the center of the wettest spot with a screwdriver. This allows the water to drain cleanly into a bucket rather than pooling and causing the entire sheet of drywall to collapse under the weight.
Locating Your AC Condensate Drain Line and Pan
Now that the bleeding has stopped, you need to find the source of the blockage. You are looking for the indoor portion of your HVAC system, known as the air handler or furnace. In most homes, this is located in the attic, a basement, a dedicated utility closet, or sometimes a crawlspace.
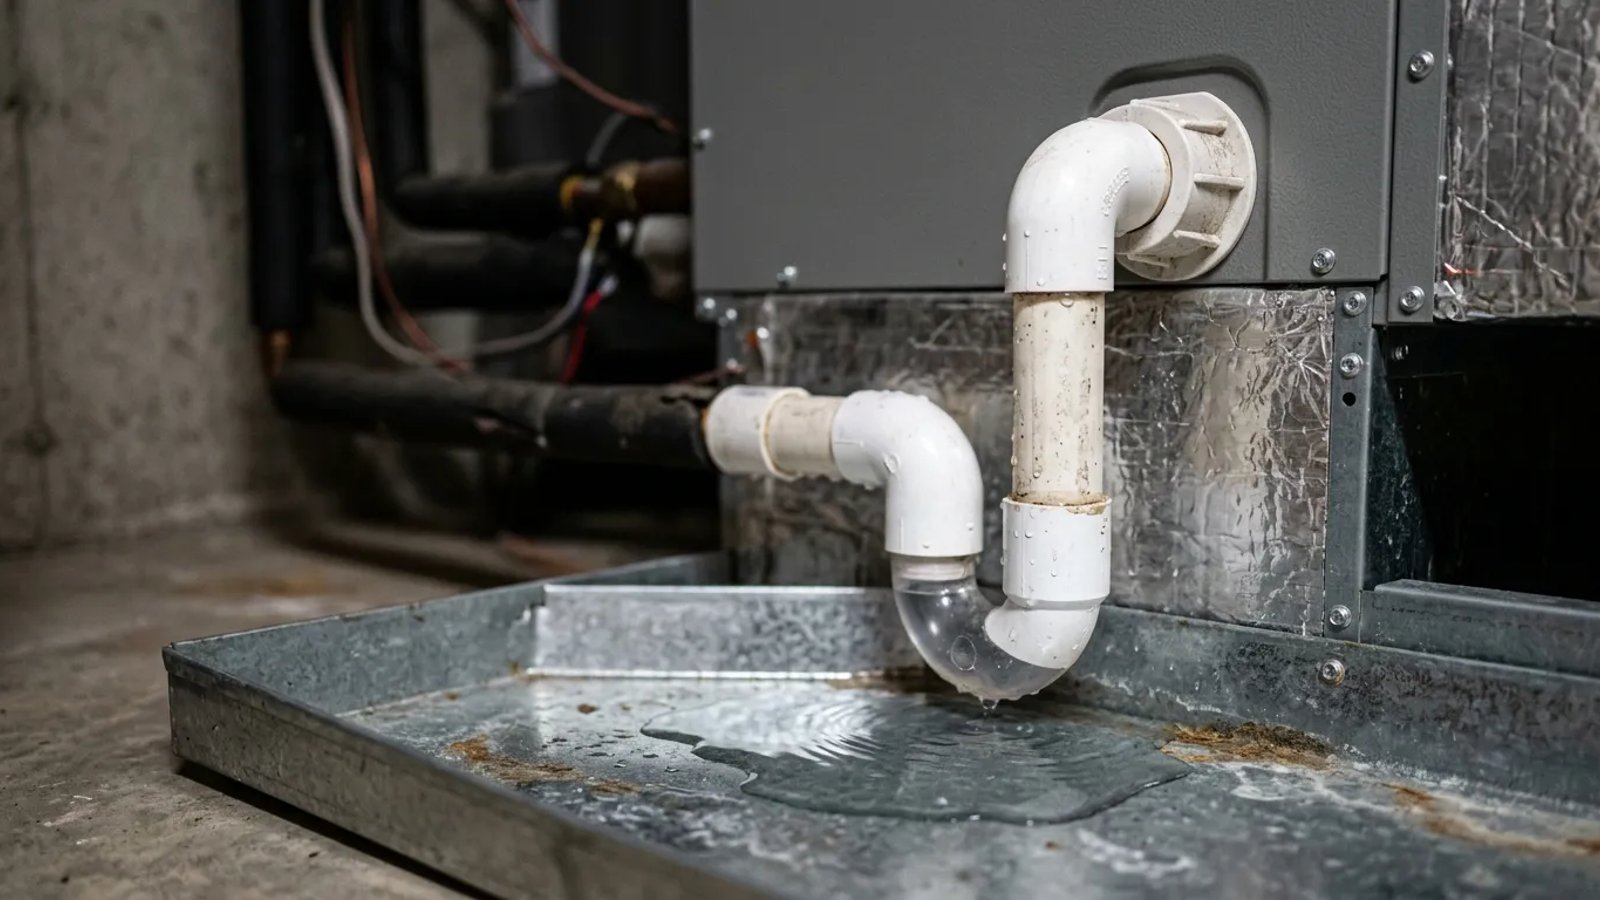
Once you locate the large metal cabinet of the air handler, look near the bottom (or the side, if it's a horizontal unit in an attic). You will see a white plastic PVC pipe sticking out of the metal casing. This is your primary condensate drain line. Follow it with your eyes. It usually features a U-shaped trap (similar to the pipe under your kitchen sink) and a vertical piece of pipe with a removable cap, known as the cleanout tee.
If your unit is in the attic or on an upper floor, you will likely also see a secondary, larger metal or plastic pan sitting directly underneath the entire unit. This is the auxiliary drain pan. It is designed to catch the water if the primary internal pan overflows. If this secondary pan is full of water, you absolutely have a clog in the primary line.
I learned the importance of this secondary pan the hard way in my first house. I ignored a slow, persistent drip in the hallway utility closet, assuming it was just normal condensation sweating off the unit. A week later, the drywall ceiling below the attic completely collapsed, dumping a soggy, heavy mess of fiberglass insulation straight onto the dining room table. Never ignore the early warning signs of a leak.
Step-by-Step: How to Unclog the Drain Line
The safest, most effective way to clear an algae clog is to pull it out from the outside, rather than trying to push it through from the inside. Pushing the clog can compact it further, or worse, blow apart a hidden pipe joint behind your walls.
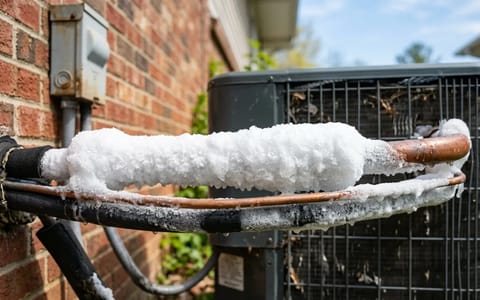
- Locate the exterior exit pipe. Walk around the outside perimeter of your house. You are looking for a 3/4-inch white PVC pipe sticking out of the brick or siding, usually near the ground. It is often located near your outdoor compressor unit, but not always.
- Prepare your wet/dry vacuum. Remove the dry paper filter from your Shop-Vac so it is ready to handle water. Bring the vacuum outside to the exit pipe.
- Create an airtight seal. Place the nozzle of the vacuum hose over the end of the PVC pipe. Because the vacuum hose is larger than the pipe, you need to seal the gap. Wrap silver duct tape tightly around the connection, or firmly cup a wet rag around the joint with your hands. Without a tight seal, you won't generate enough suction to move the clog.
- Extract the blockage. Turn the vacuum on and let it run continuously for 1 to 3 minutes. You may hear a sudden "thwump" sound as the thick algae slug is sucked out of the pipe, followed by the rushing sound of the backed-up water flowing freely.
- Check your work. Turn off the vacuum, remove the tape, and open the canister. If you see a mass of brown or green jelly-like sludge and a few gallons of clear water, congratulations—you have successfully cleared the line.
Flushing the Line to Prevent Future Clogs
Clearing the immediate blockage solves the emergency, but you want to ensure the pipe stays clear throughout the long, hot summer. The best way to do this is to kill any remaining algae spores clinging to the inside of the PVC.
Head back inside to your air handler and locate that vertical cleanout tee on the drain line. Remove the plastic cap. Pour one cup of distilled white vinegar slowly down the pipe. The mild acidity of the vinegar is strong enough to kill algae and dissolve minor mineral deposits, but gentle enough that it won't harm your plastic pipes or metal drain pan.
Let the vinegar sit in the trap for about 30 minutes. Afterward, you can slowly pour a gallon of warm (not boiling) water down the cleanout to flush the dead algae out of the system. If the water flows quickly and easily without backing up out of the tee, your line is completely clear.
A $3 bottle of white vinegar and five minutes of your time can save you from a $3,000 ceiling repair.
Make this vinegar flush a regular part of your home maintenance routine. Pouring a cup down the line every three months during the cooling season is usually enough to keep the sludge at bay permanently.
Upgrading Your System's Defenses
If you want to ensure you never wake up to an indoor flood again, consider installing a condensate float switch. This is a small, inexpensive electronic device (usually costing between $15 and $25 at a home improvement store) that wires directly into your thermostat circuit.
The switch sits on the edge of your secondary drain pan or fits onto the primary drain line. If water backs up and raises a tiny plastic float inside the switch, it instantly breaks the electrical connection to your thermostat. The AC shuts off automatically before a single drop of water can overflow the pan. It is one of the cheapest and most effective insurance policies you can add to your HVAC system.
When to Call a Professional HVAC Technician
While a clogged drain line accounts for the vast majority of indoor AC leaks, it isn't the only possible cause. Sometimes, the problem requires a professional diagnosis and specialized tools.
You should also call a professional if you inspect the primary drain pan and notice visible cracks in the plastic or heavy, flaking rust holes in the metal. A cracked pan cannot be permanently repaired with caulk or tape; it must be replaced by a technician, which often involves lifting the entire evaporator coil out of the cabinet.
Dealing with an air conditioner that decides to leak water inside is stressful, but it is rarely a reason to panic. By acting quickly to shut down the system, locating the exit pipe, and utilizing a standard wet/dry vacuum, you can resolve the issue yourself and get back to enjoying a cool, dry home.