Draft Behind Thermostat? The 5-Minute Fix for Wrong Temps
Is your AC running constantly even though the room feels freezing? A hidden draft behind your thermostat might be tricking the sensor. Here is the safe, 5-minute fix.
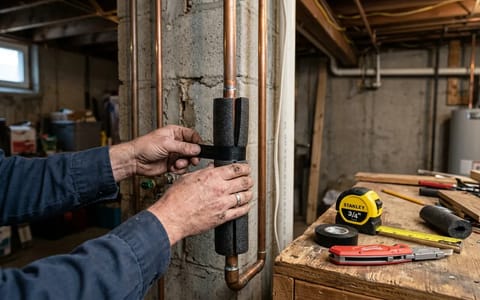
You walk into your living room and shiver. The air conditioning is blasting, yet you glance at the wall and the thermostat stubbornly reads 75 degrees. Your first thought might be a failing AC unit, a clogged filter, or a broken temperature sensor. Before you call an HVAC technician and pay a $150 diagnostic fee, consider a common, simpler culprit: a **draft behind the thermostat**.
Often, the problem is just a **draft behind thermostat**. This hidden breeze tricks the sensor, forcing your system to work overtime and driving up your energy bills. Fortunately, fixing it takes about five minutes and costs almost nothing.
Causes of Draft Behind Thermostat
To understand why your thermostat is lying to you, you have to look at how your house is built. Inside your drywall is a hollow cavity. In many homes, especially older ones, this space connects directly to your attic, your basement, or an unconditioned crawlspace.
Due to the stack effect—the natural movement of air in and out of buildings as temperatures change—air constantly moves through these hidden vertical shafts. When the installer ran the low-voltage wires for your thermostat, they drilled a hole in the drywall. If they did not seal that hole, unconditioned air from the wall cavity has a direct path into your living space.
Because the thermostat sits directly over this hole, that unconditioned air blows straight onto the device's sensitive thermistor. In early summer, hot air from your attic gets pulled down the wall cavity and hits the back of the thermostat. The sensor registers this localized heat, assumes the whole house is sweltering, and commands the air conditioner to keep running.
A hole no larger than a pencil eraser can skew your thermostat reading by up to five degrees, forcing your HVAC system to run for hours.
I noticed this exact issue in my own 1970s split-level home a few years ago. Our smart thermostat kept running the heat in the dead of winter, even when the hallway felt like an oven. I pulled the faceplate off and felt a literal breeze of freezing attic air dropping down the wire channel and hitting the sensor. Once I sealed it, the system returned to normal operation the very same day.
How to Test for Wall Cavity Drafts
**In my experience,** you do not need specialized equipment to diagnose a wall draft. You can confirm the issue using items you already have around the house.
First, wait for a day when the temperature outside is significantly different from your target indoor temperature. Turn off your HVAC system at the thermostat so the air vents in the room are not blowing and creating cross-breezes.
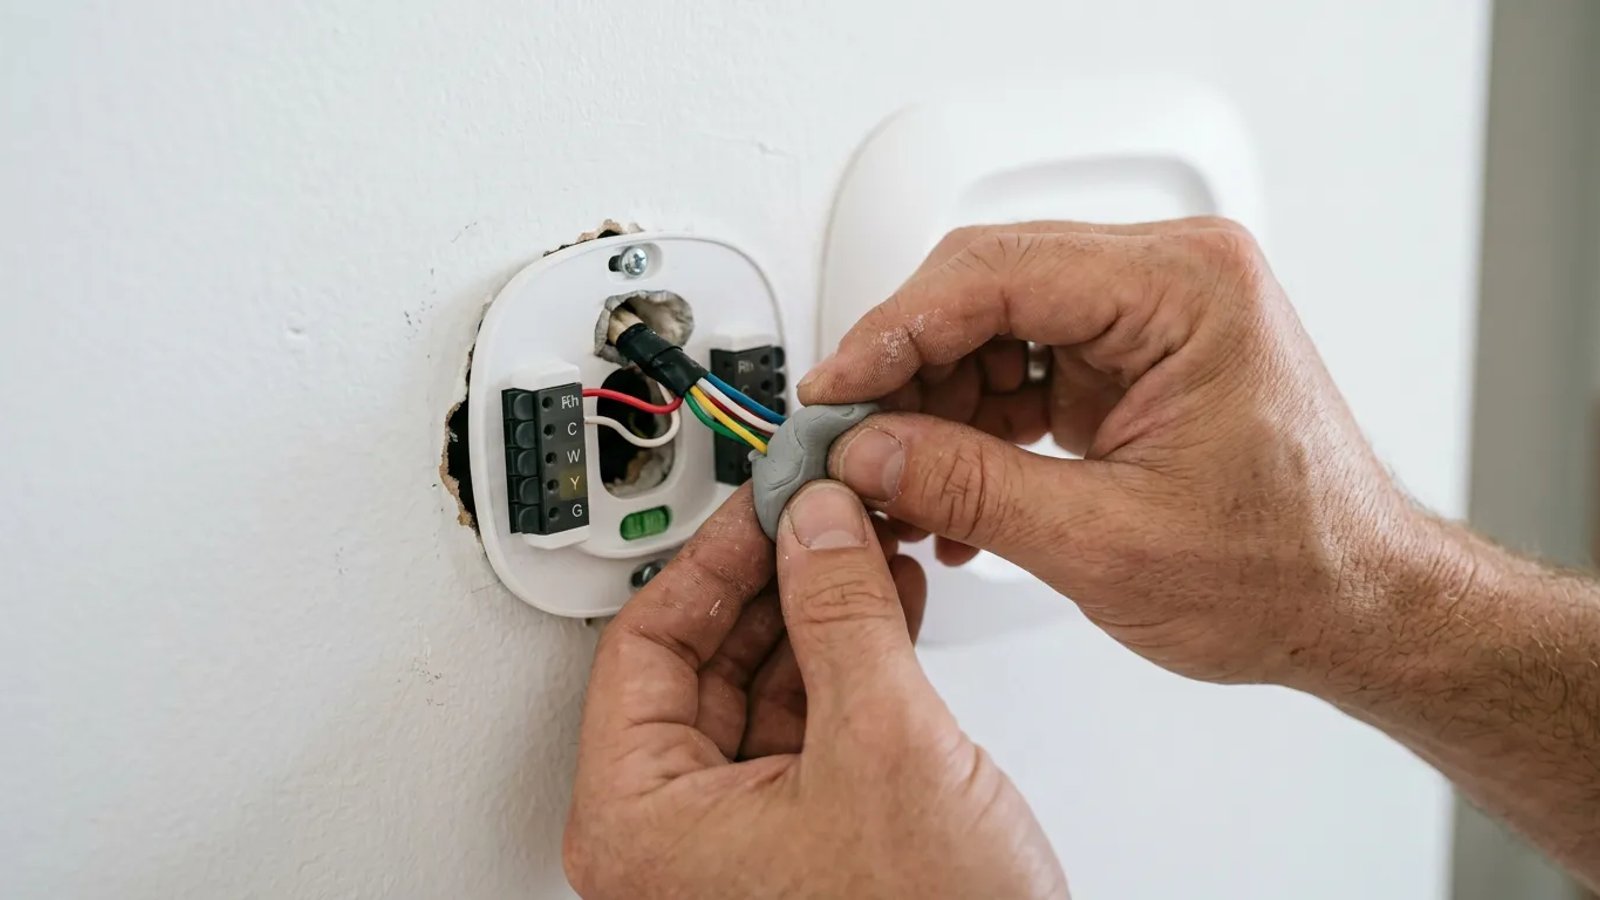
Gently pull the thermostat faceplate off the wall. Most modern units pop right off with a firm tug, exposing the sub-base and the wires. Take a single ply of facial tissue or a piece of toilet paper and hold it directly in front of the hole where the wires come through the drywall, about **1-2 inches** away.
If the tissue flutters or pulls toward the hole, you have a draft. You can also use a lighter or a lit match; if the flame dances or blows out when held near the wire hole, you have significant airflow moving through the wall cavity.
Materials: What to Use (and What to Avoid)
Sealing the hole is straightforward, but choosing the right material is critical. You want something that blocks air completely but remains pliable so you do not damage the fragile 18-gauge copper wires.
The two best materials for this job are:
- Plumber's putty: A small tub costs about $3 at any hardware store. It molds like clay, completely blocks air, and never fully hardens. You can easily pick it out later if you need to rewire the baseplate.
- Foam backer rod: This is a squishy foam rope used for filling large gaps before caulking. A $5 roll will last you a lifetime. You can snip off a tiny piece and gently stuff it into the hole around the wires.
Avoid silicone caulk for the same reason. While it will block the draft, it acts as an adhesive. Stick to putty or foam.
Step-by-Step: The 5-Minute Fix
Once you have your putty or foam backer rod, the actual repair takes only a few minutes. Here is how to do it safely.
- Turn off the power. Head to your electrical panel and flip the breaker for your HVAC system. While thermostat wires only carry 24 volts—which is generally safe to touch—it is always best practice to cut the power. Accidentally crossing the wrong two wires with a screwdriver can blow the low-voltage fuse on your furnace control board.
- Remove the faceplate. Gently pull the thermostat unit away from the wall. You will be left with the mounting plate attached to the drywall, with several colored wires screwed into terminals.
- Inspect the hole. Look at the center of the mounting plate. You will see the hole drilled through the drywall. Note how large the gap is around the wire bundle.
- Pack the gap. Take a marble-sized piece of plumber's putty and knead it until it is soft. Press it gently into the hole, molding it around the wires. Do not push it so deep into the wall that you lose it; just create a flush plug at the surface of the drywall. If using backer rod, push a small piece into the gap using the flat tip of a screwdriver.
- Replace the faceplate. Snap the thermostat back onto its base.
- Restore power. Turn the breaker back on at the electrical panel.
Recalibrating Your Thermostat for True Room Temperature
After you seal the draft, do not expect the temperature reading on the screen to drop instantly. Thermostats do not react as quickly as digital thermometers.
Most residential thermostats use a moving average to calculate the temperature. This prevents the system from turning on and off every time someone walks past it or opens a nearby door. Depending on the brand, it can take 30 to 60 minutes for the device to register the true ambient temperature of the room now that the draft is blocked.
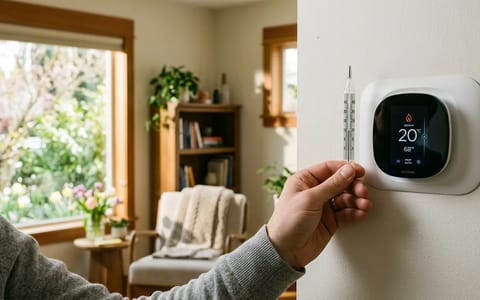
Give the system an hour to settle. You should see the reading align much closer to how the room actually feels. If you want to verify the accuracy, place a standalone digital thermometer on a table directly below the thermostat and compare the numbers after an hour.
When to Consider Relocating Your Thermostat
If you seal the wire hole but the thermostat still seems completely out of sync with the rest of the house, the issue might be placement. According to guidelines from the Department of Energy, a thermostat needs to be located on an interior wall, away from direct sunlight, drafts, doorways, skylights, and windows.
If your thermostat is mounted directly above a supply register, it will read the cold air blowing out of the vent rather than the average temperature of the room. If it sits in a hallway that receives direct afternoon sunlight, the radiant heat will bake the sensor. In these cases, sealing the wall cavity draft is a good first step, but physically relocating the unit or upgrading to a model with remote room sensors will be required to truly balance your home's climate.
Taking a few minutes to block that hidden wall breeze is one of the highest-return maintenance tasks you can perform. For the cost of a cup of coffee, you protect your air conditioning compressor from unnecessary wear and ensure your home stays perfectly comfortable all season long.
- Never use expanding spray foam to seal a thermostat wire hole; it can ruin the wiring and make future thermostat upgrades nearly impossible.
- Plumber's putty is the safest, most easily removable material for blocking wall cavity drafts.
- Wait 30 to 60 minutes after sealing the hole for your thermostat to recalibrate to the true ambient room temperature.