How to Fix a Drafty Front Door (And Stop the Cold Wind)
Stop winter drafts and lower your heating bill by replacing worn weatherstripping on your front door frame. Learn how to spot leaks and install a tight seal.
You walk past your entryway on a cold winter evening and feel an unmistakable chill cutting across the floor. That invisible breeze is doing more than making your hallway uncomfortable; it is actively forcing your heating system to work overtime and driving up your monthly utility bills. While many homeowners immediately look to the bottom of the door, the sides and top of the door frame are notorious for harboring failed, flattened weatherstripping. If you want to fix a drafty front door, replacing this perimeter seal is one of the highest-return DIY projects you can tackle.
Fortunately, you do not need to hang a brand new pre-hung door to stop the cold wind. With about $20 in materials and 30 minutes of your time, you can strip away the old, compressed foam and install a tight, modern seal. Here is exactly how to identify your leak, prep your door jamb, and lock the heat inside where it belongs.
How to Pinpoint the Exact Source of the Draft
Before ripping anything apart, you need to confirm exactly where the cold air is entering. A door sweep will fix a bottom gap, but frame weatherstripping handles the top and sides. The easiest way to map out your door's weak points is by using the classic candle trick.
Wait for a windy day, turn off your hallway lights, and light a candle. Slowly move the flame around the entire perimeter of the closed door, holding it about an inch from the seam where the door meets the jamb. When the flame flickers wildly or blows out completely, you have found a compromised seal. If you prefer not to use an open flame, a flashlight works just as well at night. Have a helper stand outside and shine a bright flashlight around the edges of the closed door. Any light piercing through to the inside indicates a gap that needs filling.
Removing Old Weatherstripping and Prepping the Door Jamb
The biggest mistake homeowners make when trying to fix a drafty front door is layering new weatherstripping directly over the old, flattened material. This creates an uneven surface, stresses the door hinges, and almost guarantees the door will not latch properly. You must start with a clean slate.
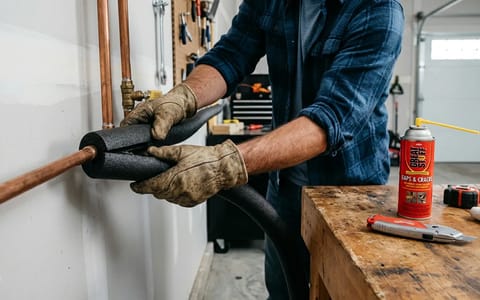
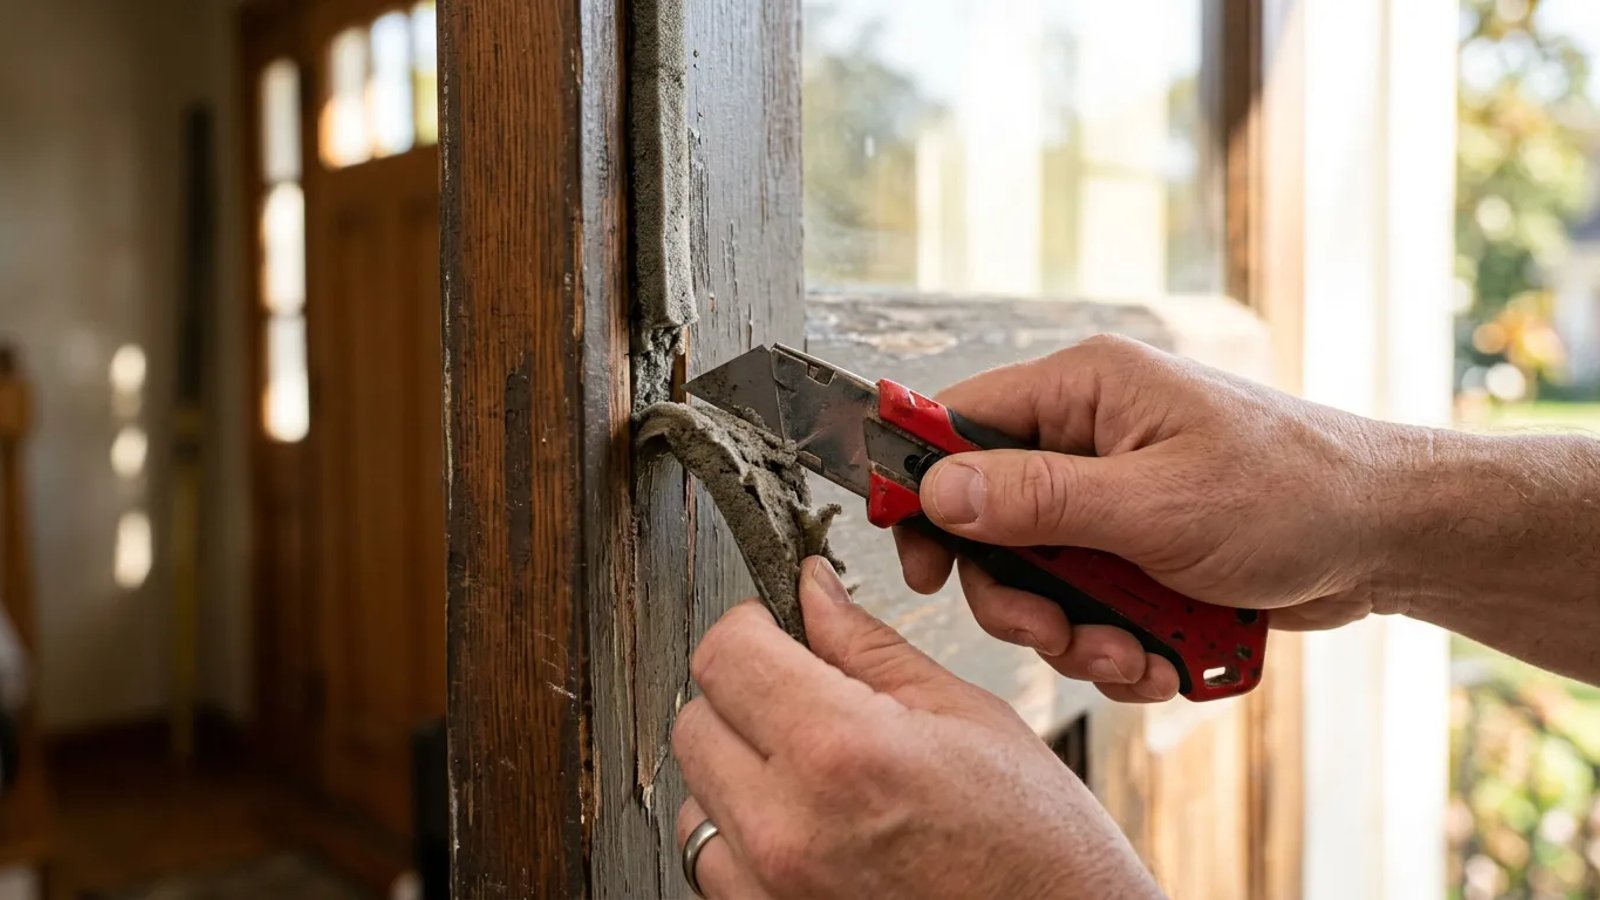
- Pull out the old seal. If you have kerf-in weatherstripping (which sits inside a thin groove in the frame), simply pinch one end and pull it straight out. If it is adhesive-backed, peel it away carefully. Use a putty knife to gently scrape off stubborn foam bits.
- Remove leftover adhesive. Adhesive V-strips and foam tapes often leave a sticky residue behind. Soak a rag in rubbing alcohol or a citrus-based adhesive remover and vigorously rub the door stop molding until the wood is completely smooth.
- Sand the surface. Lightly run a piece of 120-grit sandpaper over the area where the new weatherstripping will sit. This knocks down any old paint drips or splinters.
- Clean and dry. Wipe the entire door jamb down with a damp cloth to remove sanding dust, then dry it thoroughly with a microfiber towel. New adhesive will not stick to a dusty or damp frame.
Choosing the Right Replacement Material
Not all weatherstripping is created equal, and the type you buy depends entirely on the design of your existing door frame. Take a close look at the door stop—the raised piece of wood in the center of the jamb that the door rests against when closed.
If there is a thin slit or groove cut into the corner of the door stop, you have a kerfed frame. You must buy kerf-in weatherstripping. This is usually made of foam wrapped in a durable vinyl cover and features a rigid plastic flange that presses directly into the groove. It requires no adhesive and is incredibly easy to install.
If your door stop is solid wood with no groove, you will need an adhesive-backed option. Adhesive V-strip (also called tension seal) is a plastic or metal strip folded into a "V" shape that springs open to fill gaps. It is highly durable and great for older doors that might be slightly warped. Alternatively, tubular silicone is a premium adhesive-backed hollow tube that compresses tightly when the door closes, offering excellent durability against freezing temperatures.
Step-by-Step Guide to Installing the New Seal
With your door frame clean and your materials selected, you are ready to install the new seal. Always start with the top piece (the head jamb) before moving on to the two side pieces. This ensures the side pieces overlap the top piece, preventing water or cold air from slipping through the upper corners.
Measure the top of the door frame with a tape measure. Transfer that measurement to your weatherstripping and cut it to length using a sharp pair of scissors or a utility knife. If you are using kerf-in weatherstripping, simply press the plastic flange into the groove, starting at one corner and working your way across. You can use a putty knife to gently push the flange fully into the slot if your fingers get tired.
For adhesive-backed weatherstripping, peel back just two inches of the protective paper backing. Press the sticky side firmly against the door stop, right where the door will make contact. Slowly peel the backing away as you work your way down the frame, pressing firmly every few inches to ensure a strong bond. Never stretch adhesive weatherstripping as you apply it; stretching causes the material to snap back over time, leading to peeling corners.
A proper weather seal shouldn't make your door impossible to close; it should just require a firm, satisfying click of the latch.
Testing the New Seal and Troubleshooting
Once all three sides are installed, step outside and close the door. You should feel a slight resistance right before the latch clicks into place. Run your hand around the perimeter of the door; the cold draft should be completely gone.
If you find that you have to slam the door with excessive force just to get the deadbolt to turn, your new weatherstripping might be slightly thicker than the old material. Do not rip the weatherstripping out just yet. Instead, look at the metal strike plate on the door frame where the latch enters. You can often loosen the screws on the strike plate and shift it outward by a millimeter or two. This minor adjustment gives the door a bit more breathing room while still maintaining a perfectly airtight seal against the new foam.
Taking the time to refresh the perimeter seal around your entryway is a minor weekend chore that pays dividends all winter long. By keeping the freezing winds outside, your hallway will stay comfortable, your furnace will run less frequently, and your home will be significantly more energy efficient.