Hot Water Running Out? How to Flush Sediment Buildup
Running out of hot water faster than usual? Before replacing your unit, learn how to flush out the mineral sediment that steals your tank's heating capacity.
You step into the shower expecting a relaxing blast of heat, but five minutes later, you are shivering under lukewarm water. When a home suddenly loses its hot water capacity, the first reaction is usually panic. You might assume the entire unit is dead and start mentally preparing for a massive plumbing bill.
Before you start calling contractors, check for a common, hidden culprit: water heater sediment buildup. Over time, minerals from your local water supply settle at the bottom of the tank. This debris physically takes up space meant for hot water and acts as a thick barrier between the heating source and the water itself.
What Is Water Heater Sediment Buildup?
Every home's water supply contains dissolved minerals, primarily calcium and magnesium. When water is heated inside your tank, these minerals separate from the liquid and crystallize. Because they are heavier than water, they naturally sink to the bottom of the tank.
If you live in an area with hard water, this process happens much faster. Over a few years, a layer of sandy, gravel-like material, sometimes **several inches thick**, builds up. This layer causes two major problems for your plumbing system.
First, it physically displaces the water. If you have a 50-gallon tank with 10 gallons of solid sediment sitting at the bottom, you now only have a 40-gallon tank. That missing volume is exactly why your showers are suddenly running cold.
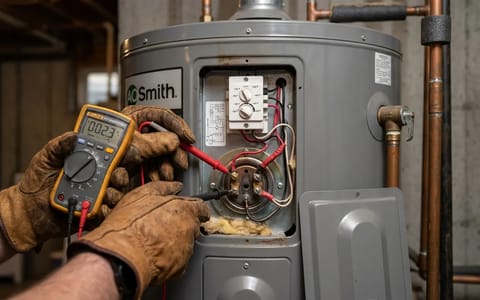
Second, the mineral layer acts as an insulator. In a gas water heater, the burner sits directly under the bottom of the tank. In an electric unit, the lower heating element sits near the bottom. The heat has to fight through inches of solid rock just to reach the water.
Sediment acts like a heavy blanket inside your tank, forcing the heating elements to work twice as hard to warm the water.
A few years ago, I helped a neighbor who was convinced his five-year-old water heater was completely dead. We hooked up a hose, opened the valve, and watched what looked like chunky oatmeal pour out for ten minutes. After a thorough flush, his hot water capacity returned to normal, and the unit ran quietly again.
Signs Your Tank Is Choking on Minerals
Your water heater will usually give you a few warning signs before the sediment becomes a critical issue. The most obvious indicator is a sharp drop in available hot water, but there are auditory and visual clues to watch for.
Listen closely to the tank while it is actively heating. If you hear a low rumbling, knocking, or popping sound, you have sediment buildup. Those popping sounds are actually small pockets of water trapped under the heavy mineral layer. As the bottom of the tank heats up, that trapped water boils, turns to steam, and violently bursts through the crust of sediment.
You might also notice fluctuating water temperatures at your faucets, or hot water that looks slightly cloudy or carries a faint metallic smell. **In my experience,** these are all clear indicators that the tank needs a thorough cleaning.
How to Flush Your Water Heater Safely
Flushing a water heater is a straightforward DIY task that takes about 30 to 45 minutes. The most critical part of the job is ensuring the power or gas is completely shut off before you drain the water.
- Turn off the heat source. For electric heaters, go to your main electrical panel and flip the dedicated breaker to the OFF position. For gas heaters, turn the dial on the thermostat valve at the bottom of the tank to the "Pilot" or "Off" setting.
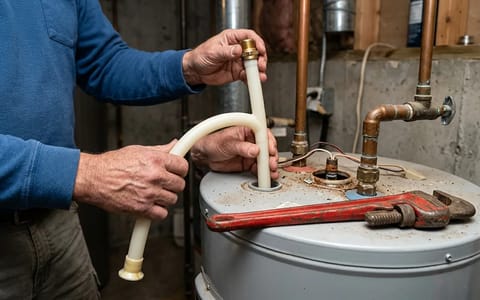
- Turn off the cold water supply. Locate the cold water inlet pipe at the top of the tank. Turn the shutoff valve clockwise until it stops. If it is a lever-style ball valve, turn it so the handle is perpendicular to the pipe.
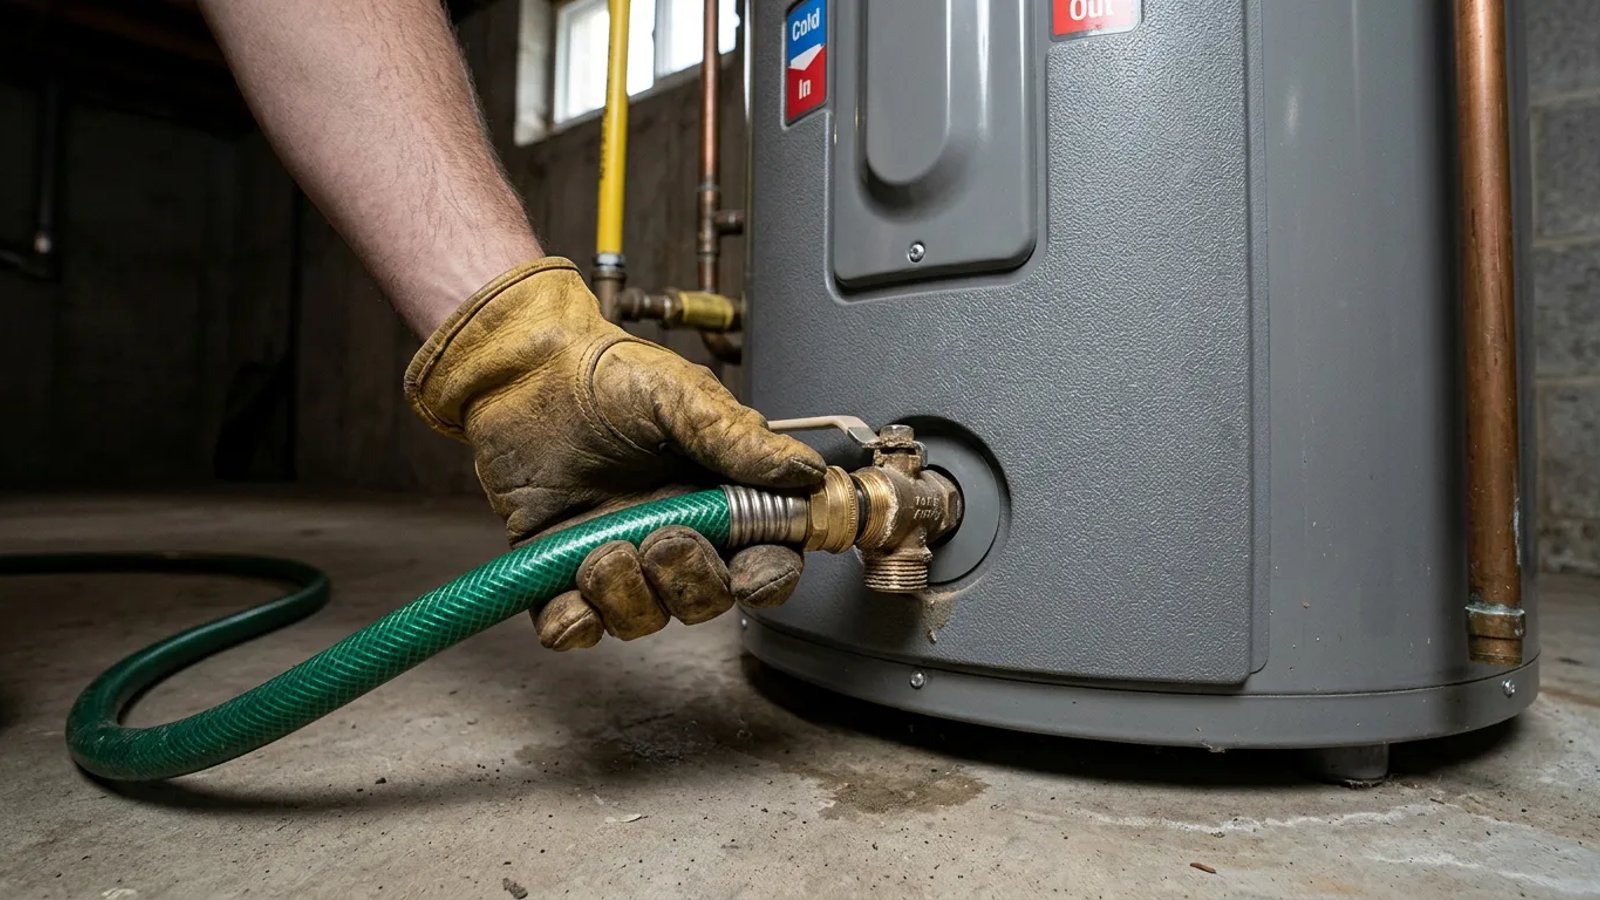
- Connect the garden hose. Thread your hose onto the brass or plastic drain valve near the bottom of the tank. Ensure the connection is tight to prevent leaks. Route the other end of the hose to a floor drain, utility sink, or outside to your driveway.
- Open a hot water faucet. Go to a sink on the main floor or upper level of your home and turn the hot water tap on. This breaks the vacuum inside the plumbing lines, allowing the tank to drain freely, much like holding your finger over a drinking straw.
- Open the drain valve. Slowly open the valve at the bottom of the tank. Some valves have a small handle, while others require a flathead screwdriver. Let the water flow into your bucket first to check the color, then let it run down the drain.
- Flush with cold water. Once the tank is empty, turn the cold water supply valve at the top of the tank back on for 15 to 20 seconds, then shut it off. This stirs up remaining sediment at the bottom. Repeat this burst of cold water until the water exiting the hose runs perfectly clear.
- Close the valve and refill. Close the bottom drain valve tightly and remove the hose. Turn the cold water supply back on completely. Leave the hot water faucet upstairs open. As the tank fills, it will push air out of the lines. Once a steady, solid stream of water flows from the upstairs faucet, the tank is full.
- Restore the power. Only after the tank is completely full of water should you turn the electrical breaker back on or turn the gas valve back to the "On" position.
What If the Valve Is Clogged?
Sometimes, you open the drain valve and nothing happens. A few drops might trickle out, but the heavy flow never starts. This means a solid chunk of calcium has blocked the narrow opening inside the valve.
To fix this, close the valve and disconnect the hose. Place your bucket directly under the spout. Take a stiff piece of wire, like a straightened coat hanger, and carefully insert it into the valve opening. Open the valve slightly and gently poke at the blockage until you feel it break apart. The water will suddenly rush out, so be prepared to close the valve quickly or catch the flow in the bucket while you reattach the hose.
How Often Should You Do This?
Preventative maintenance is the easiest way to keep your home running smoothly. The Department of Energy notes that routine maintenance, including flushing a quarter of the tank every few months or doing a full flush annually, significantly improves your unit's efficiency.
When you remove the insulating layer of rock from the bottom of the tank, the heating elements transfer energy directly into the water. This means the unit runs for shorter cycles, drawing less electricity or burning less gas. Over the course of a year, that translates to noticeable savings on your utility bills.
Taking 45 minutes once a year to clear out water heater sediment buildup pays off by restoring your hot water capacity and extending the life of an expensive appliance. Add this quick flush to your annual home checklist, and you won't have to worry about shivering through a lukewarm shower anytime soon.
- Always turn off the power (breaker) or gas supply before draining a water heater to prevent destroying the heating elements.
- Use a heavy-duty garden hose and route it to a safe drainage area, as the exiting water will be scalding hot.
- Open the pressure relief valve at the top of the tank to break the vacuum and allow water to flow freely out the bottom drain.
- If the drain valve is clogged with heavy sediment, carefully use a stiff piece of wire to break up the blockage inside the valve opening.