Water Heater Runs Out Fast? How to Test the Elements
When a hot shower turns cold after ten minutes, a broken lower heating element is usually to blame. Learn how to safely test your electric water heater elements with a multimeter.
If your hot shower suddenly turns freezing after just ten minutes, a broken lower heating element is usually the culprit. We have already covered dip tubes and sediment buildup in previous guides, so let us tackle the next most common reason an electric water heater runs out fast. When a tank stops delivering the volume of hot water it used to, homeowners often assume the entire unit needs to be replaced. Fortunately, that is rarely the case.
Electric water heaters are relatively simple appliances, relying on a pair of heating elements to warm the water. Testing these elements is a straightforward process that requires only a basic multimeter and a few hand tools. In this guide, we will walk through exactly how these elements work together, why the lower one almost always fails first, and how you can safely test them yourself before spending money on a plumber.
Why Your Water Heater Runs Out Fast
To understand why your water heater runs out fast, it helps to understand how the two-element system operates. Most standard electric water heaters, whether they hold 40, 50, or 80 gallons, use an upper and a lower, typically 4500-watt, heating element. These elements do not run at the same time. Instead, they operate on a flip-flop system controlled by two separate thermostats.
When you fill a cold tank, the upper thermostat activates the upper element first. This upper element is responsible for heating the top quarter of the tank. The goal is to quickly provide a usable amount of hot water to the plumbing lines so you can take a quick shower or wash dishes without waiting for the entire 50 gallons to heat up. Once the water in the top quarter of the tank reaches the set temperature, the upper thermostat clicks off and sends power down to the lower thermostat.
The lower element then kicks on to heat the remaining 75 percent of the water. If the lower element is burned out, the flip-flop process stops halfway. The top quarter of the tank gets hot, giving you about ten minutes of hot water, but the bottom of the tank stays ice cold.
A water heater with a dead lower element is just a giant metal thermos holding 40 gallons of cold water and a tiny sliver of hot water at the top.
The Role of Mineral Sediment
Why does the lower element fail so much more often than the upper one? The answer lies at the bottom of your tank. As water heats up, dissolved minerals like calcium and magnesium separate from the water and settle to the bottom of the tank as sediment. Over years of use, this sediment builds up into a thick, sandy layer.
Because the lower element sits just a few inches from the bottom of the tank, it eventually gets buried in this mineral sludge. The sediment acts like an insulating blanket. When the element turns on, the heat cannot escape into the water. The element gets hotter and hotter until the internal wire finally melts and snaps, breaking the electrical circuit. Last spring, I tested the elements on a neighbor's six-year-old 50-gallon tank after they complained about five-minute showers. Sure enough, calcium buildup had completely encased and fried the lower element.
Tools You Need for Testing
Testing your heating elements does not require expensive specialized equipment. You likely already have most of what you need in your toolbox. Here is the short list of tools required for this diagnostic check:
- Digital Multimeter: A basic multimeter that can measure resistance (Ohms) is essential. You can pick one up for $15 to $25 at any hardware store.
- Non-Contact Voltage Tester: This pen-like tool beeps or flashes when placed near live electrical wires, ensuring the power is truly off.
- Screwdrivers: A standard Phillips or flathead screwdriver to remove the metal access panels on the side of the tank.
- Work Gloves: Highly recommended to protect your hands from the itchy fiberglass insulation packed behind the access panels.
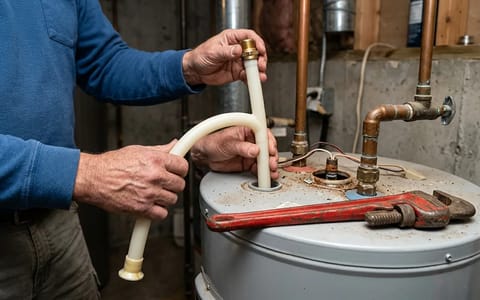
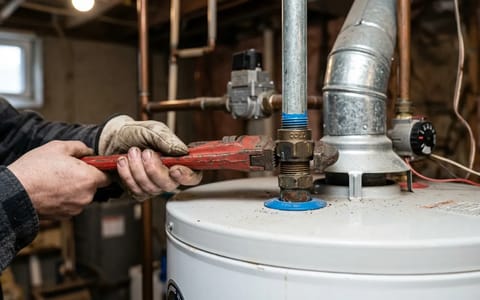
How to Safely Access Your Heating Elements?
Working around a water heater means working near 240 volts of electricity and potentially scalding water. Safety is your absolute top priority. Never skip the power-off steps.
- Turn off the breaker. Locate your main electrical panel and find the double-pole breaker labeled for the water heater. Flip it to the OFF position.
- Verify the power is off. Remove the screws holding the upper metal access panel on the side of your water heater. Hold your non-contact voltage tester near the wires leading into the thermostat. If the tester stays silent and dark, the power is off.
- Remove the insulation. Fold back the flap of fiberglass insulation covering the thermostat and heating element.
- Remove the plastic cover. Carefully unclip and remove the thin plastic safety guard covering the face of the thermostat.
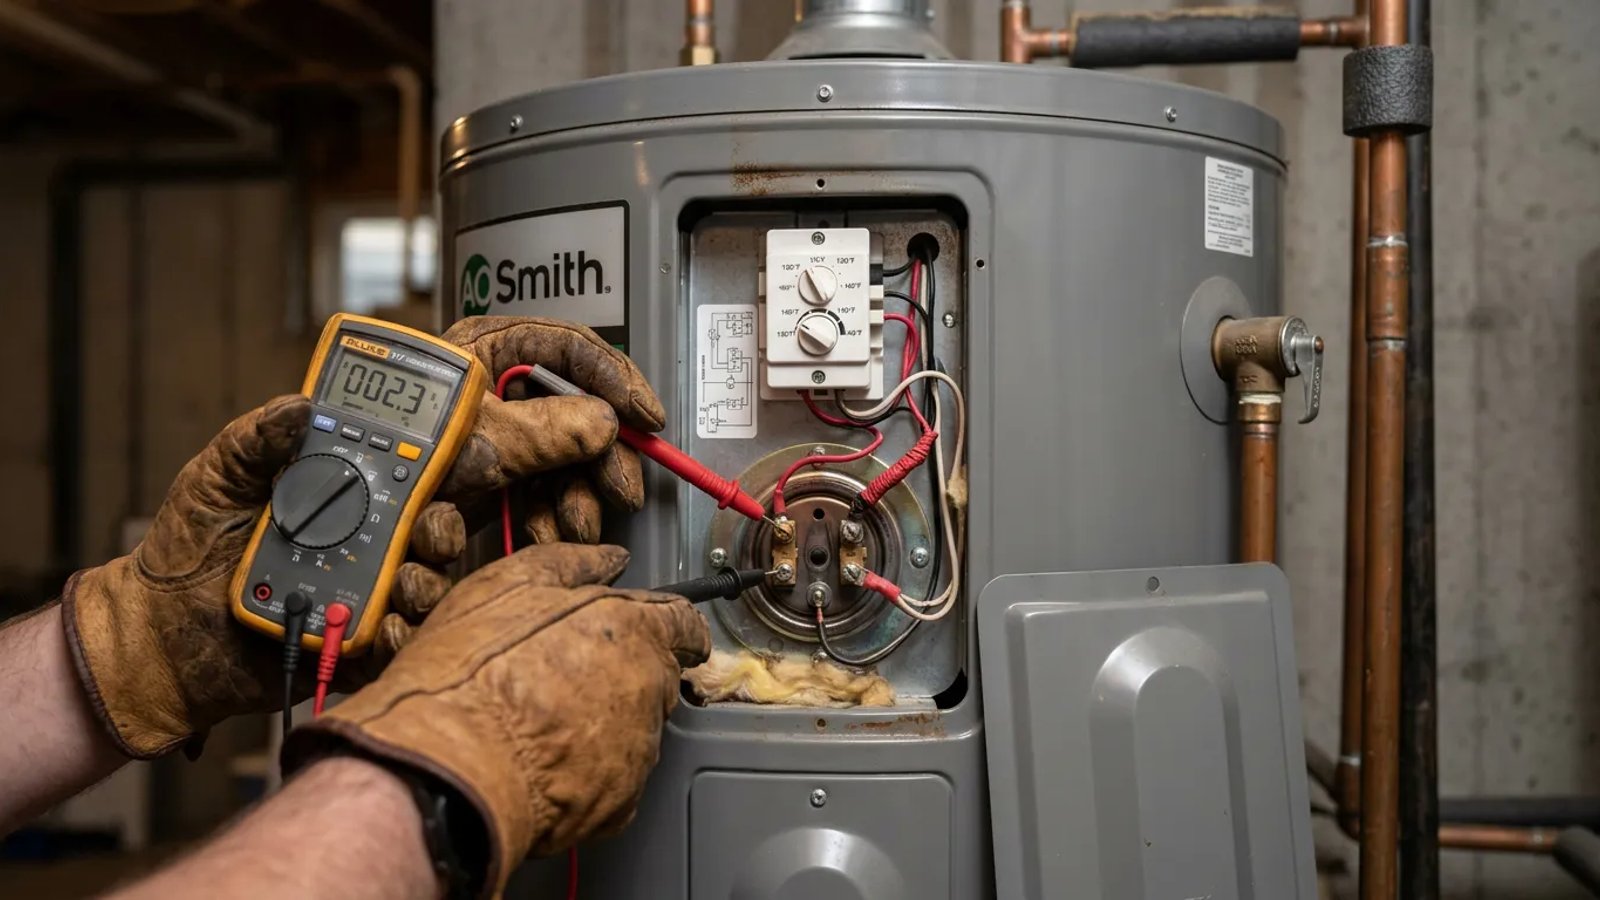
Testing the Elements with a Multimeter
Now that you have safely exposed the heating element, you can test it for continuity. Continuity simply means there is an unbroken path for electricity to flow through the element's internal wire.
First, set your digital multimeter to the Ohms setting. This is usually represented by the Greek omega symbol (Ω). If your multimeter has different range settings for Ohms, set it to the lowest range, typically RX1 or 200. Touch the two metal probes of the multimeter together. The screen should drop to zero, or very close to zero, proving the meter is working correctly.
Next, use a screwdriver to loosen the two screws on the face of the heating element. Slide the electrical wires out from under the screws. You must disconnect the wires before testing. If you leave the wires connected, your multimeter will read the resistance of the entire water heater circuit, giving you a false reading.
Press one multimeter probe against one of the element's screw terminals, and press the second probe against the other screw terminal. It does not matter which color probe touches which screw.
Reading the Results
When you touch the probes to the terminals, your multimeter will display a number. A healthy 4500-watt heating element (the standard size for most residential tanks) will typically show a reading between 10 and 16 ohms. If your element is a 3800-watt or 5500-watt model, the reading might vary slightly, but it will still fall within the 10 to 20 ohm range. If you see a number in this range, your element is perfectly fine.
If the multimeter screen displays "OL" (which stands for Open Loop), a "1" on the far left side of the screen, or the needle on an analog meter does not move at all, the element has infinite resistance. This means the internal wire has snapped. The element is dead and must be replaced.
While you have the meter out, it is also smart to test for a short circuit. Keep one probe on a screw terminal and touch the other probe to the metal base of the heating element or the bare metal of the tank. If the meter shows any reading other than "OL", the element is shorting out against the tank and needs to be replaced immediately.
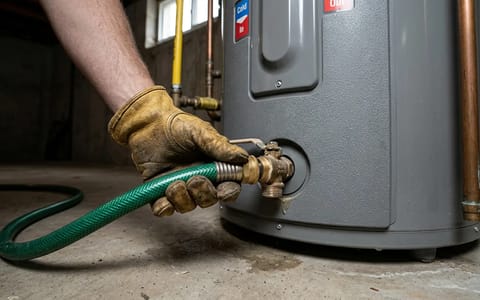
Replacing the Element vs. Calling a Pro
If you discover a dead element, replacing it is a very manageable DIY project. You will need to turn off the cold water supply, attach a garden hose to the drain valve at the bottom of the tank, and drain the water level down below the broken element. From there, you simply use a $10 element socket wrench to unscrew the old element, slide a new one in with a fresh rubber gasket, and tighten it down.
However, DIY is not always the right choice for every situation. If your water heater is more than ten years old, heavily rusted, or showing signs of leakage around the tank seams, replacing an element might just be a band-aid on a failing system.
Preventing Future Burnouts
Once you have a working water heater again, a little preventative maintenance will stop the new element from burning out prematurely. The best defense against element failure is flushing your water heater tank once a year.
Flushing the tank removes the sandy calcium and magnesium sediment before it has a chance to bury the lower element. Additionally, setting your thermostat to the correct temperature helps slow down mineral scale buildup. According to the U.S. Department of Energy, setting your water heater to 120°F provides adequate hot water for most households while preventing scalding and reducing energy costs.
Testing a water heater element takes only a few minutes, but it can save you hundreds of dollars on unnecessary service calls. By understanding how your two-element system works and keeping a basic multimeter handy, you can easily diagnose why your water heater runs out fast and get your morning showers back to a comfortable temperature.
- Turn off the 240-volt breaker and use a non-contact voltage tester to verify the power is dead before touching any wires.
- A healthy 4500-watt heating element should read between 10 and 16 ohms on a digital multimeter.
- If your multimeter reads 'OL' or infinite resistance, the element's internal wire has snapped and it must be replaced.
- Flushing your water heater tank annually prevents the mineral sediment buildup that causes lower elements to overheat and fail.