How to Check Your Outdoor Faucet for Hidden Winter Leaks
Don't turn on your garden hose this spring without testing your exterior faucets first. Learn how a simple two-person test can save your basement from hidden winter freeze damage.
Summer is in full swing, the soil is hot, and your lawn is begging for a deep drink. You drag the garden hose out of the shed, hook it up to the side of the house, and crank the handle. Outside, everything looks completely normal. The water flows, the birds are singing, and you spend twenty minutes washing the car. What you cannot see is that inside your basement, directly behind that brick wall, a split copper pipe is violently spraying gallons of water all over your drywall, insulation, and stored holiday decorations.
This scenario plays out in thousands of homes every single year. Winter freeze damage is sneaky, and it often goes entirely undetected until the exact moment you try to use your plumbing. If you want to protect your home from catastrophic water damage, you must know how to check an outdoor faucet for leaks before you dive deep into your summer yard work. Taking ten minutes to perform a simple, controlled test can mean the difference between a successful afternoon of gardening and a $5,000 insurance claim.
The Hidden Danger of the Frost-Free Sillcock
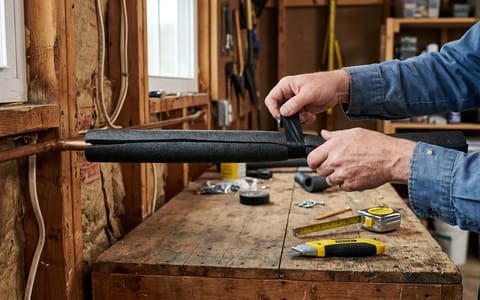
To understand why outdoor faucets fail so spectacularly, you have to look at how modern homes are built. Most houses constructed in the last few decades feature a specific type of plumbing fixture called a frost-free sillcock. Unlike older spigots where the water stops right at the exterior handle, a frost-free sillcock features a long copper or brass stem, usually 8 to 14 inches long, that reaches deep into the interior of your house.
When you turn the handle on the outside of the house, you are actually operating a valve located far inside your warm basement or floor joists. Because the actual shut-off point is kept safely inside the heated envelope of your home, the water in the exterior portion of the pipe drains out completely when you turn it off. With no water left in the exposed section, there is nothing to freeze. It is a brilliant design, but it has one fatal flaw: human error.
The most dangerous aspect of this freeze damage is the break's location. The pipe splits behind your siding, inside your wall cavity or basement ceiling. Furthermore, because the valve is located further down the line, the water is held back perfectly fine while the faucet is turned off. The split pipe sits there, completely dry and waiting, for months. It is only when you open the valve that water rushes into the broken section of the stem and floods your house.
Why You Need a Buddy for the First Summer Test
Because the damage is hidden inside the wall, you cannot simply turn the water on outside and look for puddles in the grass. By the time water starts leaking out through your exterior brick or siding, your interior wall cavity is already flooded. You need eyes on the inside of the house at the exact moment the valve is opened.
A split frost-free faucet is a ticking time bomb that only goes off the moment you try to water your summer garden.
Testing this alone is incredibly risky. If you turn the water on outside, wait to see if it works, and then casually walk inside to check your basement, 30 to 60 seconds will have passed. A standard residential water line running at 50 PSI can easily dump 5 to 8 gallons of water per minute. In the minute it takes you to walk through the garage and down the basement stairs, you could have a massive flood on your hands. The only safe way to check your outdoor faucet for leaks is by using a two-person buddy system.
Step-by-Step: How to Test Your Exterior Plumbing
Grab a partner, a bright flashlight, and your cell phones. This entire process takes less than ten minutes per faucet, but it requires clear communication. Do not rush this inspection.
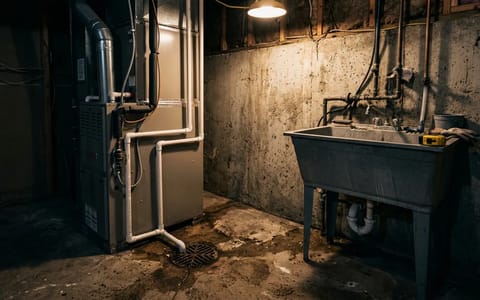
- Locate the indoor plumbing. Before turning anything on, head into your basement or crawlspace. Find the exact spot where the outdoor faucet penetrates the house. If you have an unfinished basement, this is usually easy to spot in the rim joist. If your basement is finished, look for an access panel.
- Position the indoor spotter. Have your helper stand inside with a strong flashlight aimed directly at the copper pipe. They should have their phone on speakerphone, ready to yell "Shut it off!" the second they see a drop of water.
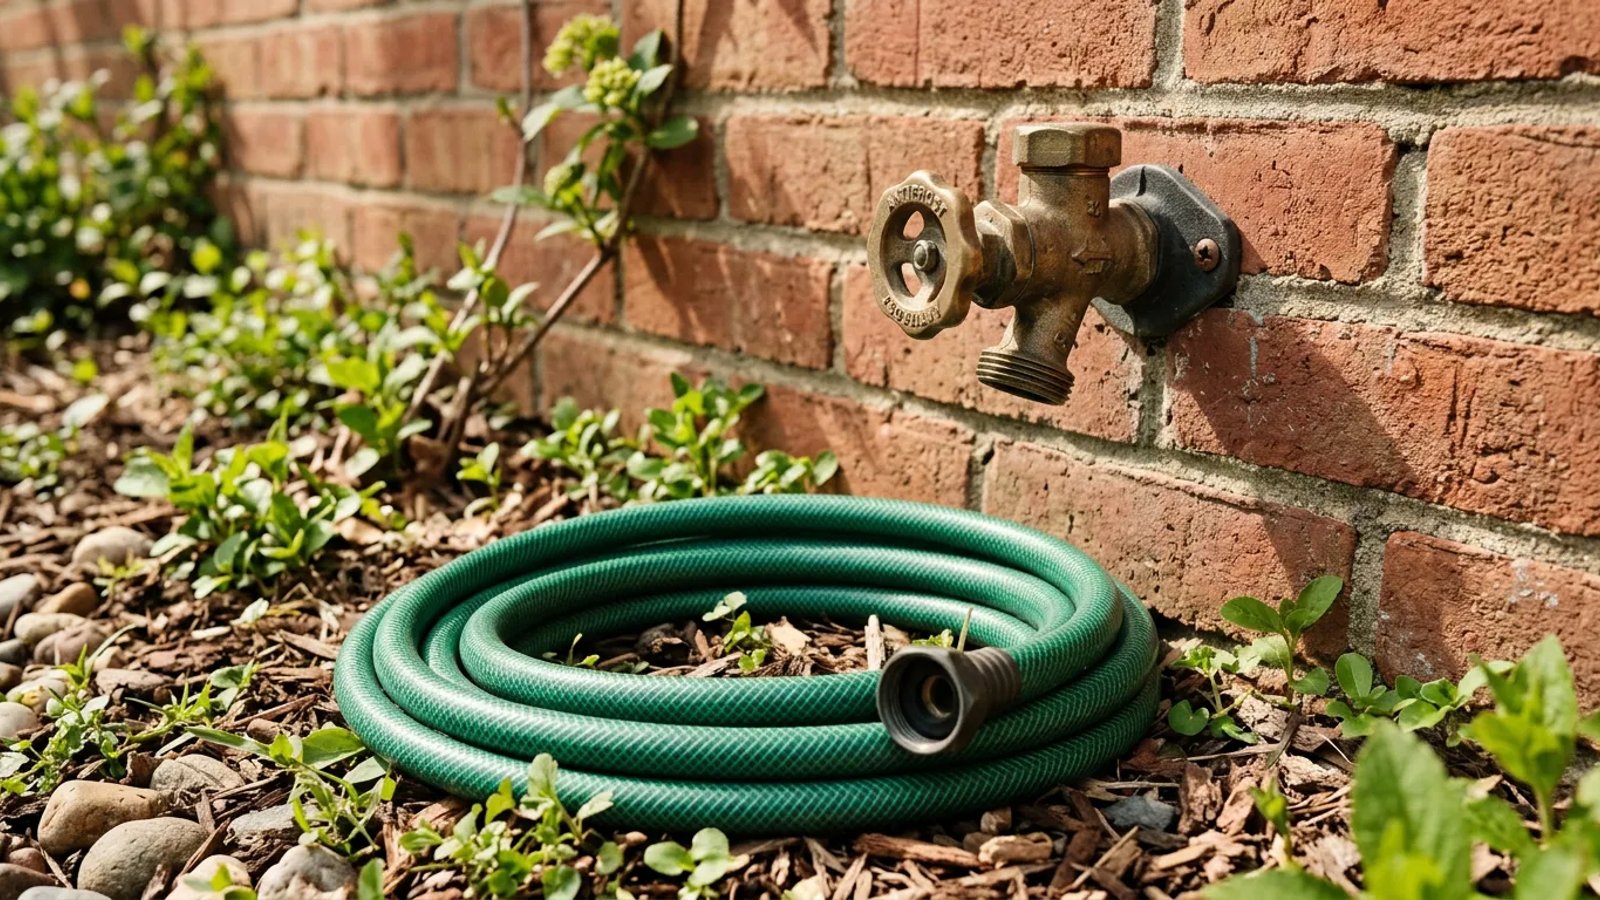
- Create back pressure outside. This is the most crucial step. Do not merely turn the bare spigot on. A large crack might leak immediately, but a hairline fracture might only leak when the water is restricted. Attach a garden hose with a completely closed spray nozzle to the faucet. This simulates the pressure of actual use.
- Turn on the water. The person outside should slowly open the faucet handle all the way. The hose will pressurize, forcing water against the walls of the copper stem inside the house.
- Inspect and communicate. The indoor spotter should watch the pipe intently for 30 to 60 seconds. Look for spraying water, a steady drip, or a sudden hiss of air. If the pipe is completely dry, the outside person can briefly spray the hose nozzle to test the flow, then shut the faucet off.
What to Do If You Spot a Leak
If your spotter yells to shut the water off, close the exterior handle immediately. Your next priority is isolating the plumbing and managing the moisture. Most modern plumbing systems feature an interior shut-off valve dedicated specifically to the outdoor faucet. Trace the pipe back from the wall a few feet and look for a ball valve with a lever handle or a gate valve with a round wheel. Shut this valve completely to ensure no accidental water pressure reaches the broken sillcock.
Next, tackle the water. Even a brief three-second spray can soak fiberglass insulation and puddle on floorboards. Grab heavy bath towels and soak up any standing water. If the water hit exposed wood joists or drywall, set up a high-velocity floor fan and a dehumidifier in the immediate area. Run them continuously for 48 to 72 hours. Wood and drywall can survive a brief soaking without developing mold, provided you aggressively dry the materials out immediately.
Repairing the Damage: DIY vs. Professional
A split frost-free faucet cannot be patched with epoxy putty, wrapped in waterproof tape, or soldered over. The structural integrity of the copper is compromised, and it will eventually blow apart under municipal water pressure. You must cut out the entire unit and install a brand-new frost-free sillcock.
If your plumbing is easily accessible in an unfinished basement, this is a highly approachable DIY project. You do not even need to know how to solder copper pipes with a blowtorch. Modern push-to-connect fittings (commonly known by the brand name SharkBite) allow you to seamlessly transition from the old copper pipe to a new PEX or copper sillcock using only a simple pipe cutter and a deburring tool.
To perform the repair, shut off the main water supply to the house. Use a small tubing cutter to cleanly slice through the 1/2-inch or 3/4-inch copper pipe a few inches back from the split. Remove the two exterior screws holding the faucet to your siding, and pull the entire broken unit out from the outside. Slide the new frost-free faucet in, secure it to the brick or wood siding, and go back inside.
Clean the end of your existing copper pipe with 120-grit emery cloth until it is bright and shiny. Use a deburring tool to remove any sharp internal edges. Finally, measure and cut a small piece of PEX tubing or copper to bridge the gap, and snap your push-to-connect fittings into place. Turn the water back on and check your connections.
The Rise of Smart Leak Detectors in 2026
As of 2026, many homeowners are upgrading to smart water monitors to prevent these hidden disasters. Devices that attach to your main water line track flow rates in real time. If a frost-free sillcock bursts and starts dumping gallons of water into your basement, a smart shutoff valve will automatically cut the main water supply and alert your phone. This modern upgrade provides excellent peace of mind, especially if you travel frequently during the watering season.
Winterizing to Prevent Future Leaks
Once you have confirmed your faucets are safe, or after you have completed a necessary repair, you should immediately lock in a plan to prevent this from happening next winter. The rules of exterior plumbing maintenance are incredibly simple, but they require strict adherence.
First, absolutely never leave a garden hose attached past the first frost. Even if the hose is empty, the brass fitting physically prevents the internal stem of the faucet from draining. Store your hoses coiled in the garage or shed. Second, if your home is equipped with interior isolation valves for the outdoor plumbing, use them. Shut the interior valve off in late autumn, then go outside and open the exterior handle. This allows any residual water to bleed out of the line, leaving the pipe completely hollow for the winter months.
Taking a few minutes this summer to carefully check your outdoor faucet for leaks is an investment in your home's structural integrity. Water damage is relentless, expensive, and stressful. By grabbing a flashlight, enlisting a helper, and testing your lines under pressure, you can confidently hook up your sprinklers and enjoy the warm weather knowing your walls are safe and dry.