How to Prevent Frozen Pipes in Unheated Spaces (A Quick Guide)
Learn how to protect vulnerable water lines in garages, crawl spaces, and attics from freezing. This DIY guide covers insulation types, heat cables, and draft sealing.
Exposed plumbing in chilly zones is a disaster waiting to happen. When temperatures plummet, the water inside unprotected pipes turns to ice, expanding with enough force to split solid copper and PVC wide open. To effectively prevent frozen pipes unheated spaces must be your very first priority. Garages, attics, and crawl spaces lack the climate control of your living areas, leaving any plumbing routed through them entirely at the mercy of the weather.
The first winter in my current house, I ignored a small half-inch copper line running along the uninsulated garage wall. A hefty plumber's bill later, I learned my lesson. Protecting these lines is a straightforward weekend job that costs very little in materials but saves thousands in water damage repair. Here is exactly how to secure your plumbing against the cold.
Identify the Hidden Risk Zones
Water pipes do not freeze the moment the outside temperature hits 32°F. The true danger zone begins when the air immediately surrounding the pipe drops to 20°F. In a heated home, this rarely happens indoors, but unheated extremities are highly vulnerable.
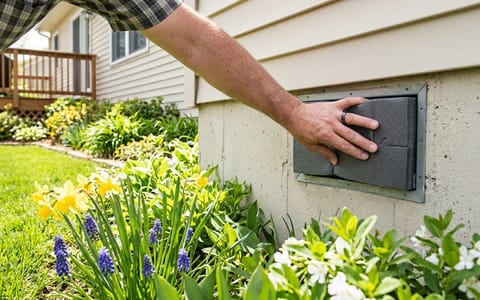
Grab a flashlight and trace your home's water supply lines. Pay special attention to vented crawl spaces, unfinished basements, attics, and garages. Look for any pipes running along exterior walls, as these surfaces transfer cold rapidly. Also, check the main water shut-off valve area, which is frequently located in a drafty utility closet or basement corner.
Choose the Right Insulation Materials
Not all pipe insulation is created equal. Your choice of material depends on the severity of the cold and the layout of the pipes.
Polyethylene Foam Sleeves: These tubular foam lengths are the standard for DIY pipe wrapping. They typically offer an R-value of around R-3 to R-4. They are cheap, easy to cut, and perfect for straight runs of pipe. Look for the versions with pre-applied adhesive on the slit.
Fiberglass Pipe Wrap: This comes in rolls with a foil or plastic backing. It is ideal for wrapping tight corners, valves, and awkward fittings where rigid foam will not easily bend. Fiberglass is also heat-resistant, making it a safer choice if you need to insulate near a hot water heater flue.
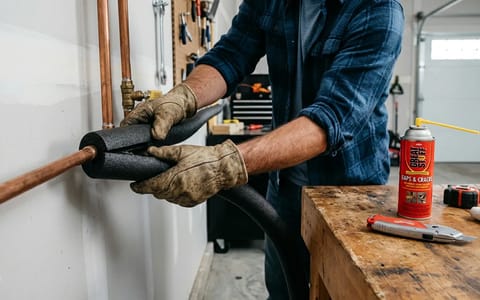
Step-by-Step: Wrapping Your Pipes
Proper installation is everything. If you leave gaps between the foam sleeves, cold air will penetrate and freeze the pipe at that exact weak point. You will need a tape measure, a utility knife, and acrylic PVC tape.
- Measure the pipe diameter. Foam sleeves are sized to fit specific pipes. A 1/2-inch copper pipe requires a 1/2-inch foam sleeve. If the sleeve is too loose, it traps cold air; if it is too tight, the seam will pop open.
- Clean the pipe surface. Wipe down the plumbing with a rag to remove dust and cobwebs. Adhesive tapes will not stick to a dirty pipe.
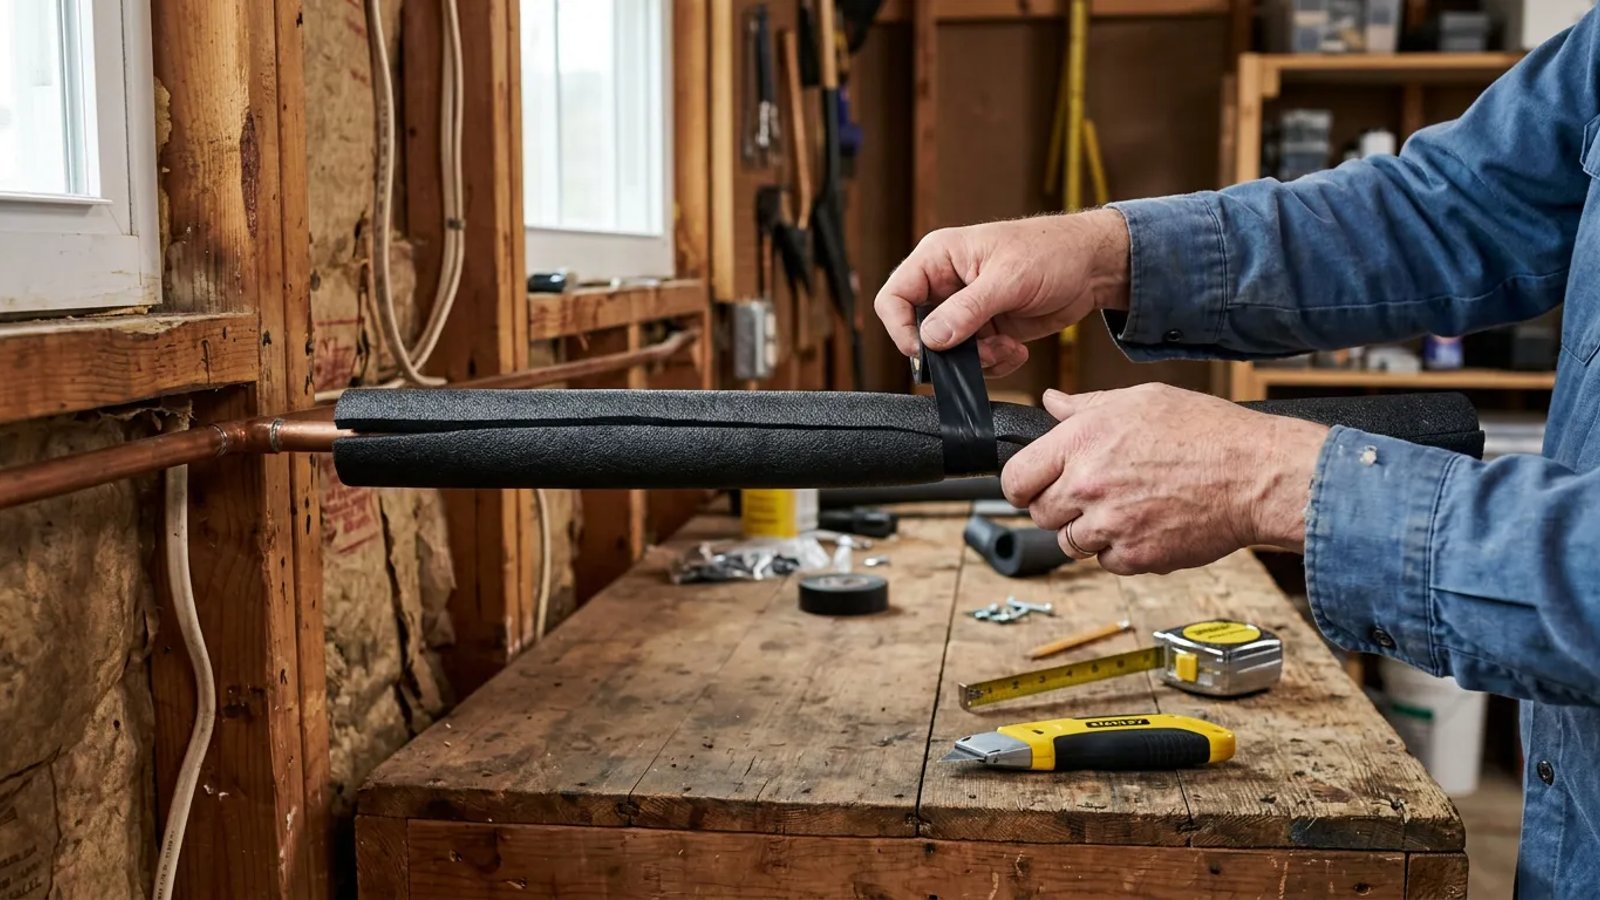
- Cut and fit the foam. Open the slit and press the foam over the pipe. For corners, use your utility knife to cut 45-degree miter angles into the foam so the pieces fit snugly together like a picture frame.
- Seal the seams completely. Peel the backing off the self-sealing strips and press them firmly. Then, wrap PVC tape around the tube every 12 to 18 inches to secure it. Tape over all butt joints where two lengths of foam meet.
When to Use Thermostatically Controlled Heat Cables
In regions with deep, prolonged freezes, passive foam insulation alone might not be enough for pipes in highly exposed areas like an unskirted crawl space. This is where heat cables (also known as heat tape) come in.
These heavy-duty electrical cables feature a built-in thermostat that rests against the pipe. When the pipe temperature drops to roughly 38°F, the cable automatically turns on, generating just enough heat to prevent freezing. Once the pipe warms up, it shuts off.
Always install the heat cable directly against the bare pipe, secure it with the manufacturer-provided fiberglass tape, and then wrap the foam insulation over the top of the cable to trap the heat.
The Often-Missed Step: Sealing Drafts
You can wrap a pipe in three layers of foam, but if a 30 mph gust of 15°F air is blowing directly onto it through a crack in the siding, it will still freeze. Convective heat loss strips warmth away incredibly fast.
A tiny 1/8-inch crack in a pipe can spew up to 250 gallons of water a day, making a $2 tube of caulk the best investment you'll ever make.
Inspect the areas where pipes penetrate exterior walls, floors, or ceiling joists. You will often find rough, oversized holes cut by the original plumbers. Fill gaps smaller than 1/4 inch with 100% silicone caulk. For larger voids around pipes, use a can of expanding polyurethane foam sealant. The foam expands to fill the cavity, blocking freezing drafts from reaching your newly insulated plumbing.
Taking an hour to measure, cut, and secure insulation around your exposed plumbing is the cheapest insurance policy you can buy for your home. By sealing drafts and properly wrapping those vulnerable lines, you will keep the water flowing safely, no matter how far the thermometer drops.