How to Clean Your Window AC Unit Before the Summer Heat
Before wrestling your window AC into the frame, give it a deep clean. Learn how to safely dismantle, vacuum, and wash your unit to prevent musty smells and high energy bills.
Window air conditioning units often spend the winter sitting in dusty garages, damp basements, or forgotten closet corners. During those dormant months, they quietly collect dust, spiderwebs, and lingering moisture from the previous summer. When the first hot day of late spring arrives, homeowners frequently rush to install them and turn them on, only to be greeted by a blast of musty, stale air. Even worse, firing up a dirty unit forces the machinery to work twice as hard just to cool the room.
Taking 30 to 60 minutes to properly clean your window AC unit before wrestling it into the window frame is one of the highest-return chores you can do this season. A neglected unit runs inefficiently, driving up summer electricity bills and risking premature compressor failure. By tackling this maintenance while the unit is still easily accessible on the ground or a workbench, you guarantee fresh indoor air quality and peak energy efficiency all summer long.
The Hidden Costs of Skipping Pre-Summer Maintenance
Air conditioners do two things: they cool the air, and they remove humidity. As warm room air is pulled over the freezing cold evaporator coils, condensation forms. This moisture drips down into the base pan and eventually drains outside. However, when dust and pet hair bypass a dirty filter, they stick to those wet coils. Over time, this creates a sludgy buildup.
If you skip your annual cleaning, that sludge hardens. A dirty condenser coil can increase energy consumption by up to 30% because the unit has to run longer to reach your target temperature. Furthermore, standing water trapped by debris in the base pan becomes a breeding ground for mold and mildew, which is exactly where that infamous "dirty sock" smell comes from when you first turn the dial to cool.
Gather Your Essential Cleaning Supplies
You do not need harsh chemicals or expensive industrial cleaners to prep your unit. In fact, aggressive foaming coil cleaners sold at hardware stores can sometimes eat away at older aluminum components if not rinsed perfectly. Stick to simple, non-corrosive household items.
Set up a sturdy workbench or lay down a tarp on the driveway. You will need a vacuum cleaner equipped with a soft brush attachment, a few microfiber cloths, mild liquid dish soap, a spray bottle filled with a 50/50 mix of water and 3% hydrogen peroxide, and a soft-bristle nylon brush (an old toothbrush works perfectly for tight corners). If your unit has taken a beating in storage, a specialized plastic fin comb—usually about $10 to $15 online or at Home Depot—is invaluable for straightening crushed aluminum fins.
Step-by-Step: How to Clean a Window AC Unit
Before you begin, ensure the unit is completely unplugged. Never attempt to clean an appliance while it is connected to power, even if it is turned off at the switch. Move the heavy unit carefully; they typically weigh between 40 and 80 pounds, and the weight is highly unbalanced toward the back where the compressor sits.
- Remove the front grille and wash the filter. Most window units feature a plastic front panel that either snaps off with plastic tabs or requires removing two small Philips head screws at the bottom corners. Once off, slide out the reusable mesh filter. Wash the filter in the sink with warm water and a few drops of dish soap. Shake off the excess water and set it aside to air dry completely for at least an hour.
- Wipe down the plastic housing. Using a damp microfiber cloth, wipe away all the surface dust from the plastic faceplate and the directional louvers. If there is greasy buildup (common if the unit is installed near a kitchen), use a mild soapy water solution.
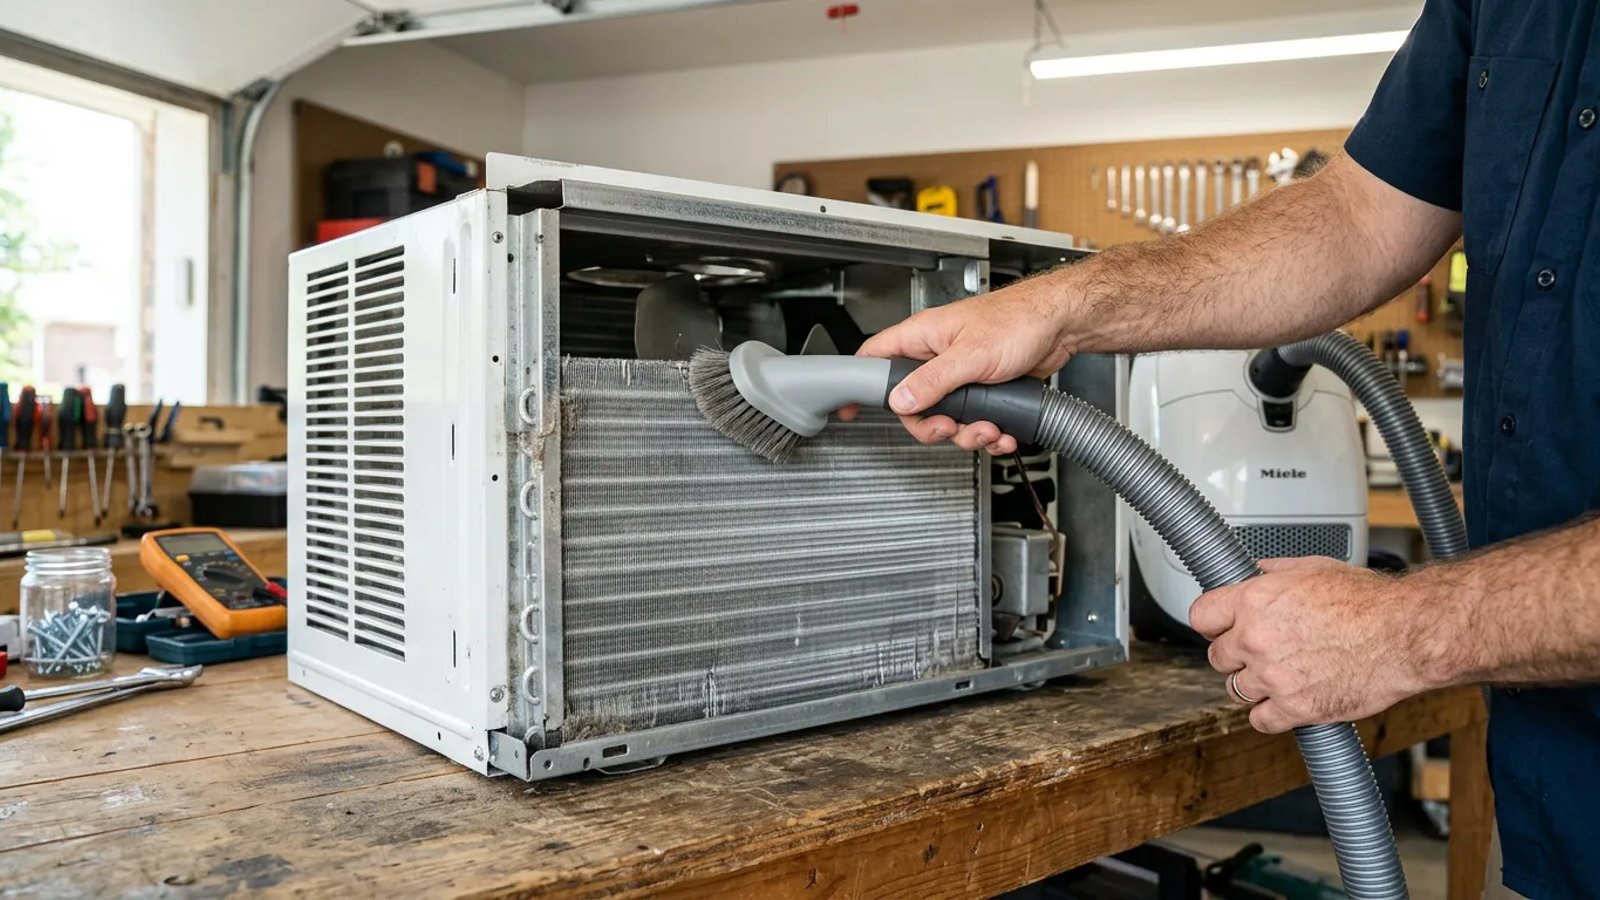
- Vacuum the interior coils. With the front cover off, you will see the silver evaporator coils. Attach the soft brush to your vacuum. Gently run the brush up and down the coils to remove dry dust and pet hair. Never vacuum side-to-side, as this will instantly bend the delicate fins.
- Clean the exterior condenser coils. Turn the unit around to face the back. These coils are exposed to the outside elements and often collect leaves, pollen, and dirt. Vacuum this side using the same gentle, vertical motion. If stubborn dirt remains, lightly brush it with your dry nylon brush, pulling the dirt downward and away from the unit.
Straightening Bent Fins and Clearing the Drain
Take a close look at the silver fins on both sides of the unit. If you see patches where the fins are mashed flat against each other, air cannot pass through that section. This forces the compressor to run hotter and longer. Find the comb head on your fin comb tool that matches the "fins per inch" (FPI) of your specific unit. Insert the teeth slightly above the damaged area and gently pull straight down to comb the aluminum back into vertical alignment.
Next, inspect the base pan at the bottom of the unit. This metal or plastic tray catches the condensation. Over the years, dirt mixes with this water and clogs the small drain hole located at the back corner. If this hole is blocked, water will eventually overflow the front of the unit, dripping down your interior walls and ruining your drywall or window sill.
Tip the unit slightly backward to encourage any standing water to flow toward the drain. Use a damp cloth to scoop out any mud, leaves, or dead bugs from the pan. Once the pan is clear of physical debris, take your spray bottle with the 50/50 hydrogen peroxide and water mix. Spray the entire base pan generously. This solution will safely bubble up and kill any dormant mold spores or bacteria without leaving behind toxic fumes that would blow into your bedroom. Ensure the liquid flows freely out of the drain hole at the back.
Reassembly and the Pre-Installation Test
Once the interior is vacuumed, the base pan is sterilized, and the mesh filter is completely dry, it is time to put everything back together. Slide the filter back into its designated slot—never run the AC without the filter, as dust will immediately coat the wet evaporator coils. Snap the plastic front grille back into place and secure any screws you removed.
The worst time to find out your AC is broken is immediately after you've spent twenty minutes balancing it precariously in a second-story window.
Before you carry the heavy unit to the window, perform a quick floor test. Set the unit upright on the floor near an outlet. Plug it in and turn it on to its coldest setting. Let it run for three to five minutes. You should hear the fan kick on immediately, followed by the deep hum of the compressor engaging. Hold your hand in front of the vents; the air should turn noticeably cold within a minute or two, and it should smell neutral and fresh. Once you confirm it operates correctly, turn it off, unplug it, and proceed with your normal window installation.
By taking an hour on a mild spring weekend to clean your window AC unit, you set yourself up for a comfortable, cost-effective summer. When autumn rolls around again, remember to thoroughly dry the unit by running it on the "fan only" mode for an hour before storing it upright in a sealed plastic garbage bag. This simple habit will make next spring's maintenance faster, easier, and much less dusty.