How to Diagnose a Chimney Leak (Before Calling a Pro)
Notice a brown water stain on your ceiling near the fireplace? Learn how to inspect your flashing, crown, and masonry to find the source of the leak.
Heavy spring rains often bring an unwelcome surprise: a spreading brown water stain on the ceiling right next to your fireplace. It is easy to panic and assume your entire roof is failing, but that is rarely the case. Any time you cut a massive hole in your roof to push a brick column through it, you create a prime opportunity for water intrusion. To accurately diagnose chimney leak before budgeting for a complete roof replacement, you need to find the actual source of the water.
By tracking the water trail and inspecting the exterior components, you can usually isolate the problem in a single afternoon. Sometimes the fix is as simple as a $30 tube of specialty masonry sealant. Other times, the metal integration between the roof and the brick has failed entirely. I will show you exactly how to inspect your flashing, crown, and masonry so you know what you are dealing with before you call a contractor.
Diagnose Chimney Leak: Why Does My Chimney Leak During Heavy Rain?
To find the leak, you first need to understand how a chimney sheds water. A masonry chimney relies on three distinct layers of defense to keep the inside of your home dry, designed to withstand up to 60 inches of annual rainfall. When any one of these layers degrades, water finds the path of least resistance down the outside of the brick stack and into your living room ceiling.
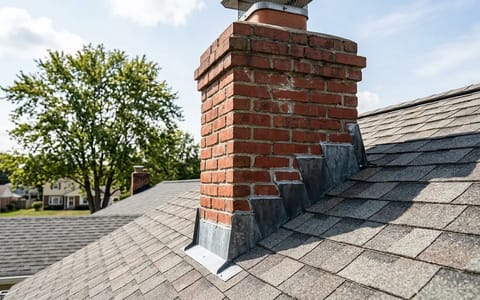
The first layer is the chimney crown. This is the sloped cement cap at the very top of the brickwork, directly under the metal rain cap. It acts like an umbrella, shedding water away from the vertical brick faces. The second layer is the masonry itself. Bricks and mortar are naturally porous, but when they are in good condition, they shed the bulk of rainwater effectively. The third and most critical layer is the flashing. This is the layered metal system at the base of the chimney that bridges the gap between the rigid brick and the flexible asphalt shingles.
How to Diagnose Chimney Leak from the Attic
The most accurate way to find a leak is not from the roof, but from the attic. You want to catch the leak in the act. The best time to do this is during a steady rainstorm, but you can also look for dried evidence on a sunny day.
Grab a high-lumen LED flashlight (at least 500 lumens) and carefully enter your attic space. Step only on the wooden joists to avoid putting your foot through the drywall ceiling below.
- Locate the chimney stack. Find where the brick or framed chimney column passes through the roof deck.
- Inspect the roof decking. Shine your light on the underside of the OSB or plywood roof sheathing directly above the chimney. Look for dark, circular water stains, white powdery mildew, or active drips.
- Check the rafters. Water often runs down the framing lumber. Look for dark streaks running along the sides of the rafters that touch the chimney.
- Examine the insulation. Check the fiberglass or cellulose insulation packed around the base of the chimney. If it is matted down, discolored, or damp to the touch, water is pooling there.
If you see water stains on the wood above the base of the chimney, the leak is likely coming from the crown or the upper masonry. If the wood above the chimney is perfectly dry, but the wood right at the roofline is soaked, your flashing is almost certainly the culprit.
Inspect the Flashing from the Ground
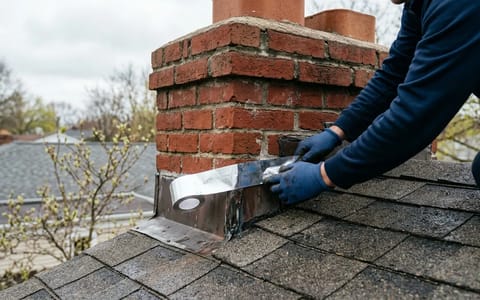
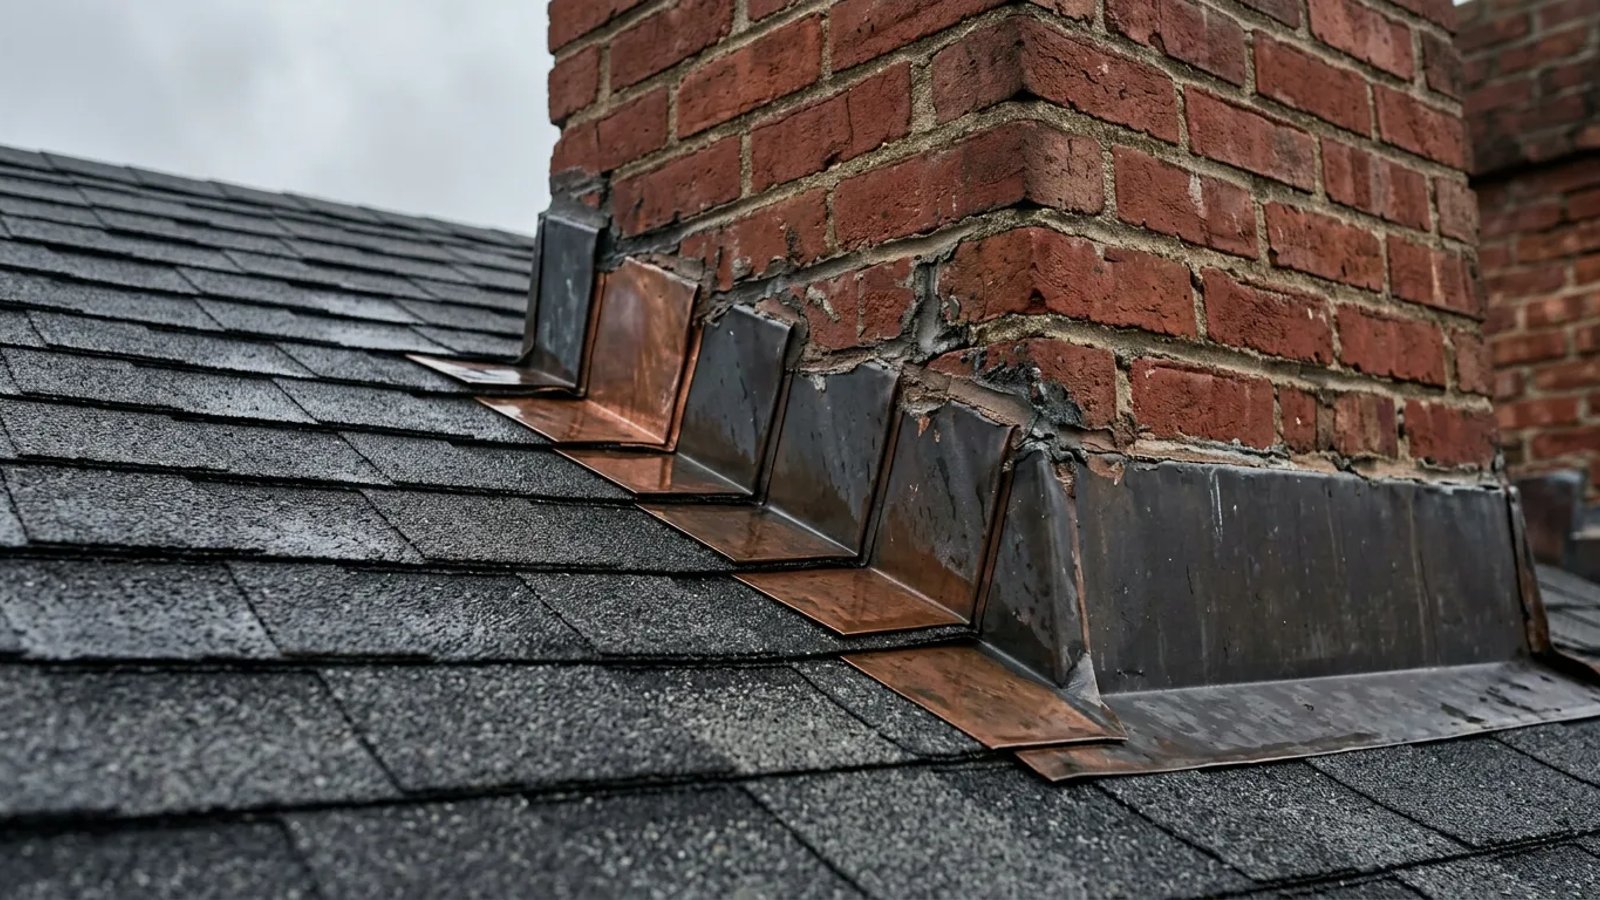
According to the International Residential Code (IRC), masonry chimneys require a two-part flashing system: step flashing and counter-flashing. Step flashing consists of L-shaped metal pieces woven under the shingles and bent up the side of the brick. Counter-flashing is a second layer of metal embedded directly into the mortar joints, folding down over the step flashing to cover the top edge.
You do not need to climb a wet roof to check this. Grab a pair of 8x42 or 10x42 binoculars, stand in your yard, and focus on the base of the chimney.
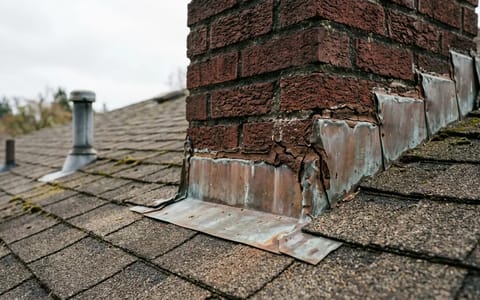
First, look at the counter-flashing. The top edge of this metal should be tucked neatly into a horizontal groove cut into the mortar (called a reglet). If you see the metal pulling away from the brick, or if there are wide gaps where the sealant has dried and fallen out, water is pouring behind the flashing. Next, check for rust. Galvanized steel flashing from the 1980s and 1990s eventually rusts through. If you see brown streaks running down the metal, it has lost its protective coating and likely has pinhole leaks.
Check the Chimney Crown and Masonry
If the flashing looks tight and rust-free, shift your binoculars up to the very top of the chimney to inspect the crown. The crown is usually made of a standard mortar mix or poured concrete. Because it sits flat against the sky, it takes the brutal brunt of summer sun and winter ice.
Look for jagged cracks running across the grey cement. Even a hairline crack can cause a major leak. During the winter, water seeps into that tiny crack, freezes, and expands, blowing the crack wide open. Once the crack is large enough, spring rains pour straight down into the interior cavity of the chimney structure.
Next, scan the vertical brick faces. Look for "spalling"—this is when the flat, rectangular face of the brick pops off, leaving a crumbly, textured surface exposed. Spalling happens when a brick absorbs too much moisture and then freezes. You should also look for missing chunks of mortar between the bricks. If the mortar joints look like deep, empty grooves rather than solid gray lines, driving rain will easily push through the wall.
Last spring, I spent three days trying to diagnose a chimney leak on a 1980s colonial. The homeowner was convinced the flashing was bad. We measured moisture levels in the attic, ran a hose on the roof, and found the flashing was perfectly watertight. I eventually traced the water to a severe spalling issue on the weather-facing side of the chimney; the bricks were soaking up rain like a sponge and weeping it straight into the attic framing.
The Water Hose Test
If visual inspection fails, you can isolate the leak using a garden hose. You will need a helper inside the house stationed in the attic with a flashlight and a two-way radio or cell phone.
Climb up to the roof safely. Start by running a gentle stream of water exclusively over the roof shingles just above the flashing. Do not spray the bricks yet. Let the water run for a full 15 minutes. If your helper radios that water is dripping, you have confirmed a flashing or shingle issue.
If it remains dry, move the hose up and spray the vertical brick face for another 15 minutes to test the masonry. Finally, if there is still no leak, spray water directly onto the top of the chimney crown. By isolating each component, you eliminate the guesswork.
DIY Fixes vs. Calling a Pro
Once you figure out where the water is coming from, you have to decide how to handle the repair. Some issues are incredibly easy to fix yourself, while others require specialized metalworking tools.
If your bricks are acting like a sponge, you can solve the problem with a penetrating silane-siloxane masonry sealer. You apply it with a standard pump sprayer for about $35 a gallon. It chemically bonds with the brick to shed water, but it remains breathable so internal moisture can escape. Never use a clear film-forming paint on bricks, as it will trap moisture and destroy the masonry.
If you have minor hairline cracks in your chimney crown, you can buy a brush-on elastomeric crown sealant. You simply clean the cement with a wire brush, tape off the bricks, and paint the thick, rubbery sealant over the entire crown. It fills the cracks and stretches as the temperature changes.
Taking an hour to trace a water trail and look through binoculars can save you from paying a contractor just to diagnose the issue. Once you know whether you are dealing with a porous brick, a cracked crown, or a failed piece of metal, you can confidently buy the right sealant or hire the right specialist to stop the water before the next storm hits.
- Start your inspection in the attic during or immediately after a rainstorm to trace the active water trail.
- Look for gaps in the counter-flashing—the top layer of metal that is embedded directly into the chimney's mortar joints.
- Do not use standard silicone caulk to fix roof flashing; it degrades quickly in direct sunlight and extreme roof temperatures.
- Apply a silane-siloxane penetrating sealer to porous bricks to stop water absorption without trapping internal moisture.