How to Fix a Dripping Bathtub Faucet (And Stop the Leak)
A dripping bathtub faucet isn't just annoying—it wastes hundreds of gallons of water and ruins your tub's finish. Learn how to fix the leak yourself by replacing the cartridge or stem.
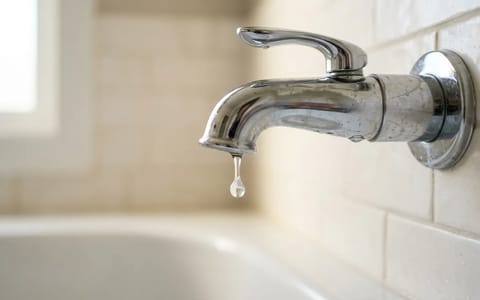
The rhythmic drip-drip-drip of a bathtub faucet echoing down the hallway at two in the morning is a homeowner's rite of passage. Beyond the immediate sleep disruption, that steady leak is quietly draining your wallet. A dripping bathtub faucet isn't just an annoyance; it can waste upwards of 3,000 gallons of water a year and etch stubborn, chalky hard-water stains right into your tub's enamel finish. Fortunately, you do not need to endure the noise or pay a premium dispatch fee to make it stop.
Taking on a dripping bathtub faucet repair is one of the most rewarding DIY projects you can tackle. In about 90 percent of cases, the culprit behind the leak is simply a worn-out rubber washer or a failing internal plastic cartridge. Over time, the constant friction of turning the water on and off, combined with mineral deposits from hard water, degrades these internal seals. When the seal fails, water seeps past the barrier and out of your tub spout.
Understanding the Cost and Mechanics of Your Repair
Before you dismantle your bathroom, it helps to understand what you are actually fixing. Behind the decorative handle on your shower wall sits a heavy brass valve body. Inside that valve body is the cartridge or stem. When you turn the handle, the cartridge shifts, allowing hot and cold water to mix and flow up to the showerhead or down to the tub spout. When you turn it off, rubber O-rings or washers press tightly against the brass to stop the flow.
Plumbers typically charge a minimum dispatch fee just to show up at your door, often ranging from $150 to $250, plus the cost of parts and hourly labor. By doing this yourself, your only expense is the replacement part and perhaps a basic hand tool.
The first step in your repair journey is identifying exactly what type of faucet you have. If you have a single-handle faucet that controls both temperature and flow, you will be replacing a unified mixing cartridge. If you have a double-handle setup—one for hot and one for cold—you are dealing with individual valve stems. Stems often just require a new 50-cent rubber washer at the base, though replacing the entire stem is sometimes easier if the brass threads are heavily corroded.
Gathering the Right Tools for the Job
You don't need a professional plumbing truck to execute a dripping bathtub faucet repair, but having the right tools on hand before you turn off the water will save you a lot of frustration. Nothing is worse than having the water to your entire house shut off while you make a frantic, mid-project run to the hardware store.
You will need a Phillips-head and a flathead screwdriver, a set of Allen wrenches (hex keys), an adjustable wrench or a pair of tongue-and-groove pliers, and a utility knife. You should also pick up a small tub of silicone plumber's grease. If you know you have an older Moen or Delta single-handle faucet, purchasing a specialized cartridge puller tool for about $15 is highly recommended, as decades-old cartridges can become practically welded into the brass valve body by mineral deposits.
Step 1: Shutting Off the Water Supply
This is the most critical step of the entire process. If you remove a faucet cartridge while the water is still on, you will instantly create a high-pressure geyser in your bathroom that will flood your home in minutes.
Look closely at the wall behind your bathtub. Often, in an adjacent closet, hallway, or bedroom, there will be a square plastic or wooden access panel. If you open this panel, you will see the back of the shower plumbing, complete with two isolation valves (one for hot, one for cold). Turn these clockwise to shut off the water to the tub.
If you do not have an access panel, you will need to shut off the main water supply to your entire house. This main shutoff valve is typically located in the basement, garage, or outside near the street meter. Once the water is off, open the bathtub faucet fully to drain any residual water and relieve the pressure in the lines.
Step 2: Removing the Handle and Trim
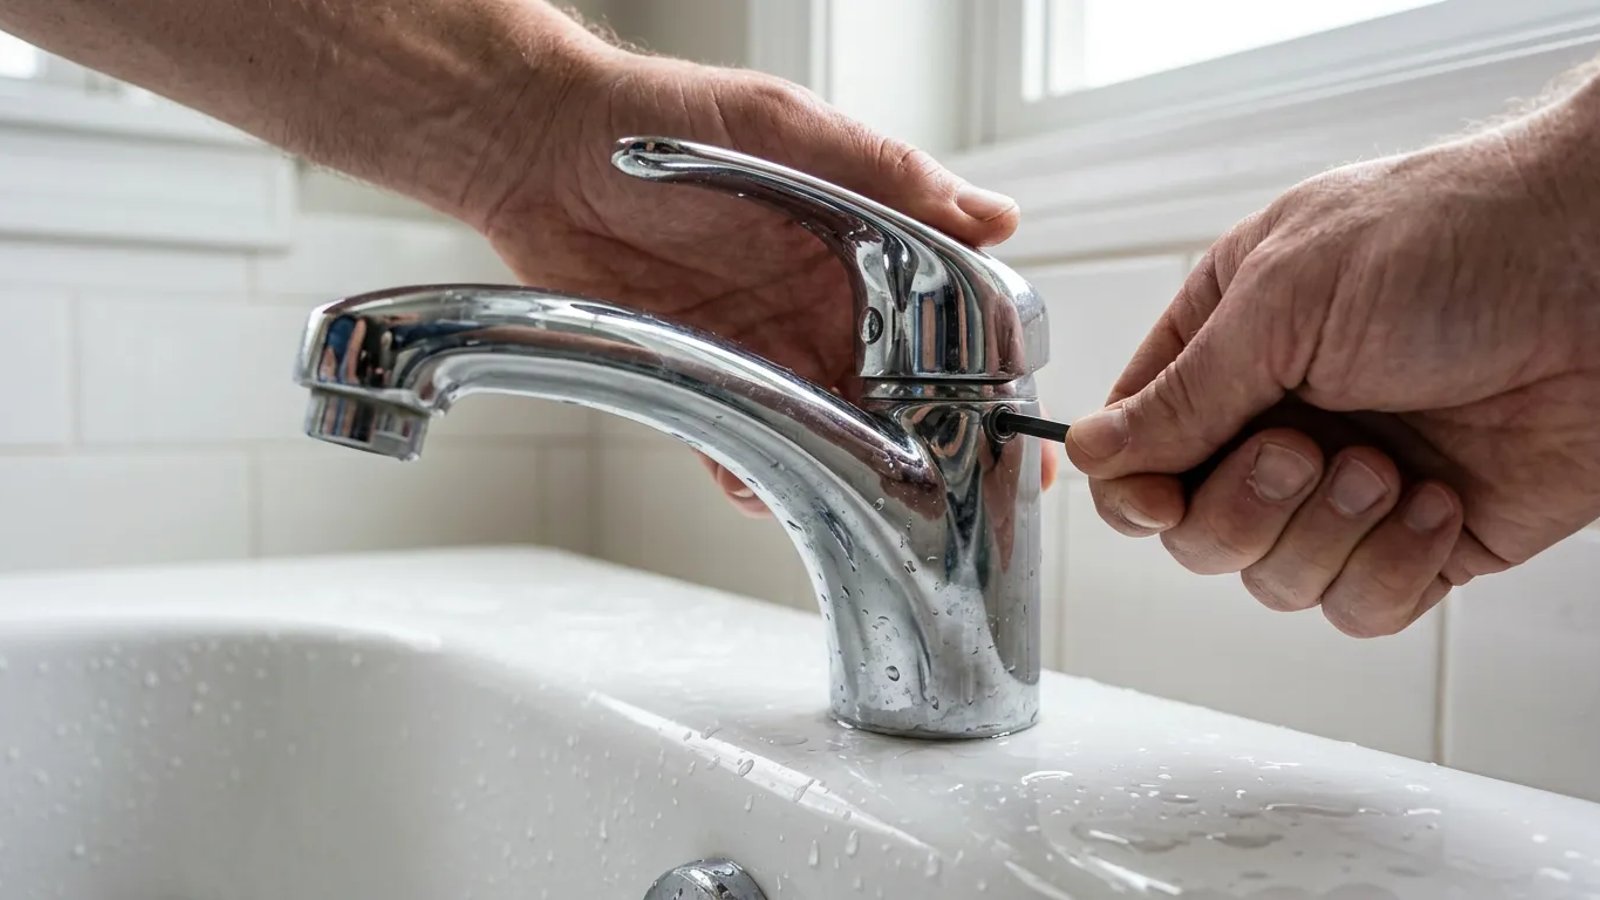
With the water safely off, it is time to undress the faucet. For a single-handle faucet, look for a tiny set screw hidden under the handle, usually pointing toward the floor. Use an Allen wrench to loosen this screw. You do not need to remove the screw completely; just loosen it enough to slide the handle straight off the wall.
If you have a double-handle faucet, pry off the decorative index cap (the little plastic cover that says "H" or "C") using a small flathead screwdriver. Underneath, you will find a Phillips-head screw. Remove it and wiggle the handle off the splined stem.
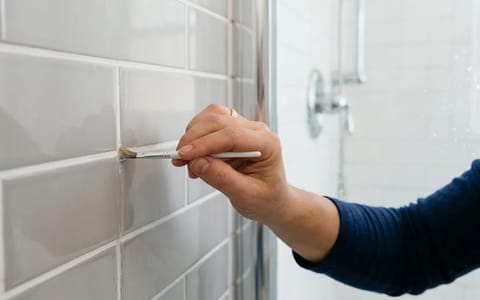
Next, you need to remove the escutcheon plate—the large decorative metal disc resting against the shower wall. There are usually two long screws holding this in place. If the plate is caulked to the tile, carefully score the caulk line with your utility knife before pulling the plate away, otherwise you risk chipping the tile or peeling the wall paint.
Step 3: Extracting the Old Cartridge or Stem
You are now looking at the brass valve body inside the wall. If you have a single-handle cartridge, you will notice a metal retaining clip shaped like a horseshoe holding the plastic cartridge inside the brass housing. Use needle-nose pliers or a flathead screwdriver to pull this clip straight up and out. Keep it in a safe place.
- Grip the cartridge stem. Use your pliers to firmly grasp the end of the cartridge.
- Wiggle and pull. Pull straight back toward your chest while gently wiggling it side to side. Do not twist it violently, or you may snap the plastic stem off inside the valve.
- Use a puller if stuck. If the cartridge refuses to budge, thread your cartridge puller tool onto the stem, tighten the nut, and use the tool's leverage to smoothly extract the stubborn cartridge.
- Inspect the valve body. Shine a flashlight inside the empty brass pipe in the wall. Check for loose pieces of torn rubber or heavy calcium buildup.
If you are working with a double-handle stem, you will see a large hex nut at the base of the stem. Fit an adjustable wrench or a specialized deep shower-valve socket over this nut and turn it counterclockwise to unthread the entire stem assembly from the wall.
Step 4: Finding the Exact Replacement Part
Do not attempt to guess your faucet model and order a part online while your water is shut off. Faucet cartridges are incredibly specific. Two cartridges from the same manufacturer might look identical but have a millimeter difference in length that prevents the faucet from functioning.
Take your old, dripping cartridge or stem directly to a local hardware store or plumbing supply house. Walk up to the plumbing desk and ask them to match it. They will compare the length, the spline count on the tip where the handle attaches, and the orientation of the rubber O-rings to ensure you walk out with the exact right replacement.
If you are fixing a traditional stem, you might only need to unscrew the screw at the very bottom of the stem and replace the flat rubber washer. However, if the brass threads are worn down, spending $15 on a brand new stem is a smarter long-term investment.
Step 5: Installation and Reassembly
Before you slide the new cartridge into the wall, take a moment to clean the inside of the brass valve body. Dip a small rag or an old toothbrush in white vinegar and scrub away any mineral deposits. A smooth, clean surface ensures the new O-rings will seal perfectly.
The secret to a leak-free installation and a handle that turns like butter is generous lubrication.
Take your silicone plumber's grease and apply a liberal coating to the rubber O-rings on the outside of your new cartridge. Slide the new cartridge straight into the brass valve housing, ensuring that any alignment tabs on the plastic slide into the corresponding notches in the brass. Push it in firmly until it is fully seated.
Once the cartridge is seated, slide the horseshoe retaining clip back into place. It should slide down easily; if you have to force it, the cartridge is not pushed in far enough. For a double-handle stem, simply thread the new stem into the wall clockwise and tighten it snugly with your wrench—but avoid over-tightening, which can crush the new rubber washer.
Testing the System Before Closing Up
Before you screw the escutcheon plate back on and reattach the handle, it is time to test your work. Leave the wall open so you can see the brass valve. Go turn the main water supply (or the isolation valves) back on.
Return to the bathroom and inspect the valve body with your flashlight. Look for any water weeping around the edges of the new cartridge. If it is completely dry, temporarily slip the handle onto the stem and turn the water on and off a few times. Check both hot and cold flows. Once you confirm the drip is gone and the valve is watertight, you can proceed with the final reassembly.
Screw the escutcheon plate back into the wall, reattach the handle, and tighten the set screw. Finally, run a fresh bead of silicone caulk around the top two-thirds of the escutcheon plate where it meets the shower tile, leaving the bottom un-caulked so any accidental water behind the plate has a place to drain out.
You have now successfully completed a dripping bathtub faucet repair. Your bathroom is quiet, your water bill is protected, and you have gained a valuable DIY skill that will serve you well for the life of your home.