How to Prep Your Gas Grill for Summer and Avoid Flare-Ups
Don't let hidden winter damage ruin your first backyard barbecue. Learn how to safely prep your gas grill for summer by checking for propane leaks, clearing spider webs from burner tubes, and removing fire-hazard grease.
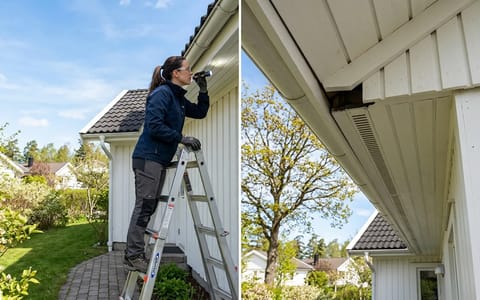
The days are getting longer, the frost has finally retreated, and the unmistakable smell of seared meat is starting to drift over the neighborhood fences. But before you throw those first expensive steaks on the grates, you need to properly prep your gas grill for summer. Firing up a grill that has sat dormant under a vinyl cover all winter is a massive fire hazard if you don't know exactly what to look for.
A quick, obligatory scrape with a rusty wire brush isn't going to cut it. Winter storage introduces hidden dangers to outdoor appliances, from dry-rotted rubber propane hoses to insects nesting deep inside the burner assembly. Taking 45 minutes on a Saturday afternoon to inspect and deep-clean your grill ensures your food tastes great and your backyard stays safe.
Why a Quick Scrape Isn't Enough to Prep Your Gas Grill for Summer
When a grill sits unused for months, it becomes an ideal winter shelter for pests. Mice often seek refuge in the lower cabinet, while spiders and wasps build nests in the small, protected cavities of the burners. Beyond pests, the fluctuating winter temperatures cause condensation, which mixes with leftover acidic food ash to accelerate rust on your grates and heat tents.
Furthermore, rubber O-rings and propane hoses can dry out, crack, or become brittle in freezing weather. Turning on the gas without inspecting these components first is an invitation for an uncontrolled fire. I once ruined a perfectly good batch of expensive ribeyes because I fired up the grill without cleaning it, cooking my dinner over the ghost of last November's rancid chicken drippings. The smoke was acrid, the food tasted like old grease, and the flare-ups were out of control. Let's walk through the exact steps to avoid that scenario.
The 60-Second Soapy Water Test for Propane Leaks
The very first thing you must do before striking an igniter is verify the integrity of your gas lines. Propane is heavier than air; if it leaks from a cracked hose, it pools in the bottom cabinet of your grill, creating a localized bomb just waiting for a spark.
You don't need specialized equipment to find a leak. A simple mixture of household dish soap and water is the most accurate diagnostic tool available.
- Mix your testing solution. Combine equal parts liquid dish soap and water in a small bowl. You want it slightly thick, not entirely watery.
- Pressurize the system. Make sure all the burner control knobs on the front of the grill are turned to the completely "OFF" position. Then, slowly open the valve on top of your propane tank all the way.
- Apply the soapy water. Dip a small paintbrush into your solution and coat the entire rubber hose, the regulator, and the brass connection point at the tank valve.
- Watch for growing bubbles. If you see suds forming and expanding into larger bubbles, you have a live gas leak. If the soapy water just sits there, your lines are sealed and safe.
Inspect and Clear the Venturi Tubes (The Spider Web Hazard)
This is the most critical, yet frequently skipped, step in summer grill preparation. The venturi tubes are the pipes that connect the gas control valves to the actual burners inside the grill. They have small air-shutter holes covered by screens to mix oxygen with the propane.
Spiders are inexplicably attracted to the chemical smell of propane, and their dense webs can completely block gas flow in a matter of weeks.
When a venturi tube is blocked by a spider web, the gas cannot flow forward into the burner. Instead, it backs up and ignites right behind the control knob. This is known as a flash-fire, and it will melt your plastic knobs and potentially singe your eyebrows off.
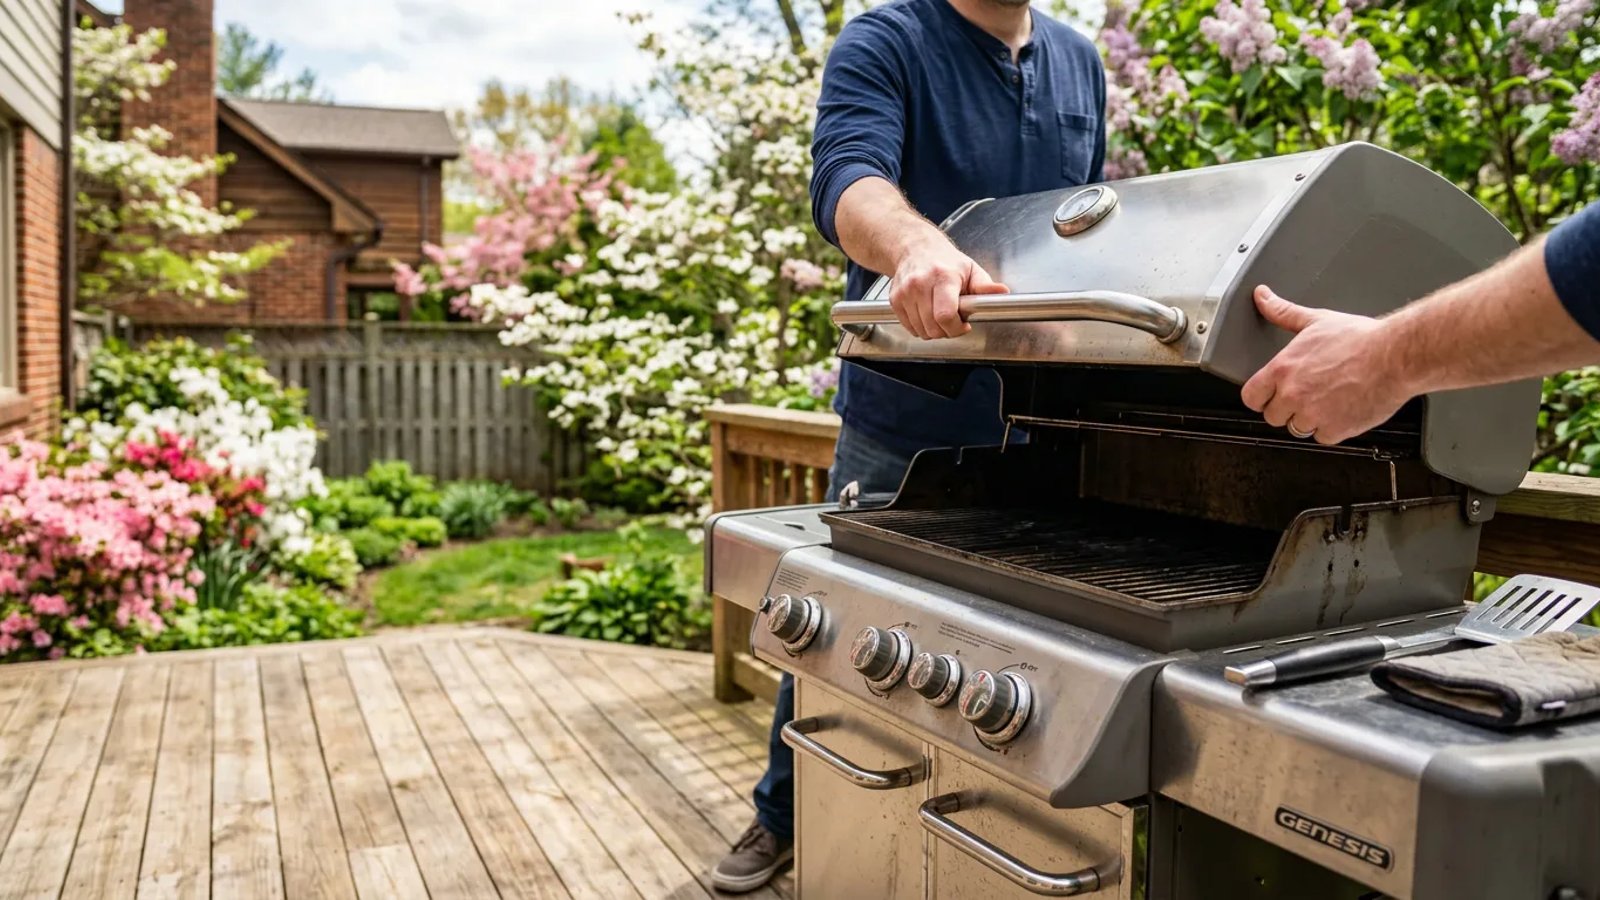
To clean them, remove the cooking grates and the metal heat tents (flavorizer bars) covering the burners. Most burners are held in place by a single cotter pin or screw at the back of the firebox. Remove the pin, lift the burner out, and run a flexible venturi brush (which costs about $8-$12) entirely through the tube. If you don't have a venturi brush, a straightened wire coat hanger works in a pinch. You will be shocked at the amount of debris and webbing you push out.
Deep Clean the Grates and Heat Tents
With the burners clear, it is time to address the cooking surfaces. The metal heat tents that sit over the burners protect them from dripping grease and vaporize those drippings to create smoky flavor. However, over a long winter, leftover grease turns rancid.
Take a stiff metal putty knife and scrape the hardened, crusty buildup off the heat tents and the inside walls of the firebox. Push all the debris straight down into the bottom grease trap. For the cooking grates, use a heavy-duty citrus degreaser. Spray it on, let it sit for 10 minutes, and scrub.
Empty and Replace the Bottom Grease Pan
The grease management system is the most neglected part of any gas grill. All the charred bits, marinades, and rendered animal fat you just scraped off the walls have funneled down into a slide-out tray beneath the firebox.
If you leave last year's grease in that pan, it will ignite the moment you cook a fatty piece of meat on high heat. Grease fires can easily exceed 1,000 degrees Fahrenheit, warping your grill's metal body and threatening nearby siding or deck railings. Slide out the bottom pan, scrape the heavy sludge into a disposable container, and wash the pan with hot, soapy water.
Most grills feature a smaller, secondary drip cup that hangs from the center of the main pan. Buy a pack of disposable aluminum foil liners for this cup (a pack of 10 usually costs around $5). Swap the liner out every three or four cookouts to ensure you never have an overflowing grease trap.
Reassemble and Perform a Season-Opening Burn-Off
Once your grill is reassembled with clean burners, scraped heat tents, and an empty grease trap, it is time to sterilize the cooking environment. Reconnect your propane tank, turn all the main burners to their highest setting, and close the lid.
Let the grill run on high for 15 to 20 minutes. You will likely see a significant amount of white smoke billowing out as the remaining degreaser, soap residue, and microscopic grease particles burn away into carbon. Once the smoke clears and the grill reaches around 500 to 600 degrees, turn the burners off. While the grates are still hot, wipe them down with a paper towel lightly coated in high-heat cooking oil (like canola or avocado oil) held by a pair of long metal tongs. This seasons the cast iron or stainless steel, preventing your food from sticking.
Taking the time to properly clean and inspect your equipment guarantees that your first backyard cookout goes off without a hitch. You'll avoid dangerous flare-ups, your burners will heat evenly, and your food will taste exactly like it's supposed to—smoky, savory, and perfectly seared.