How to Test Your Sump Pump Before Spring Storms Hit
Spring showers are great for the garden, but they can quickly flood a basement if your system fails. Prevent costly water damage by walking through this simple, 10-minute sump pump test.
Spring showers bring blooming gardens, green lawns, and longer days. But they also bring a massive influx of groundwater that can put immense pressure on your home's foundation. If you have a basement or crawlspace, your sump pump is the primary line of defense keeping that space dry. Unfortunately, many homeowners don't realize their pump has failed until they step into an inch of standing water.
Taking 10 minutes to verify your system is operational can save you thousands of dollars in water damage, ruined drywall, and destroyed personal belongings. Knowing exactly how to test sump pump systems is a fundamental skill for any homeowner. In this guide, we will walk through a simple, step-by-step testing process, explain what to look for outside your home, and help you identify the warning signs that it is time for a replacement.
Why Mid-Spring is the Critical Testing Window
As we move into mid-spring, the ground often becomes fully saturated. The combination of melting winter snowpack (in northern climates) and heavy April showers means the soil around your foundation simply cannot absorb any more moisture. The excess water naturally seeks the path of least resistance, which is often the loose soil surrounding your basement walls.
During winter, your sump pump may have sat dormant for months. Moving parts can seize, check valves can stick, and exterior pipes can suffer damage from freeze-thaw cycles. Testing your system right now, before the heaviest storms arrive, ensures that when the water table rises, your pump is ready to handle the load.
Gather Your Testing Supplies
You don't need any specialized plumbing tools for this job. Before you head down to the basement, grab the following items:
- A standard 5-gallon bucket
- A flashlight or headlamp
- Rubber gloves (the water in the pit can be stagnant and dirty)
- A garden hose (optional, if you need to fill the bucket multiple times)
Step-by-Step: How to Test Your Sump Pump
Testing your pump is a straightforward process that mimics a real-world flooding scenario. Follow these steps to ensure every component of the system is communicating properly.
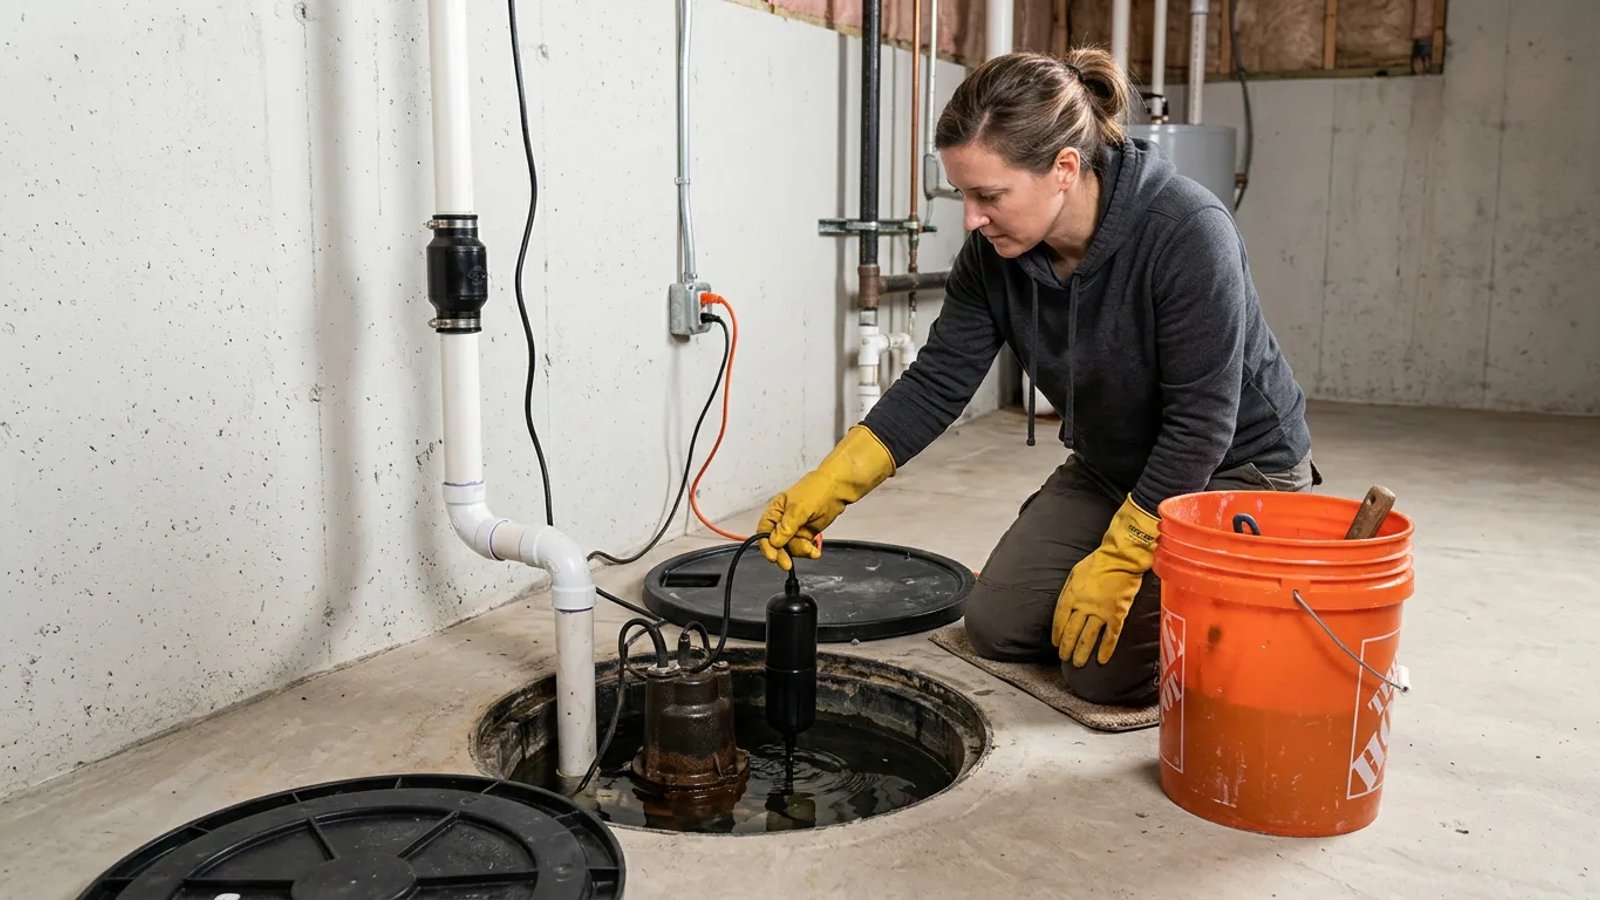
- Inspect and clean the pit. Put on your rubber gloves and shine your flashlight into the sump basin. Remove any obvious debris, such as gravel, mud, children's toys, or lint. Debris is the number one cause of jammed float switches and clogged impellers.
- Check the power connection. Ensure the pump is plugged directly into a Ground Fault Circuit Interrupter (GFCI) outlet. Press the "Test" button on the outlet to ensure it trips, then press "Reset" to restore power. Never use an extension cord for a sump pump, as the voltage drop can burn out the motor.
- Perform the bucket test. Fill your 5-gallon bucket with water. Slowly pour the water directly into the sump pit, aiming away from the float switch. Watch the water level rise.
- Observe the float switch and motor. As the water level lifts the float switch, you should hear the motor kick on with a smooth, low hum. The water level in the pit should drop rapidly. Once the water drops below the shut-off threshold, the pump should turn itself off.
- Listen to the check valve. When the pump shuts off, listen for a distinct "thud" or click from the discharge pipe above the pit. This is the check valve closing, which prevents the water left in the vertical pipe from falling back into the basin.
Inspecting the Exterior Discharge Pipe
Your sump pump can have a brand-new, half-horsepower motor, but if the exterior discharge pipe is compromised, your basement will still flood. What happens outside the house is just as important as what happens inside.
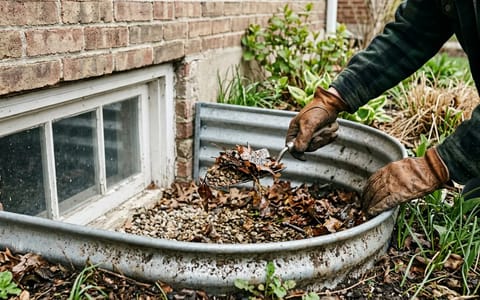
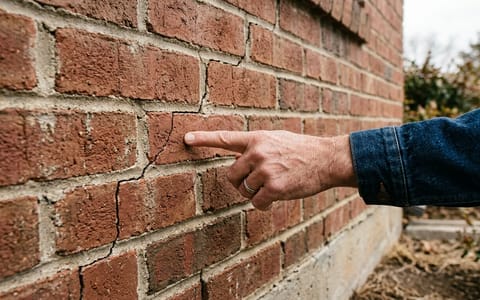
Head outside and locate where the PVC pipe exits your foundation. First, check for any winter damage. Look for cracks in the plastic caused by expanding ice. Next, ensure the pipe is completely clear of mud, leaves, or animal nests.
The most critical element of the exterior inspection is the drainage distance. The discharge pipe must direct water at least 4 to 6 feet away from your foundation wall, ideally sloping downward. If the water dumps directly against the side of your house, it will seep right back down into the soil, refill the sump pit, and force your pump to run continuously in an endless, damaging loop. If your pipe is too short, you can purchase a flexible corrugated extender pipe at any hardware store for under $15.
Warning Signs Your Sump Pump is Failing
Even with regular maintenance, sump pumps are mechanical devices with a finite lifespan. Most units last between 7 and 10 years. If your home is older and you aren't sure when the pump was installed, look for the manufacturing date stamped on the metal housing.
During your bucket test, pay close attention to how the pump sounds and behaves. These warning signs indicate that your system is on borrowed time:
- Grinding or rattling noises: A healthy pump produces a steady, low hum. Grinding sounds usually mean the impeller is damaged or the motor bearings are shot.
- Excessive vibration: If the PVC discharge pipe shakes violently when the pump turns on, the impeller may be bent or unbalanced.
- Slow draining: If it takes several minutes to clear 5 gallons of water, the motor is losing its horsepower or the intake screen is partially clogged.
- Visible rust: While a little surface oxidation is normal, heavy flaking rust on a cast-iron pump indicates the waterproof seal is deteriorating, which can lead to a short circuit.
Your sump pump is the only appliance in your home that must work perfectly the exact moment the power grid is most likely to fail.
The Importance of a Battery Backup System
Heavy spring storms bring massive amounts of rain, but they also bring high winds and lightning that frequently knock out the power grid. A primary sump pump relies entirely on your home's electricity. If the power goes out, your pump stops working, regardless of how much water is pouring into the pit.
If you have a finished basement or store valuables downstairs, a battery backup sump pump is not a luxury; it is a necessity. These systems feature a secondary, smaller pump installed slightly higher in the pit, connected to a heavy-duty marine battery. If the primary pump fails or the power goes out, the backup unit automatically takes over. While they represent an upfront investment of $300 to $600, they provide unparalleled protection during severe weather.
Taking a few minutes this weekend to run through this simple testing procedure is one of the highest-return maintenance tasks you can perform. By catching a failing motor or a stuck float switch now, you keep the water exactly where it belongs—outside your home.