How to Grade Soil Around Your Foundation to Prevent Leaks
Fixing negative soil grading is one of the cheapest and most effective ways to stop basement leaks. Learn how to properly slope the dirt around your foundation in one weekend.
Every spring, thousands of homeowners head down to their basements after a heavy rainstorm only to find water pooling on the floor. They immediately assume their foundation has failed or that they need a multi-thousand-dollar waterproofing system. But more often than not, the real culprit is completely invisible from the inside. If you want to stop the water, you need to learn how to grade soil around foundation walls properly.
Over the years, the backfilled dirt around a newly built home naturally settles. As it sinks, it creates a depression right against the concrete walls. This is known as negative grading. Instead of shedding rainwater out into the yard, your landscaping acts like a giant funnel, directing hundreds of gallons of roof runoff and yard drainage straight down into your basement or crawlspace.
Correcting this issue is one of the most effective, highest-return DIY projects you can tackle in a single weekend. With a few basic tools and the right type of dirt, you can permanently reshape the perimeter of your home and keep your basement dry.
The Invisible Threat of Negative Grading
When a house is built, excavators dig a hole much larger than the actual footprint of the foundation. Once the concrete is poured and cured, they push the loose dirt back into the gap. No matter how well this backfill is compacted at the time, it will slowly compress and sink over the next 10 to 20 years.
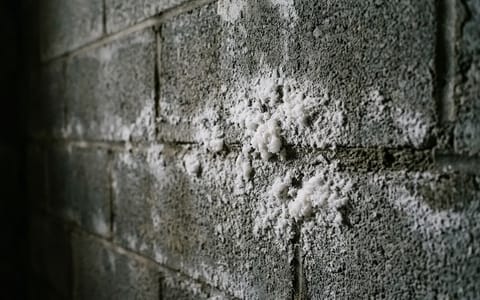
As this soil drops, the slope reverses. Water follows the path of least resistance. When rain hits the ground, it flows down the newly formed slope until it hits your foundation wall. Hydrostatic pressure then forces that trapped water through microscopic cracks in your concrete, porous cinder blocks, or mortar joints.
Fluffy topsoil acts like a sponge, holding water against your house. You need dense, compacted fill dirt to act as a shield.
Worse yet, this constant moisture cycling degrades the foundation itself. In colder climates, water trapped against the concrete can freeze and expand, widening existing cracks and causing structural damage. Fixing the slope removes the water pressure entirely, solving the root cause of the problem rather than just patching the symptoms.
How to Measure Your Current Foundation Slope
Before you buy any materials, you need to know exactly what you are working with. The industry standard for foundation drainage is a 6-inch drop over the first 10 feet away from the house. This creates a 5% slope, which is steep enough to carry water away swiftly without causing soil erosion.
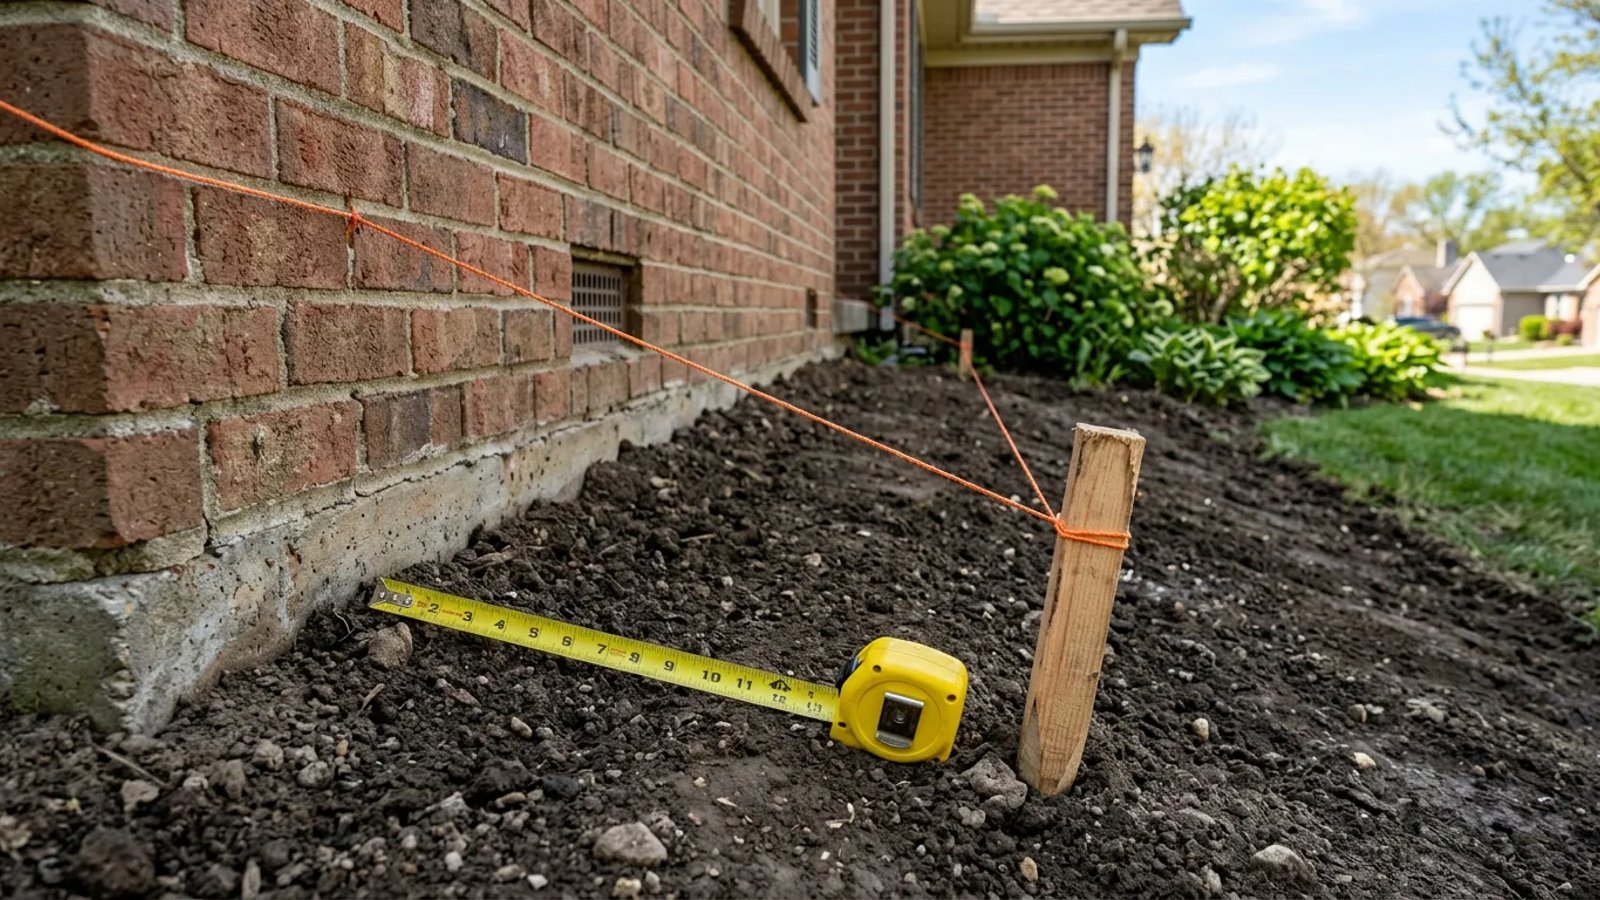
To measure your current grade, you will need two wooden stakes, a 12-foot piece of masonry string, a small plastic line level, and a tape measure.
First, drive a wooden stake into the ground right next to your foundation. Tie your string to this stake at ground level. Next, measure exactly 10 feet straight out into the yard from that first stake. Drive your second stake into the ground at the 10-foot mark.
Pull the string tight and tie it to the second stake. Hang your line level on the center of the string. Adjust the string up or down on the second stake until the bubble in the level is perfectly centered, indicating the string is perfectly horizontal.
Finally, take your tape measure and measure the distance from the ground up to the string at the second stake. If the string is 6 inches off the ground, your yard is perfectly flat (a 0-inch drop over 10 feet). If the string is 2 inches off the ground, you have a negative slope, meaning the ground actually rises 2 inches as it moves away from the house. Your goal is to add enough dirt against the house so that when the string is level, the ground at the 10-foot mark is 6 inches below the starting point at the foundation.
Choosing the Right Dirt for Foundation Grading
One of the most common mistakes homeowners make is trying to fix their grading with bags of topsoil or compost from the local garden center. This is a recipe for disaster.
Topsoil is rich in organic matter. It is designed to be fluffy, retain moisture, and promote root growth. If you build a slope out of topsoil, rainwater will soak right into it, turning your new slope into a wet sponge resting directly against your home.
Instead, you need fill dirt. Fill dirt is subsoil taken from beneath the top layer of earth. It contains very little organic matter and is heavily composed of clay and sand. When compacted, clay-heavy fill dirt forms a hard, semi-impermeable crust. Water hits it and rolls off rather than soaking in.
If you have a large perimeter to grade, ordering fill dirt in bulk from a local landscaping supply yard is much cheaper than buying bags. A standard pickup truck can hold about one cubic yard of dirt, which covers roughly 100 square feet at a 3-inch depth.
Step-by-Step: How to Grade Soil Around Foundation
Once you have your fill dirt and an 8x8 inch steel hand tamper, you are ready to get to work. Pick a weekend when the soil is dry; working with wet, muddy clay is incredibly frustrating and makes proper compaction impossible.
- Clear the area completely. Use a rake and a shovel to remove all existing mulch, decorative stone, weed barrier fabric, and dead vegetation from the perimeter of your home. You must expose the bare mineral soil. Adding fill dirt on top of old mulch creates a spongy, rotting layer that will trap water.
- Mark your maximum height. Identify where your house siding begins or where the weep holes are located in your brick veneer. Use a piece of chalk to draw a line on the foundation exactly 4 to 6 inches below this point. This is your "do not cross" line. Your new dirt must never go higher than this mark.
- Add fill dirt in layers. Dump your fill dirt against the foundation and spread it out with a hard rake. Do not dump 6 inches of dirt all at once. Spread it in a 2-inch layer, sloping it downward toward the yard.
- Tamp it down. Take your steel hand tamper and forcefully pound the 2-inch layer of loose dirt until it is hard and compact. If you skip this step, the loose dirt will simply wash away in the first major rainstorm.
- Repeat and check the slope. Add another 2-inch layer, rake it to a slope, and tamp it down again. Re-check your progress using your stakes, string, and line level. Continue until you achieve the desired 6-inch drop over 10 feet.
- Top dress and finish. Once your clay base is compacted and sloped, spread a very thin layer (1 to 2 inches) of topsoil over the surface. This thin layer is just enough to hold grass seed or shallow-rooted ground cover to prevent erosion, without compromising the hard water-shedding barrier underneath.
Common Mistakes That Cause More Damage
When grading around a home, good intentions can easily lead to expensive structural problems if you aren't careful about clearances and materials.
The most catastrophic mistake is burying the house siding. Whether you have vinyl, wood, or fiber cement siding, it must never touch the earth. Soil contact invites rot, mold, and provides a hidden superhighway for termites and carpenter ants to march directly into your wall framing. Always maintain a bare minimum of 4 inches (preferably 6 inches) of exposed concrete foundation between the top of your soil and the bottom of your siding.
Another frequent error is relying on gravel or river rock to fix a slope. Stone looks great, but it is 100% porous. If the dirt beneath the decorative stone slopes toward the house, the water will flow right through the rocks and pool against the foundation. If you want to use decorative stone, you must first build a compacted dirt slope underneath it.
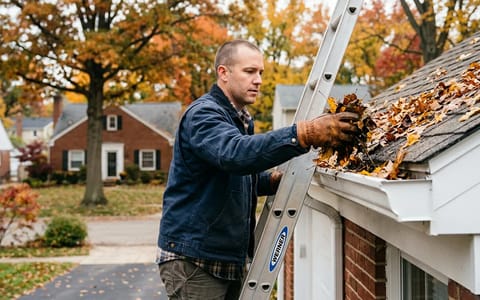
Finally, don't forget your downspouts. Proper grading is useless if your gutters are dumping hundreds of gallons of water directly at the base of the foundation. Ensure all downspouts have extensions that carry roof runoff at least 4 to 6 feet away from the house, discharging it well past your newly graded slope.
When Surface Grading Isn't Enough
While adding fill dirt and correcting the immediate perimeter slope will solve the vast majority of basement moisture issues, it is not a magic bullet for every property. Sometimes, the overall topography of your land works against you.
A swale is a shallow, wide ditch lined with grass that catches surface water and channels it safely around the sides of your property. A French drain is an underground trench filled with gravel and a perforated pipe that catches subsurface water. If you've corrected your 10-foot perimeter slope and are still getting water in your basement during heavy rain, it's time to consult an exterior drainage specialist to evaluate these larger solutions.
Taking the time to properly shape the earth around your home is hard, sweaty work, but the payoff is immense. By establishing a solid, compacted slope using the right fill dirt, you protect your foundation from freezing degradation, keep your basement dry, and save yourself from the massive stress of unexpected water damage.