Ice Dams on Roof Edge? How to Safely Melt Them Fast
Got an ice dam causing leaks? 🥶 Put down the hammer. Here is the safe, fast way to melt ice dams on your roof edge without destroying your shingles.
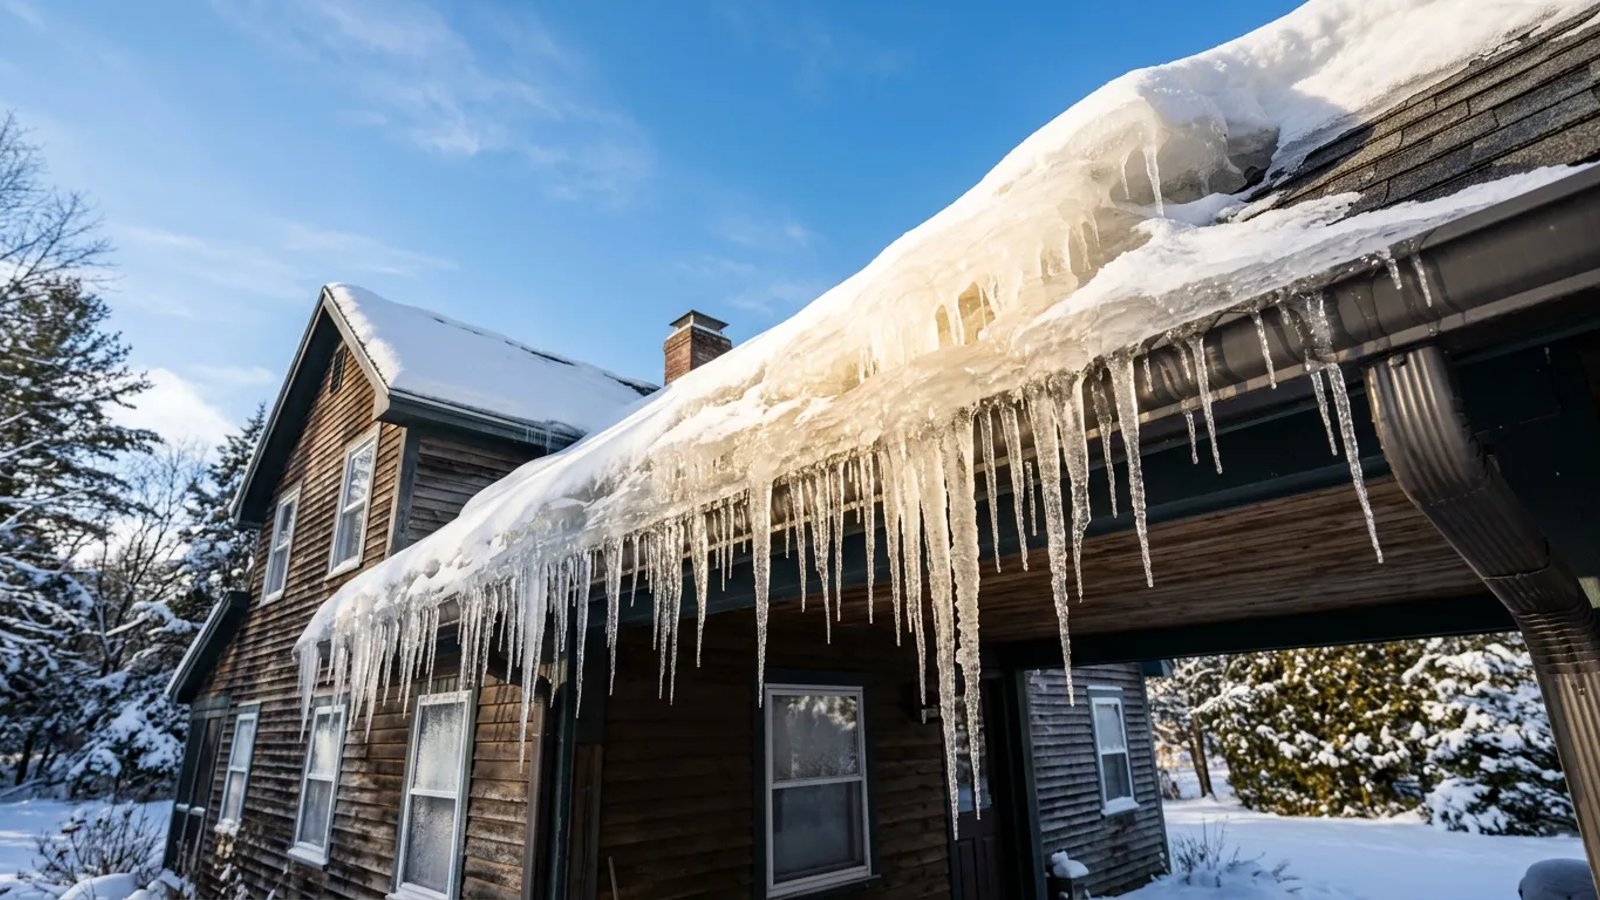
You look up at your ceiling and see a growing brown water stain. Outside, massive icicles are hanging off your gutters like a frozen waterfall. You have an ice dam, and it is trapping melted snow on your roof, forcing water up under your shingles and straight into your living room.
When panic sets in, your first instinct might be to grab a ladder and a claw hammer to smash the ice to pieces. Stop right there. Blunt force is the fastest way to destroy your roof. Let's walk through how to safely remove ice dams roof edge without causing permanent damage to your home.
Why Smashing Ice is a Terrible Idea
It is incredibly tempting to take a pickaxe or hammer to the ice chunk blocking your gutters. I once watched a neighbor go to town on his roof with a crowbar—he got the ice off, but he also took off a dozen shingles and had to pay $1,200 for a spring roof repair.
In winter, asphalt shingles become highly brittle. If you strike the ice, the impact transfers directly into the frozen shingle beneath it, cracking the fiberglass mat. You will instantly turn a temporary winter leak into a permanent structural problem.
You do not need to melt the entire ice dam. You only need to create a channel for the trapped water to escape.
Step 1: Assess the Danger
Before you try to tackle the problem, you need to evaluate the situation. Ice dams are heavy, roofs are slippery, and ladders in the snow are a recipe for disaster.
If the dam is on a single-story porch or easily accessible from the ground using extension tools, you can safely handle it yourself.
Step 2: Clear the Snow with a Roof Rake
Ice dams grow because snow higher up on the roof melts, runs down, and refreezes at the cold eaves. To stop the cycle, you need to remove the fuel source: the snow.
Using a lightweight aluminum roof rake with a telescopic pole (usually extending 15 to 21 feet), stand safely on the ground and pull the snow off the lower 3 to 4 feet of the roof.
Step 3: The Pantyhose and Calcium Chloride Trick
This is the safest, most effective DIY method to stop a roof leak caused by an ice dam. By placing a tube of ice melt vertically across the dam, you melt a small tunnel. The trapped water behind the dam will flow through this tunnel and off the roof.
- Buy the right meltant. Purchase a bag of 100% calcium chloride pellets. A 20-pound bag usually costs around $20 to $25 at local hardware stores.
- Fill the pantyhose. Take a pair of cheap nylon pantyhose and cut the legs off. Fill one leg with the calcium chloride pellets and tie off the open end. You want a flexible "sausage" about 2 to 3 feet long.
- Position the tube. Carefully place the filled pantyhose vertically across the ice dam. It should overhang the gutter by an inch or two and extend up the roof slope past the ice.
- Let it work. Within 30 to 60 minutes, the calcium chloride will melt a channel straight through the ice, releasing the pool of trapped water.
What Not to Do: Rock Salt and Hot Water
It is crucial to use the right materials when treating your roof. Standard rock salt (sodium chloride) is cheap, but it will severely corrode your aluminum gutters, damage your asphalt shingles, and kill the foundation plants below.
Looking Ahead: The Permanent Fix
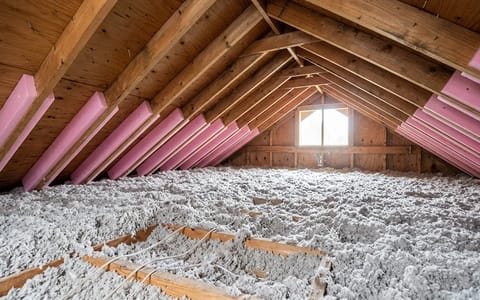
Melting channels through the ice will save your ceiling today, but it won't stop the dam from coming back next week. Ice dams are fundamentally an insulation and ventilation problem. Heat is escaping from your living space into your attic, melting the snow on the roof deck.
Once the weather warms up, you will need to air-seal attic bypasses, increase your attic floor insulation to at least R-49, and ensure your soffit and ridge vents are clear. For now, keep the roof edge raked, keep the calcium chloride handy, and stay safe down on the ground.