Oven Temperature Fluctuating? How to Diagnose the Real Cause
A burnt batch of cookies doesn't mean you need a new oven. Learn how to diagnose uneven baking and temperature swings using simple tools before calling a repair tech.
You usually find out your oven temperature is off at the worst possible time. A cake sinks in the middle, a batch of expensive cookies burns to a crisp on the bottom, or a roast takes twice as long as the recipe stated. It is frustrating to pull a ruined meal out of the kitchen, and it often sends homeowners straight to appliance store websites looking for a replacement.
Before you spend a thousand dollars on a new range, grab a few basic tools. Having an oven temperature fluctuating wildly is rarely a fatal flaw. Most of the time, the issue traces back to a single component that costs less than a week's worth of groceries to replace.
Why is my oven temperature fluctuating?
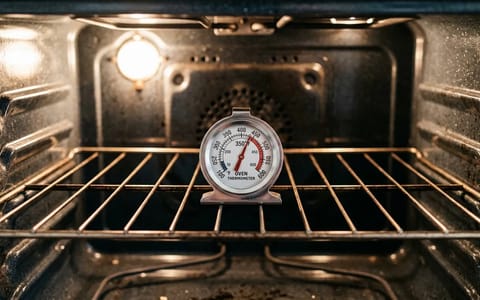
Every oven cycles heat. When you set the dial to 350°F, the appliance does not hold that exact number perfectly. It heats up to about 365°F, shuts off the element, lets the box cool to about 335°F, and turns the element back on. This constant up-and-down swing averages out to your target temperature.
The problem starts when that normal cycle breaks. If the oven drops 40 degrees before turning back on, your food will take forever to cook. If it blasts heat continuously because it misreads the internal climate, you end up with charred bottoms and raw centers. To figure out exactly what is failing, we need to map the heat.
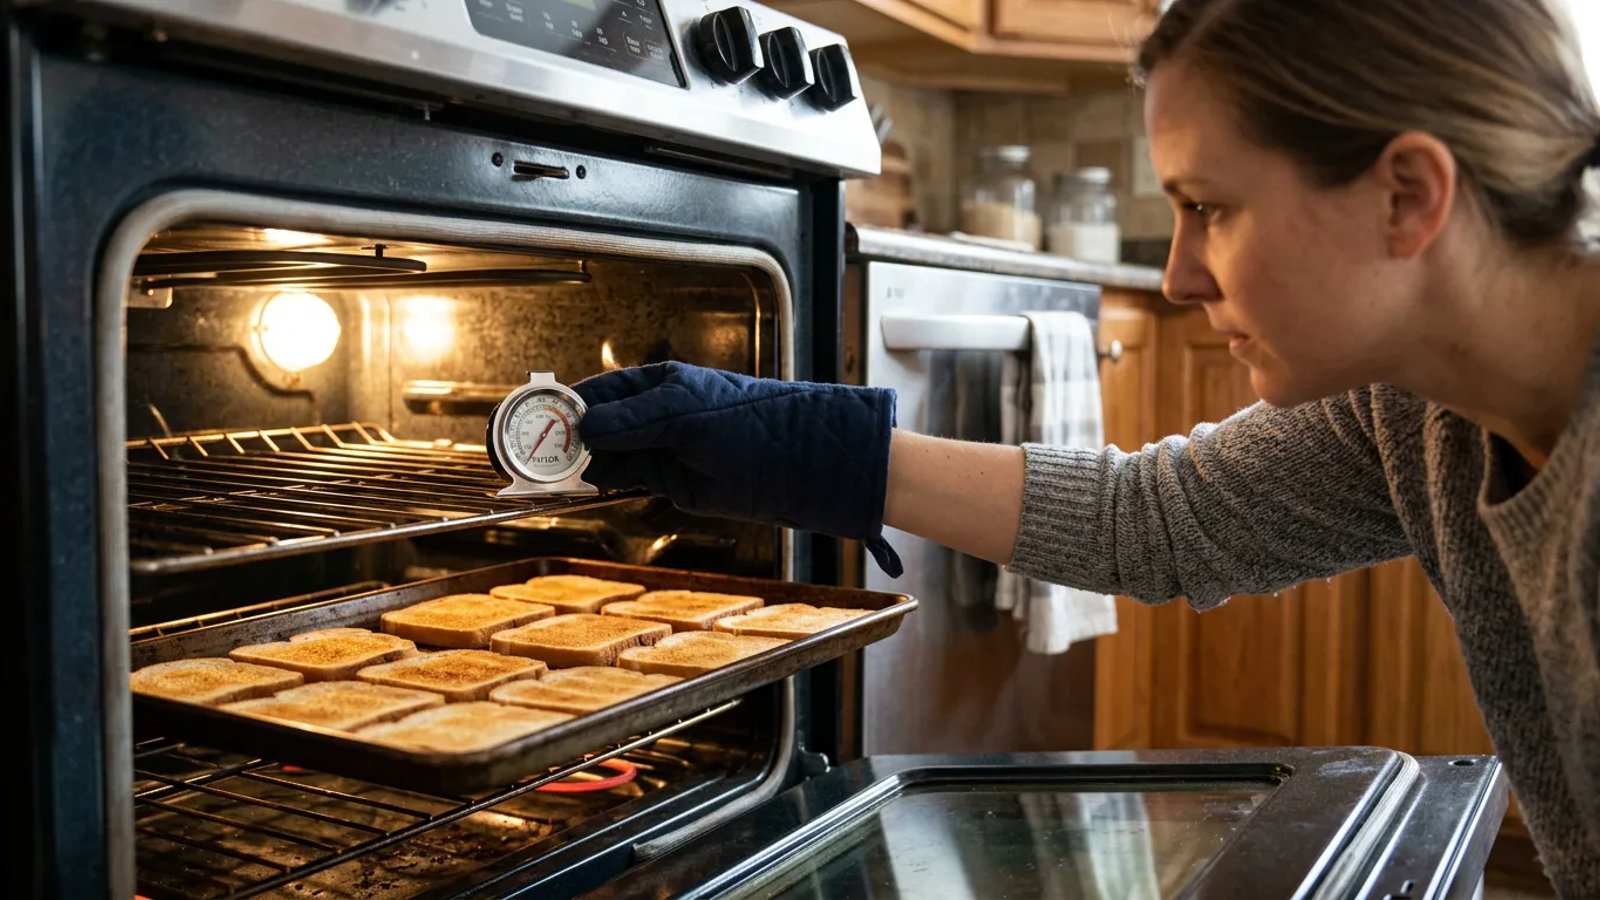
The Cheap Diagnostic: The Bread Test
When I tested a neighbor's five-year-old electric range last month, we found the back left corner was burning bread while the front right was barely toasted. We did not need expensive thermal cameras to see this—we just used a loaf of cheap white bread. This test gives you a visual heat map of your oven cavity.
- Prep the oven. Place a single rack in the exact center of the oven. Remove any other racks or baking stones.
- Preheat thoroughly. Set the oven to 350°F. Wait at least 15 minutes after the preheat beep sounds to ensure the cavity walls are fully saturated with heat.
- Arrange the bread. Cover a large, light-colored baking sheet edge-to-edge with slices of cheap white bread. Place the sheet on the center rack.
- Bake and observe. Let the bread bake for exactly 15 minutes. Pull the tray out and look at the browning pattern.
If the bread is evenly golden, your heating elements are working perfectly, and the issue might be your bakeware or recipe. If the bread is burnt in one corner and white in another, you have a distinct hot spot. If all the bread is completely white or entirely black, the whole system is running at the wrong temperature.
Culprit 1: Inspecting the Bake Element
In a standard electric oven, the bottom element does about 90 percent of the work during normal baking. The top element is primarily for broiling, though it sometimes pulses on to help preheat. Because the bottom bake element works so hard, it is usually the first part to fail.
Grab a flashlight and look closely at the dark gray metal tube, typically 1/2 to 3/4 inch in diameter, resting on the floor of the oven. A healthy element has a uniform color and smooth surface. When an element is burning out, it develops distinct physical symptoms.
Look for small blisters, pitting, or cracks in the metal. You might see a bright white powdery residue at a specific spot. This means the internal filament has broken through the outer casing. In this state, the element might still heat up, but it will do so unevenly, causing wild temperature swings before it eventually snaps in half.
Replacing a bake element is incredibly simple. You unplug the oven, remove two screws at the back wall holding the element in place, pull the element forward slightly to expose the wires, detach the spade connectors, and plug the new element in. A replacement usually costs between $20 and $40 at hardware stores.
A burnt batch of cookies doesn't mean you need a new appliance—it usually points to a $20 part you can swap out in ten minutes.
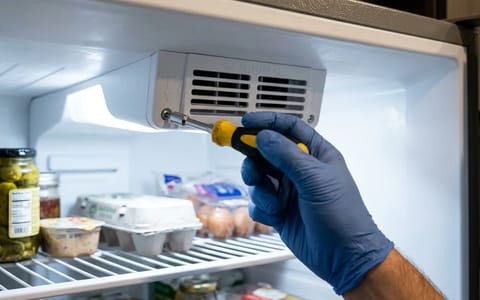
Culprit 2: Testing the Temperature Sensor
If the bake element looks completely smooth and intact, the next suspect is the temperature sensor. This is the small metal wand protruding from the back wall of the oven cavity, usually near the top right or left corner. It acts as the thermostat's scout, measuring the air temperature and telling the control board when to turn the heat on and off.
If the sensor is faulty, it might tell the control board the oven is 350°F when it is actually 400°F. To test it, you need a basic digital multimeter.
Unscrew the mounting plate holding the sensor to the back wall. Pull it forward gently until you see the plastic wire connector. Unclip the connector and remove the sensor from the oven. Set your multimeter to the Ohms (Ω) setting to measure resistance.
Touch one multimeter probe to each metal prong inside the sensor's connector block. At room temperature (around 70°F), a standard oven sensor should read approximately 1080 to 1100 ohms. If your multimeter reads something wildly different—like 800 ohms, 2500 ohms, or shows no continuity at all—the sensor is broken. Buy a replacement sensor for about $15, plug it into the wire harness, and screw it back into the wall.
Culprit 3: Checking the Thermostat Calibration
What if the bake element is perfect and the sensor tests exactly at 1080 ohms? The problem is likely the brain of the oven itself. Over time, the control board can drift out of calibration. It thinks it is hitting the right numbers, but it is consistently running 25 degrees too hot or too cold.
You can adjust this baseline calibration yourself without buying any parts. You will need your owner's manual to find the exact button combination for your model. Usually, it involves pressing and holding the "Bake" button for five seconds until a calibration menu appears on the display.
Once in the menu, you can use the arrow keys to adjust the temperature offset up or down by as much as 35 degrees. If your oven thermometer tests showed the oven was consistently running 20 degrees cooler than the dial stated, you simply adjust the calibration to +20. Save the setting, and your oven will automatically compensate moving forward.
Could It Be the Door Seal?
Sometimes the electronics and elements are fine, but the physical box is leaking. The gasket around the oven door keeps the heat trapped inside. If that gasket is torn, flattened, or missing chunks, heat pours out into your kitchen.
The oven senses the heat loss and forces the bake element to stay on much longer than it should. This burns the food on the bottom rack while leaving the top undercooked. According to Energy Star efficiency principles, a tight seal is critical for any appliance to maintain its internal climate without wasting electricity.
Open the door and inspect the braided fiberglass or rubber seal. If it looks frayed or compressed flat, pull it out of its retaining channel and push a new one in. It requires no tools and takes about five minutes.
When Should You Call a Pro?
While testing sensors and replacing elements is safe for most homeowners, some issues cross the line into professional territory.
Fixing an oven that bakes unevenly usually comes down to simple observation. By taking the time to map the heat with a few slices of bread and checking the basic hardware, you can save hundreds of dollars. The next time a cake falls flat, you will know exactly which part to check first.
- Ovens naturally cycle heat, but a swing of more than 25 degrees signals a hardware issue.
- A visual inspection of the heating element takes seconds and catches the most common cause of uneven baking.
- Temperature sensors are cheap, plug-and-play parts you can replace with just a screwdriver.
- Always unplug the oven or flip the breaker before inspecting internal components.