Sump Pump Stopped Working? How to Fix It During a Storm
Your sump pump stopped working during a massive downpour, and the water is rising. Follow this emergency triage guide to troubleshoot the pump and prevent a flooded basement.
It is the middle of a massive downpour, you check the basement, and the water level in the pit is rising fast. Your sump pump stopped working, and the reality of a flooded basement is rapidly setting in. When water is inching toward your drywall, you do not have time to read a manual or shop for replacement parts. You need to act immediately.
We are going to skip the standard maintenance lectures and jump straight into emergency triage. Your goal right now is not to execute a perfect, permanent plumbing repair. Your goal is strictly damage control: get the water moving out of the house, buy yourself time until the storm passes, and save your basement from ruin.
Phase 1: The 60-Second Electrical Triage
Before you assume the pump's motor is dead, you must rule out an electrical interruption. Sump pumps draw a heavy load of electricity, especially when they first cycle on, which makes them highly susceptible to tripping breakers and safety outlets.
Start at the wall outlet. Most modern building codes require sump pumps to be plugged into a Ground Fault Circuit Interrupter (GFCI) outlet. These outlets have two small buttons in the center. If the outlet detected a moisture surge, it likely tripped. Firmly press the "Reset" button. If you hear a click and the pump roars to life, you have solved the immediate crisis.
If the GFCI button will not click into place, or if the outlet is completely dead, head straight to your main electrical panel. Look for a breaker switch that has moved to the middle, neutral position. To reset a tripped breaker, you cannot simply push it toward the "On" position. You must push the switch firmly to the "Off" position until it clicks, and then push it back to "On".
If the breaker and the outlet are both functioning, check the "piggyback" plug. Many sump pumps have two plugs stacked on top of each other at the wall outlet. The plug closest to the wall controls the float switch, and the plug stacked on the back controls the pump motor. If the float switch has failed, you can bypass it entirely. Pull the two plugs apart, and plug the pump motor (the one that was on the outside) directly into the wall outlet. If the pump turns on, your motor is fine, but your float switch is dead. You will need to manually plug and unplug the pump to keep the pit empty until you can replace the switch.
Phase 2: Jostle the Float Switch
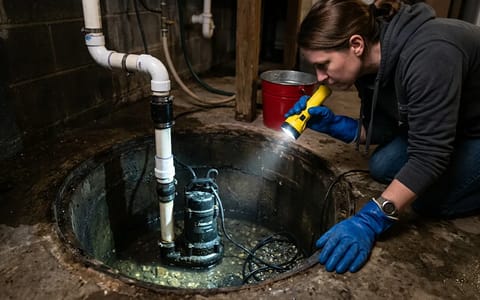
If the power is flowing but the pump remains silent, the most common culprit is a mechanical jam. Your sump pump relies on a float switch—a buoyant plastic bulb that rises with the water level. When the water gets high enough, the float flips an internal switch to activate the pump.
I once spent $150 on an after-hours emergency plumber just to watch him shine a flashlight into the pit and aggressively poke my sump pump with a piece of scrap PVC pipe. The pump roared to life instantly. The culprit was a float switch wedged against the side of the basin.
Over time, the vibration of the pump can cause the entire unit to slowly rotate inside the pit. When this happens, a tethered float switch can get pinned against the rough concrete or plastic wall of the basin, preventing it from rising. Alternatively, the float's cord can get tangled around the discharge pipe.
Grab a wooden or plastic broom handle. Do not use anything metal. Reach down into the muddy water and gently tap the float switch, pushing it away from the basin wall. If the switch was jammed, freeing it will instantly trigger the pump. If the pump vibrates and hums but no water leaves the pit, your impeller is likely jammed with gravel, or the check valve has failed. At this stage, you need to move to the backup plan.
Phase 3: Inspect the Exterior Discharge Pipe
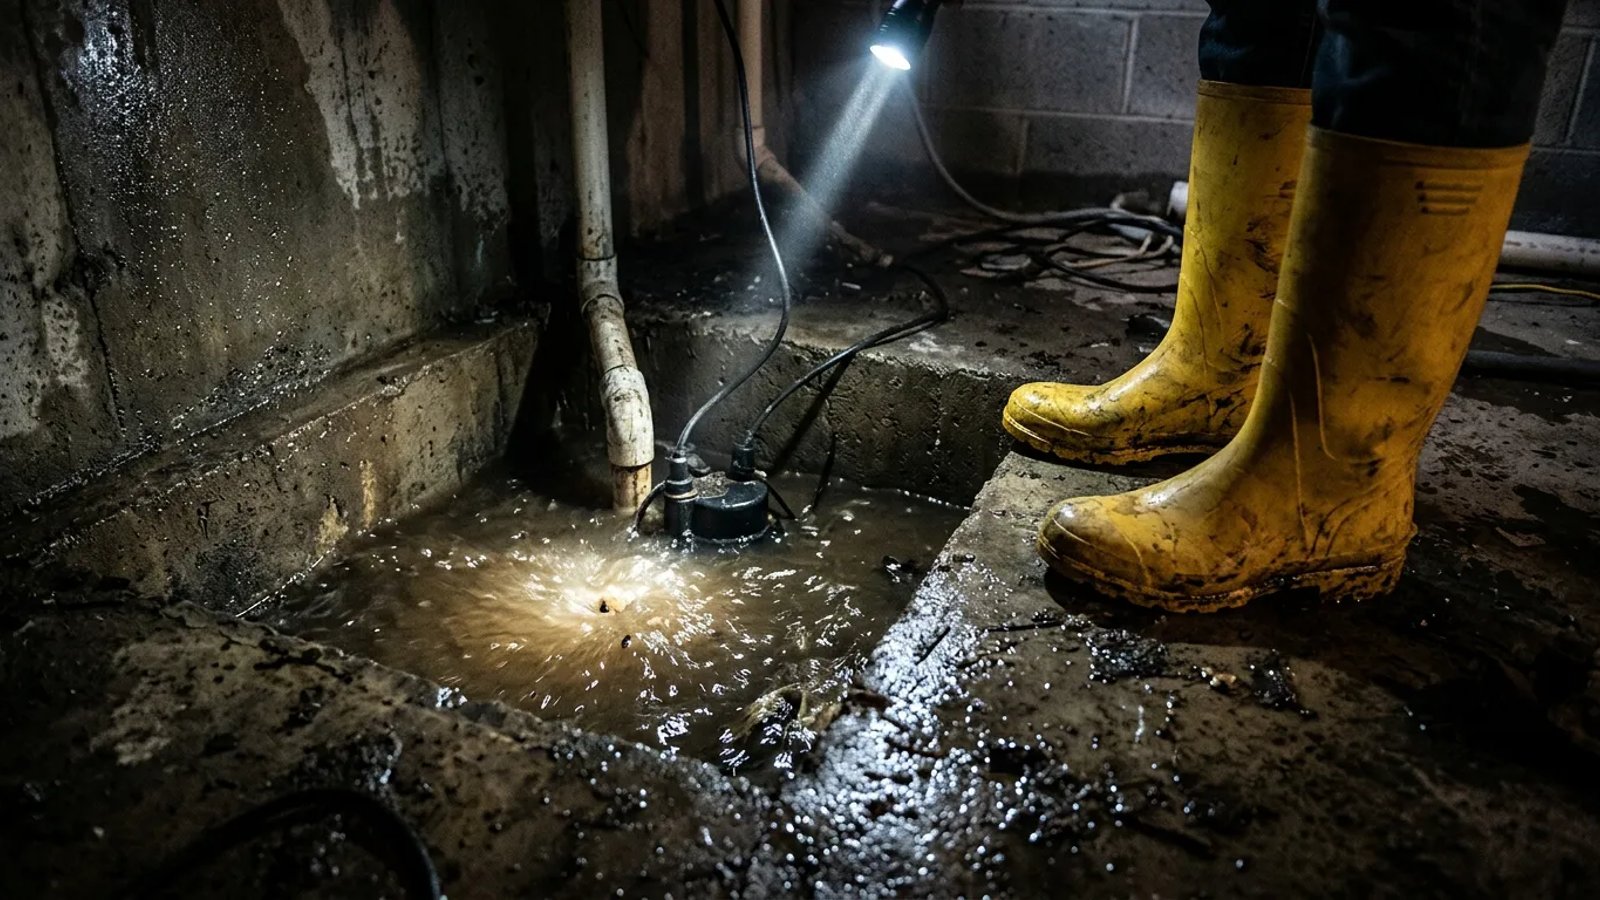
Sometimes, the problem isn't inside your basement at all. If your sump pump is running continuously but the water level in the pit isn't dropping, the water has nowhere to go. The pump is simply churning the same water in circles.
Grab your flashlight and a heavy coat, and go outside to find where the 1.5-inch PVC discharge pipe exits your house. In the middle of a heavy spring storm, a massive volume of water is rushing out of that pipe. If the end of the pipe is buried in mud, clogged with wet leaves, or crushed from a lawnmower impact last fall, the water will back up into your basement.
Clear away any debris blocking the exit. If you have a flexible corrugated extension hose attached to the end of the PVC pipe, ensure it isn't kinked or rolled up. If the line is frozen solid (a common issue during early spring storms when temperatures drop overnight), you may need to disconnect the pipe inside the basement right above the check valve and run a temporary heavy-duty hose out a basement window.
In an active storm, your goal isn't to fix the pump perfectly—it's to buy enough time to save your drywall.
Phase 4: The Emergency Backup Plan (Bailing Water)
If you have checked the power, freed the float switch, and verified the discharge pipe is clear, but your sump pump stopped working completely, you must resort to manual water removal. A standard 1/3 horsepower sump pump moves over 2,000 gallons of water per hour. You cannot match that pace by hand, but you can keep the water level just below the top of the pit.
The most efficient tool for this job is a wet/dry shop vacuum. Before you begin, you must prepare the vacuum correctly.
A heavy-duty 16-gallon shop vacuum can suck up a massive amount of water in just ten seconds. However, water is incredibly heavy, weighing 8.3 pounds per gallon. A full 16-gallon vacuum weighs over 130 pounds, making it nearly impossible to carry up the basement stairs. Only fill the vacuum halfway before carrying it outside to dump.
If you do not own a wet/dry vacuum, you will need to assemble a bucket brigade. Here is the safest way to manually bail a sump pit:
- Unplug the pump. Ensure the dead pump is entirely disconnected from the wall to eliminate any shock hazard while you are reaching near the water.
- Use a small scoop. Do not try to dip a massive 5-gallon bucket directly into the narrow pit. Use a smaller 1-gallon bucket or a large plastic pitcher to scoop the water out.
- Transfer to larger buckets. Pour the scooped water into a 5-gallon bucket resting on the basement floor.
- Carry and dump. Once the 5-gallon bucket is three-quarters full, carry it upstairs and dump it into a utility sink, bathtub, or outside away from the foundation.
When to Call a Professional (and What to Tell Them)
Once you have stabilized the water level using a vacuum or buckets, it is time to call for reinforcements. Emergency plumbers get hundreds of calls during a major storm, so you need to communicate clearly to get prioritized.
When you get the dispatcher on the phone, tell them exactly what you have already tested. Say, "My sump pump stopped working. I have verified the GFCI and breaker are active, I bypassed the float switch, and the motor is completely dead. I am currently bailing water with a shop vac to prevent flooding." This tells the plumber exactly what parts to bring and confirms that you have a genuine, active emergency.
Once the storm passes and your basement is safe, dry the surrounding concrete thoroughly with fans to prevent mold growth. More importantly, use this stressful event as the catalyst to install a battery-backup sump pump system. A secondary pump sitting slightly higher in the pit, powered by a marine battery, is the only reliable way to ensure you never have to stand over a rising pit with a flashlight again.