Your Guide to a Post-Winter Exterior Inspection
Winter weather is brutal on a home's exterior. Learn how to safely spot hidden damage like lifted shingles, cracked caulk, and shifted drainage before heavy spring rains arrive.
Winter weather is brutal on a home's exterior. For months, your house stands against freezing temperatures, driving snow, ice accumulation, and relentless winds. When the thaw finally arrives, it often leaves behind hidden damage that isn't immediately obvious from the driveway. Left unchecked, heavy spring rains will easily find these weak spots, turning minor exterior wear into major interior water damage. Taking the time to perform a thorough post winter exterior inspection is your best defense against surprise leaks, pest infestations, and expensive structural repairs.
The goal right now isn't to fix everything in a single weekend. The goal is simply to observe, document, and prioritize. By walking your property with a critical eye, you can catch the small issues—like a lifted shingle, a cracked bead of caulk, or a disconnected downspout—before the summer heat sets in and spring storms test your home's waterproofing.
The Ground-Up Approach: Why Timing Matters
Late spring is the critical window for exterior maintenance. The snow has melted, the ground has thawed, and the true toll of the freeze-thaw cycle is fully visible. This cycle is the primary enemy of your home's outer shell. When daytime temperatures rise above freezing, snowmelt seeps into tiny, microscopic crevices in your siding, masonry, and trim. When temperatures plummet overnight, that trapped water turns to ice, expanding by roughly nine percent. This expansion acts like a slow-motion wedge, widening gaps, popping nails, and breaking waterproof seals.
By May, this cycle has repeated dozens of times. If you wait until late summer to inspect the resulting damage, you give spring rains unrestricted access to the wooden bones of your house. Moisture trapped behind siding or trim over the summer creates the perfect humid environment for wood rot and invites carpenter ants and termites. Catching the damage now stops the chain reaction.
Inspecting Roof & Gutters Safely
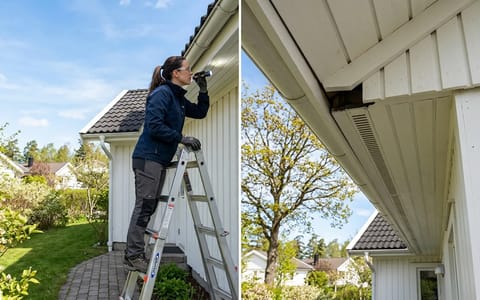
Your roof takes the brunt of winter's fury, especially if you experienced heavy snowfall or ice dams. However, getting up on a ladder in the spring can be dangerous, as roof surfaces may still be slick with morning dew or pollen.
Look closely at the shingles. Are any missing entirely? Do you see any tabs that are curled at the edges, cracked in the middle, or lifted? Asphalt shingles that have lost their protective granular coating will look shiny or bald in the sunlight. Pay special attention to the flashing—the metal strips installed around chimneys, vent pipes, and in the valleys where two roof planes meet. If the flashing looks bent, rusted, or if the heavy roofing sealant around it is cracked, water will inevitably find its way into your attic.
Next, examine your gutters. The immense weight of solid ice and snow often causes gutters to warp, sag, or pull away from the fascia board. Look down the line of the gutter; it should run straight, with a slight, imperceptible tilt toward the downspout. If you see a distinct belly or sag in the middle, water will pool there and overflow during the next rainstorm. Finally, check the ground directly beneath the downspouts. If you see a large accumulation of sandy asphalt granules, it means your shingles are deteriorating rapidly and nearing the end of their lifespan.
Siding & Trim: Spotting Frost Heave and Rot
Moving down from the roof, inspect your home's siding and exterior trim. The bottom three feet of your siding are particularly vulnerable because snowbanks often sit directly against this area for weeks or months, keeping the material constantly damp.
For vinyl siding, look for cracks or holes. Extreme cold makes vinyl brittle, and a stray rock thrown by a snowblower or an errant winter branch can easily shatter a panel. For wood or fiber cement siding, look for peeling, bubbling, or blistering paint. Paint doesn't peel just because it's old; it peels because moisture is trapped in the material underneath and is trying to escape. If you see peeling paint, you have a moisture problem that needs to be addressed before you simply scrape and repaint.
Wood trim around exterior windows, doors, and corner boards is highly susceptible to rot. Take a medium-sized flathead screwdriver and gently press it into the wood, especially at the bottom corners of window frames and where trim meets the ground. The wood should feel rock-hard. If the screwdriver tip easily sinks into the wood, or if the wood feels spongy and flakes away, you have rot.
I once ignored a quarter-inch crack in my siding trim because it looked purely cosmetic and I didn't want to deal with it. By late May, a family of carpenter ants had found the damp sheathing underneath and turned it into a nursery, turning what should have been a $5 tube of caulk fix into a $600 siding and pest control repair. Never underestimate a small gap.
Foundation & Grading: The Slope Defense
The most structurally critical part of your post winter exterior inspection happens at ground level. Winter snowmelt and the natural settling of soil over time can drastically alter the grading around your home. Grading refers to the slope of the earth immediately surrounding your foundation.
The golden rule of home drainage is that the ground must slope away from your foundation at a rate of at least 6 inches over the first 10 feet. If the soil is flat, or worse, sloping toward your house (negative grading), every drop of spring rain will pool against your concrete foundation, eventually finding its way into your basement or crawlspace.
Inspect the exposed concrete of your foundation walls. Hairline vertical cracks (less than 1/8 inch) are common and usually just a sign of concrete curing, but they should still be sealed with masonry caulk to prevent water intrusion. However, if you spot any horizontal cracks, stair-step cracks in brick mortar, or cracks wide enough to slip a coin into, you need to call a structural engineer. These indicate significant soil pressure or foundation settlement.
Windows & Doors: Checking the Seals
Your windows and doors are literal holes in your home's exterior armor, relying entirely on caulk and weatherstripping to keep the elements out. The extreme temperature swings of winter cause window frames and siding to expand and contract at different rates. This movement tears older, brittle caulk apart.
Water is relentless, but it's also predictable—it will always find the path of least resistance.
Examine the perimeter of every exterior window and door. The bead of caulk should be smooth, continuous, and firmly attached to both the frame and the siding. If the caulk is cracked, pulling away, or missing entirely, it must be replaced. Do not simply apply new caulk over the old, failing caulk. You must cut away the old material with a utility knife or a 5-in-1 painter's tool, clean the gap, and apply a fresh bead of high-quality exterior polyurethane or elastomeric silicone sealant.
Open your doors and check the rubber or foam weatherstripping. Winter cold often compresses these materials, leaving them permanently flattened. If you can see daylight around the edges of a closed exterior door, or if you can easily slide a piece of paper through the closed seal, it's time to replace the weatherstripping. This $15 fix will stop spring drafts and keep summer humidity out.
Your Post Winter Exterior Inspection Action Plan
Once you have walked your property and identified the weak spots, it's time to organize your findings. Not everything needs to be fixed today, but organizing your tasks ensures nothing gets forgotten when the busy summer months arrive.
- Document and photograph everything. Take clear pictures of any damage you find. This is vital if you need to file an insurance claim for severe winter storm damage, and it helps when explaining the issue to contractors.
- Clear the water pathways. Your immediate priority is ensuring water can get away from your house. Clean out any remaining fall debris or winter twigs from your gutters. Reattach any loose downspouts and ensure splash blocks are properly positioned.
- Tackle the low-level sealing. Pick a dry weekend to replace failing caulk around first-floor windows, doors, and siding trim. Use a 120-grit sandpaper to smooth out peeling paint on wood trim, apply a wood hardener if needed, and touch up the paint to seal the wood.
- Schedule the professionals. If you spotted missing roof shingles, bent flashing, or significant foundation cracks, get on a contractor's schedule immediately. Spring is their busiest season, and waiting until May to call might mean waiting until July for the repair.
Taking a proactive approach to your home's exterior maintenance saves you from the stress of emergency repairs. By spending just one hour walking your property with a critical eye this spring, you can catch the hidden winter damage, protect your home's structural integrity, and ensure your house is fully prepared for whatever weather the rest of the year brings.
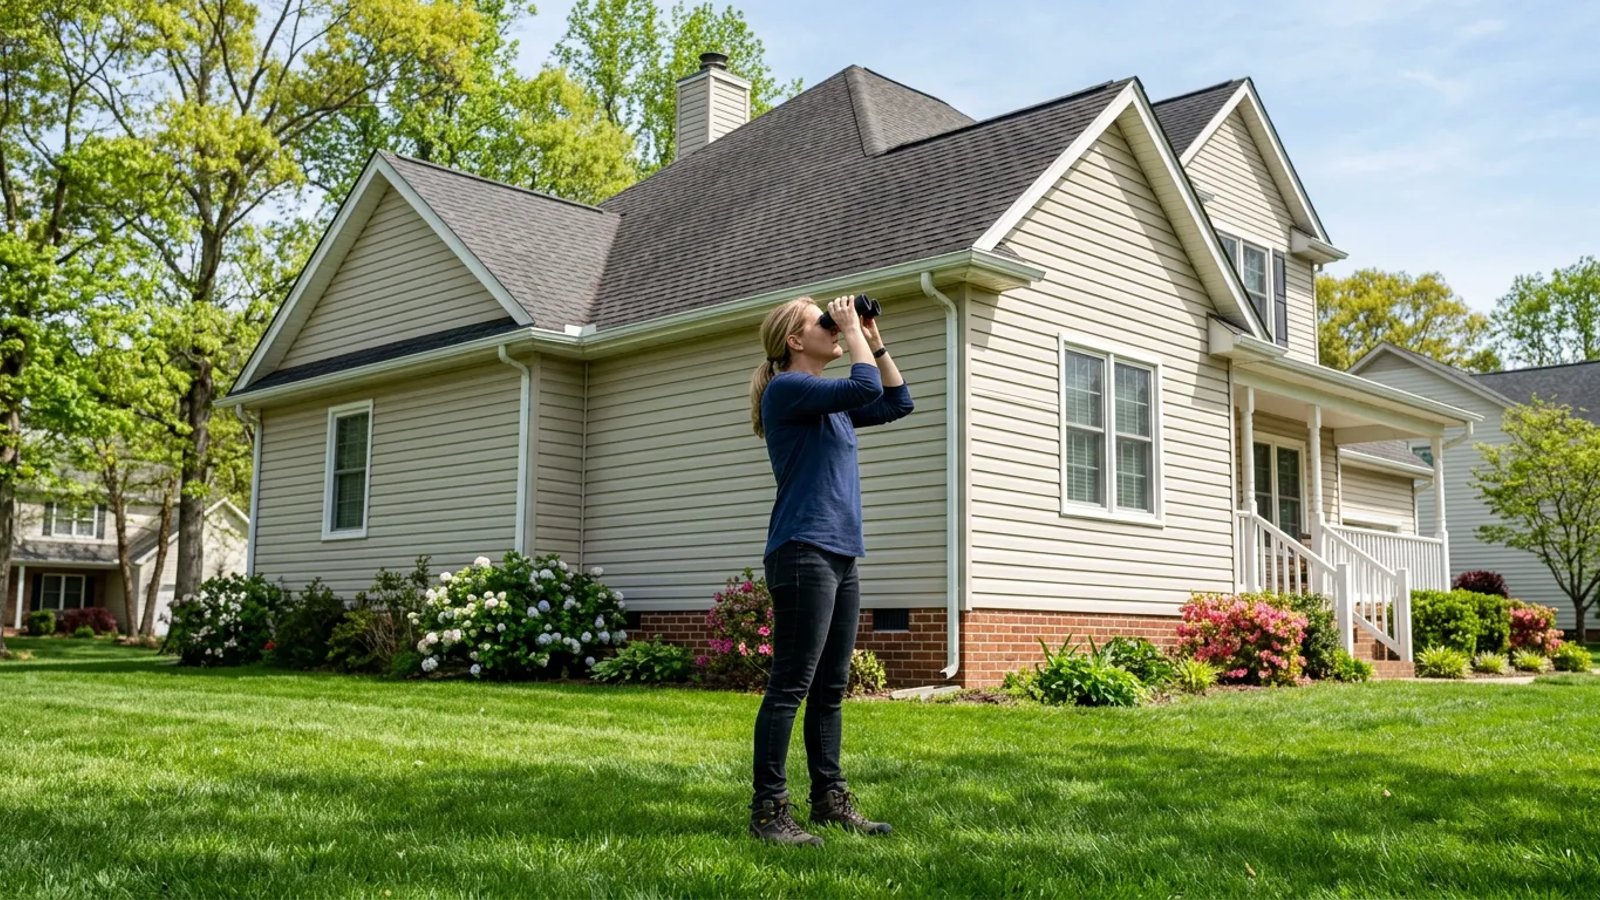
- Use binoculars to safely inspect roof shingles, chimney flashing, and gutter alignment from the ground without risking a ladder fall.
- Probe wood trim with a flathead screwdriver to find hidden soft spots and rot before spring pests move into the damp wood.
- Maintain a drainage slope of at least 6 inches over the first 10 feet away from your foundation to prevent basement water intrusion.
- Replace cracked exterior window and door caulk with high-quality polyurethane or exterior silicone, using a backer rod for gaps larger than 1/4 inch.