How to Clean Window Screens and Prevent Summer Bugs
Get your windows ready for fresh summer air. Learn how to safely wash window screens without stretching the mesh, and patch minor tears to keep mosquitoes outside where they belong.
As mid-spring warms up, throwing open the windows is the best way to air out a stuffy house. But if your screens are caked in winter grime or sporting tiny holes, you're just inviting dust, pollen, and early-season mosquitoes straight into your living room. Before the real heat arrives, taking a little time to properly clean window screens and inspect them for damage is a crucial step in your seasonal home prep.
Dirty screens act like a clogged air filter for your house. When the wind blows through a filthy screen, it carries trapped dirt and allergens right onto your windowsills and furniture. Furthermore, even a pencil-sized hole is an open door for gnats, flies, and spiders. Fortunately, getting your screens back to pristine condition is a highly satisfying afternoon project that requires almost no specialized tools.
Why You Need to Clean Window Screens Before Summer
It is easy to forget about window screens until you look closely at them. Over the autumn and winter months, screens accumulate an impressive layer of organic debris. Windblown dirt, decaying leaf particulates, exhaust soot, and early spring pollen all cling to the tightly woven mesh. When you finally open your windows to enjoy the breeze, that accumulated layer of grime acts as a barrier.
First, dirty screens drastically reduce airflow. You might think a fine layer of dust wouldn't stop the wind, but the tiny squares in the mesh trap dirt easily, reducing the open surface area by up to 30 percent. If your house feels stifling even with the windows open, dirty screens are likely the culprit. Second, washing away this debris improves your indoor air quality. If you suffer from spring allergies, the last thing you want is a breeze blowing directly through a screen coated in last week's pollen count.
Safely Removing and Labeling Your Screens
The biggest mistake homeowners make is assuming all window screens are identical. Even if your windows look exactly the same size, houses settle over time, and window frames warp by tiny fractions of an inch. A screen that fits perfectly in the living room might be frustratingly tight in the bedroom.
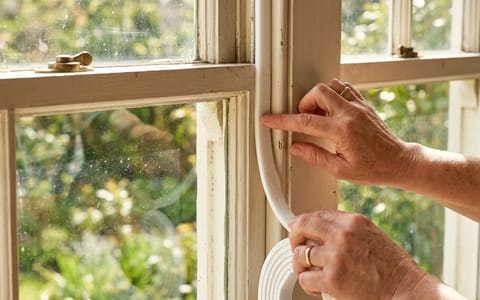
A few years ago, I skipped labeling my screens, thinking I’d easily remember which one went where. I spent a frustrating Sunday afternoon playing a terrible puzzle game trying to match them back up. Don't make that mistake. Before you remove a single screen, grab a roll of blue painter's tape and a permanent marker.
Place a small piece of tape on the aluminum frame of the screen, and a matching piece of tape on the inside of the window sill. Number them sequentially (e.g., "Kitchen 1", "Kitchen 2"). This guarantees a stress-free reinstallation later.
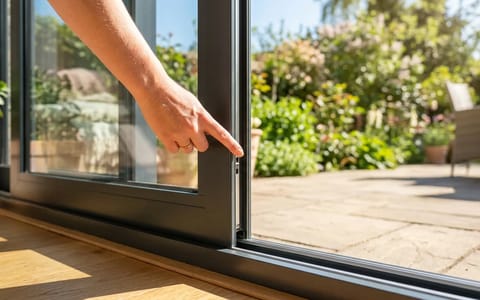
To remove the screens, locate the small pull tabs or spring-loaded pins. Most modern screens pull inward from the inside of the house. Gently pull the tabs to compress the tension springs on the opposite side, then pivot the screen out of the track. If a screen is stubbornly stuck, do not force it. Use a plastic putty knife to gently pry the frame away from the track, being careful not to bend the delicate aluminum edge.
The Gentle Washing Method
Once you have your screens safely out in the yard or driveway, it is time to wash them. The goal here is to lift the dirt without stretching the mesh or popping the rubber spline out of the frame.
Never use a pressure washer on a window screen. The high-velocity water will permanently stretch fiberglass mesh, leaving it baggy and loose, and will blast the paint right off aluminum frames. Instead, rely on a gentle soak and a soft brush.
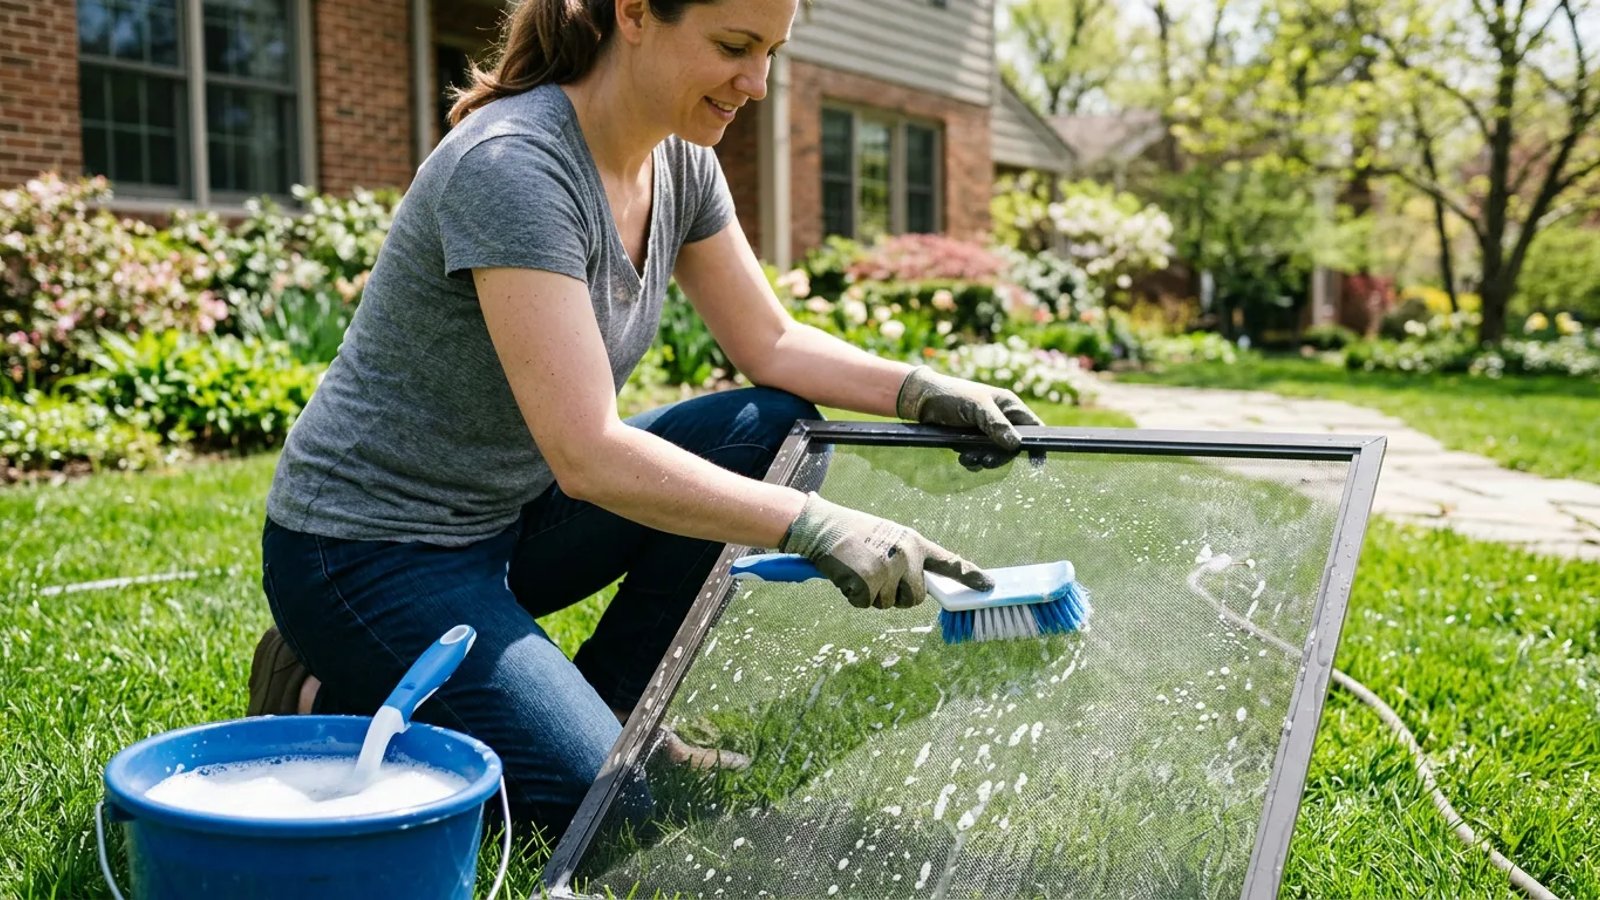
- Lay them flat. Place your screens on a clean, flat surface like a concrete driveway or a patch of short grass. If you are working on concrete, lay down an old tarp first to prevent the aluminum frames from getting scratched.
- Mix your cleaning solution. In a standard bucket, mix about 1/4 cup of mild liquid dish soap with one gallon of warm water. Dish soap is perfect because it cuts through greasy environmental residue without damaging the mesh.
- Hose them down. Using a garden hose with a standard spray nozzle set to the "shower" or "cone" setting, give the screens a gentle initial rinse to remove loose surface dust.
- Scrub gently. Dip a soft-bristle brush—like a car wash brush or a large soft sponge—into your soapy water. Gently scrub the screen in a circular motion. Do not press hard; let the soap do the work. Flip the screen over and scrub the other side.
- Rinse thoroughly. Use the hose to rinse away all the soapy water. Keep rinsing until the water runs completely clear. Any leftover soap residue will actually attract dirt once the screen is back in the window.
Spotting and Patching Minor Tears
Washing your screens actually makes it much easier to spot damage. The water droplets will cling to the mesh, and any break in the uniform pattern will immediately stand out. Inspect each screen carefully before you set it aside to dry.
If you find a massive tear that spans halfway across the frame, you will need to replace the entire mesh—a process called rescreening, which involves buying a roll of screen and a specialized spline roller tool. However, if you spot a small hole, a tear less than an inch long, or a tiny puncture from a bird or a stray branch, you can fix it in two minutes.
Don't let a tiny puncture force you into a full rescreening job. A simple patch will keep the bugs out and save you an hour of work.
Head to your local hardware store and pick up a window screen patch kit. These usually cost between $5 and $10 and contain small squares of fiberglass mesh with an adhesive backing. Ensure the area around the hole is completely dry. Peel the backing off the patch and press it firmly over the hole. For a stronger hold, you can use a hairdryer on a low heat setting for about 30 seconds to soften the adhesive, pressing it tightly between your fingers (one on each side of the screen) so it bonds with the existing mesh.
Drying and Reinstallation Tips
Never reinstall wet screens. Trapping moisture between the screen frame and your window sill can promote mold growth and, in older homes, accelerate wood rot. Instead, let them air dry completely.
Lean the wet screens against a fence, a wall, or outdoor furniture. Keep them out of direct, blazing midday sun if possible, as extreme sudden heat can sometimes warp older, cheaper plastic frames. In a light spring breeze, they should be completely dry in 30 to 60 minutes. Before you bring them back inside, give the frames a quick wipe down with a dry microfiber cloth to catch any lingering water droplets in the corners.
While the screens are drying, take a damp rag and wipe out your window tracks. All the dirt that washes off your windows during rainstorms tends to pool in the bottom track. Cleaning this out now ensures your freshly washed screens won't sit in a bed of mud.
Finally, grab your screens and match your numbered painter's tape. Slide the spring-loaded side of the frame into the window track first, compress the springs, and pivot the other side into place. Make sure the pull tabs are facing the interior of the house.
With clean screens securely back in place, you are officially ready for the warmer weather. You can finally open your windows to let the spring breeze roll through your home, knowing you've maximized your fresh airflow while keeping the seasonal pests exactly where they belong—outside.