How to Fix a Toilet Running After Flush in 5 Minutes
Stop that annoying hissing sound and save on your water bill. Learn how to diagnose and fix a toilet running after a flush in just five minutes with no special tools.
You flush, wash your hands, and walk away. But ten minutes later, you hear it: the steady, hissing sound of a toilet running after flush. Not only is that sound a constant annoyance, but it is also quietly draining your wallet. A constantly running toilet can waste up to 200 gallons of water a day, turning a minor mechanical hiccup into a major utility expense.
The good news? You do not need to pay a professional plumber $150 to fix this. Opening the tank might feel a bit intimidating if you are not used to plumbing, but the mechanics inside are incredibly simple. In about five minutes, with zero special tools, you can diagnose the problem and restore silence to your bathroom. We are going to walk through the three most common culprits so you can get this sorted out today.
Anatomy of Your Toilet Tank
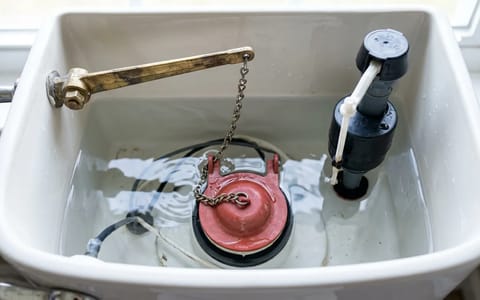
Before we start fixing things, let us identify the cast of characters inside your toilet tank. Carefully lift the heavy porcelain lid off the back of the toilet and set it flat on a towel so it does not scratch your floor or crack.
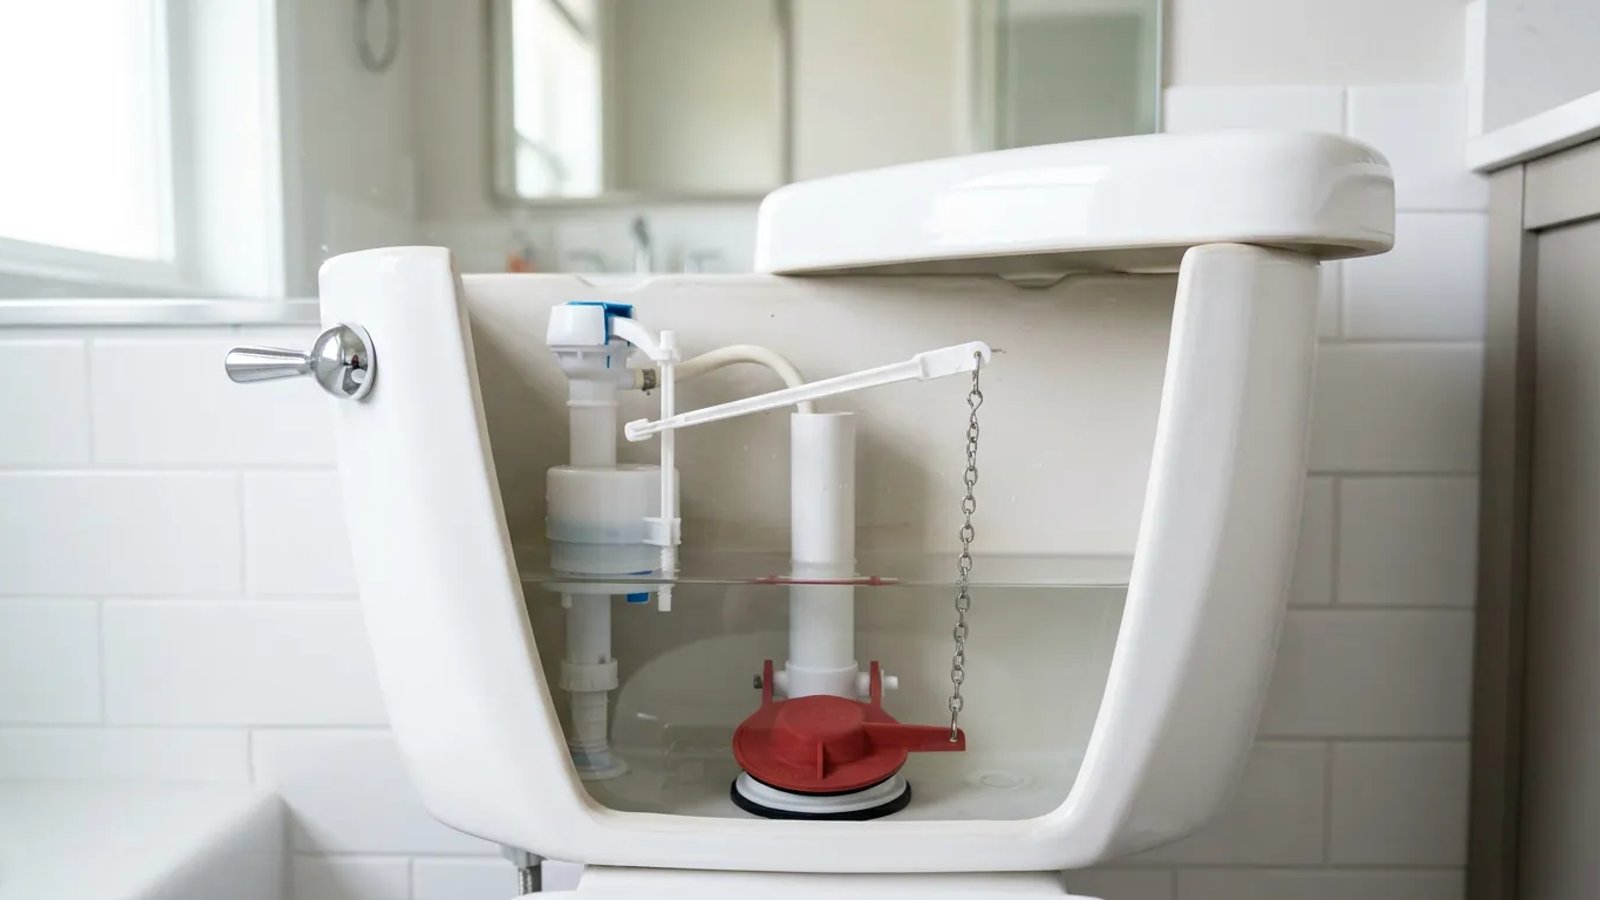
Inside, you will see a few key components. The fill valve is the tall vertical tower on the left side that brings water into the tank. Attached to it is the float, which tells the valve when the tank is full. In the center, you will see an open pipe called the overflow tube. At the bottom of that tube sits the flapper, a rubber seal connected to your flush handle by a small metal or plastic chain. When one of these parts gets out of sync, the water never stops flowing.
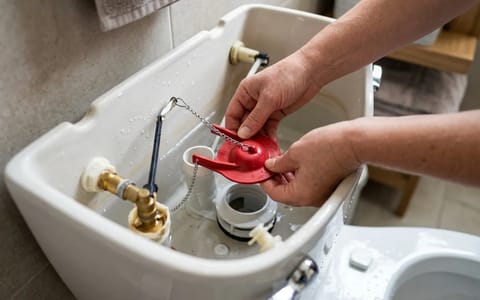
Culprit 1: The Tangled Chain
The easiest and most common reason for a toilet running after flush is a problem with the chain. When you press the handle, the chain lifts the flapper to release water into the bowl. If the chain is too long, it can get sucked under the flapper as the water drains, preventing the rubber from creating a tight seal.
Conversely, if the chain is too short, the flapper can never fully rest against the flush valve seat. You want the Goldilocks length: about 1/2 inch of slack.
- Test the handle. Jiggle the flush handle and watch how the chain moves.
- Adjust the clip. Unhook the small metal clip connecting the chain to the handle lever.
- Set the slack. Move the clip up or down the chain until you have exactly 1/2 inch of slack when the flapper is closed.
- Test the flush. Flush the toilet and ensure the flapper lifts easily and drops back down completely flat.
Culprit 2: The Worn-Out Flapper
If the chain is perfectly adjusted but the water is still running, the flapper itself is likely the issue. Flappers are made of rubber, and over time, exposure to water and cleaning chemicals causes them to warp, shrink, or degrade. If the flapper cannot form a watertight seal, water will continuously leak into the bowl, forcing the fill valve to run constantly.
A $5 replacement flapper is the single highest return-on-investment repair you can make in your home.
Reach down and run your finger along the edge of the flapper. If you feel mineral buildup, you can try cleaning it with a sponge. However, if the rubber feels stiff, brittle, or leaves a black residue on your fingers, it is time for a replacement.
To replace it, turn off the water valve on the wall behind the toilet. Flush to empty the tank. Unhook the old flapper from the pegs on the overflow tube and snap a new one into place. Universal flappers cost between $5 and $10 at any local hardware store and fit 90% of residential toilets.
Culprit 3: The Misadjusted Float
Sometimes the flapper is perfectly fine, but the water level is simply set too high. If the water level rises above the top of the open overflow tube, it will constantly spill down into the bowl. The fill valve will then run continuously to try and replace the lost water.
The water level is controlled by the float. Older toilets have a large plastic ball on the end of a brass arm, while newer toilets feature a float cup that slides up and down the main fill valve shaft.
Your goal is to set the water level so it stops about 1 inch below the top of the overflow tube. For a float cup, locate the adjustment screw on top of the fill valve. Use a Phillips-head screwdriver to turn the screw counterclockwise, which lowers the float and reduces the water level. Flush the toilet and let it refill to verify the new resting water line.
When to Call a Professional
Most running toilets are easily fixed with the steps above. However, if you have replaced the flapper, adjusted the chain, and lowered the float, but the tank is still constantly running or making a loud squealing noise, the entire fill valve assembly may be internally cracked or worn out.
Taking a few minutes to diagnose your tank not only gives you a quieter bathroom but also makes you a more confident homeowner. By tackling this simple five-minute check, you are protecting your plumbing, conserving a massive amount of water, and keeping your utility bills exactly where they belong.