10 Clever DIY Plumbing Lifehacks Every Homeowner Needs
Save money and skip the service call with these 10 clever DIY plumbing lifehacks. Fix slow drains, leaky toilets, and clogged showerheads using simple pantry items.
Ever faced a slow drain, a stinky garbage disposal, or a showerhead spraying water in every direction except at you? Plumbers are incredibly skilled professionals, but calling one out to your house for a minor annoyance usually starts at $150 just for them to walk through the front door. Fortunately, you can solve most of these everyday quirks using items already sitting in your kitchen pantry or basic toolbox. Implementing a few clever diy plumbing lifehacks can save you a significant amount of money and frustration.
I remember the first time I realized a slightly running toilet was costing me an extra $40 a month on my water bill. A $6 flapper and five minutes of work fixed the issue entirely, and I have been slightly obsessed with preventative plumbing maintenance ever since. You do not need a truck full of specialized gear to keep your home's water systems flowing smoothly. Let us look at some of the most effective, accessible tricks you can use today.
Brilliant Bathroom Plumbing Hacks
The bathroom is ground zero for hair clogs, hard water stains, and silent leaks. Because these fixtures see heavy daily use, they require the most frequent attention. Here are a few ways to keep your bathroom plumbing in top shape without harsh chemicals.
1. The Zip-Tie Drain Snake for Hair Clogs
Bathroom sink and tub drains are notorious for collecting hair, which tangles around the pop-up stopper mechanism and creates a sludgy, slow-draining mess. Instead of pouring toxic chemicals down the drain or buying a specialized plastic snake, head to your garage and grab a standard 24-inch nylon zip-tie.
Using a pair of wire cutters or heavy scissors, carefully snip diagonal notches into the sides of the zip-tie, spacing them about half an inch apart. Make sure you angle the cuts upward toward the head of the tie. Slide the modified zip-tie down into the drain, wiggle it around, and pull it back up. The notches act like tiny hooks, grabbing onto the hair clog and pulling it out in one piece. It takes less than five minutes and costs mere pennies.
2. The Vinegar Bag Trick for Crusty Showerheads
If your showerhead is shooting water sideways or has lost its pressure, it is likely clogged with calcium carbonate—a hard mineral deposit left behind by hard water. Scrubbing the exterior rarely works because the blockage is inside the tiny rubber nozzles.
Instead of buying a brand-new fixture, use the acidic power of distilled white vinegar to dissolve the minerals. Here is the best way to apply it without having to unthread the showerhead from the wall:
- Fill the bag. Pour one cup of distilled white vinegar into a sturdy, leak-proof sandwich bag.
- Submerge the fixture. Lift the bag up and over the showerhead so that the face and all the nozzles are completely submerged in the liquid.
- Secure it tightly. Wrap a thick rubber band around the top of the bag and the metal shower arm to hold it firmly in place.
- Soak and scrub. Leave the bag attached for 4 to 8 hours (or overnight). Remove the bag, run the hot water for a minute to flush the lines, and gently scrub the nozzles with an old toothbrush to remove any remaining softened scale.
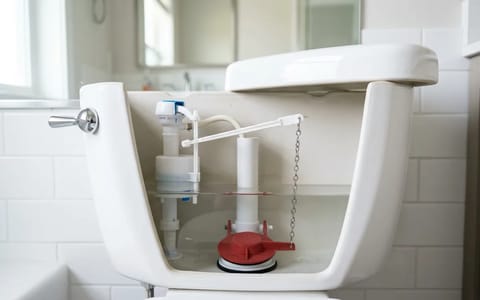
3. The Food Coloring Toilet Leak Test
A toilet that constantly runs or periodically refills itself is suffering from a silent leak. This usually happens when the rubber flapper at the bottom of the tank degrades and fails to hold a watertight seal. This tiny leak can waste up to 200 gallons of water a day.
To confirm a leak without taking anything apart, remove the toilet tank lid and drop 5 to 6 drops of red or blue food coloring into the water. Do not flush the toilet. Wait 30 minutes, then look inside the toilet bowl. If the water in the bowl has changed color, you have a confirmed flapper leak. A replacement flapper costs between $5 and $10 at any hardware store and requires zero tools to install.
Kitchen Sink & Disposal Tricks
Kitchen plumbing faces a unique set of challenges, primarily involving food waste, grease, and soap scum. Keeping your sink and disposal clear is vital for a hygienic kitchen.
4. Ice and Citrus Peels for Garbage Disposals
Garbage disposals are fantastic appliances, but they can quickly become a source of foul odors. Food sludge coats the inside of the grinding chamber and the underside of the black rubber splash baffle. Many homeowners mistakenly believe that disposals have sharp blades that need sharpening. In reality, they use blunt metal impellers to smash food against a grater ring.
To clean the chamber and knock off that built-up sludge, toss two cups of solid ice cubes into the disposal. Add a handful of lemon or orange peels for freshness. Turn on the cold water to a medium flow, and flip the disposal switch. The ice acts as a hard abrasive, violently scouring the impellers and the grater ring, while the citrus oils naturally deodorize the metal. Run the water for an additional 15 seconds after the grinding stops to flush the debris away.
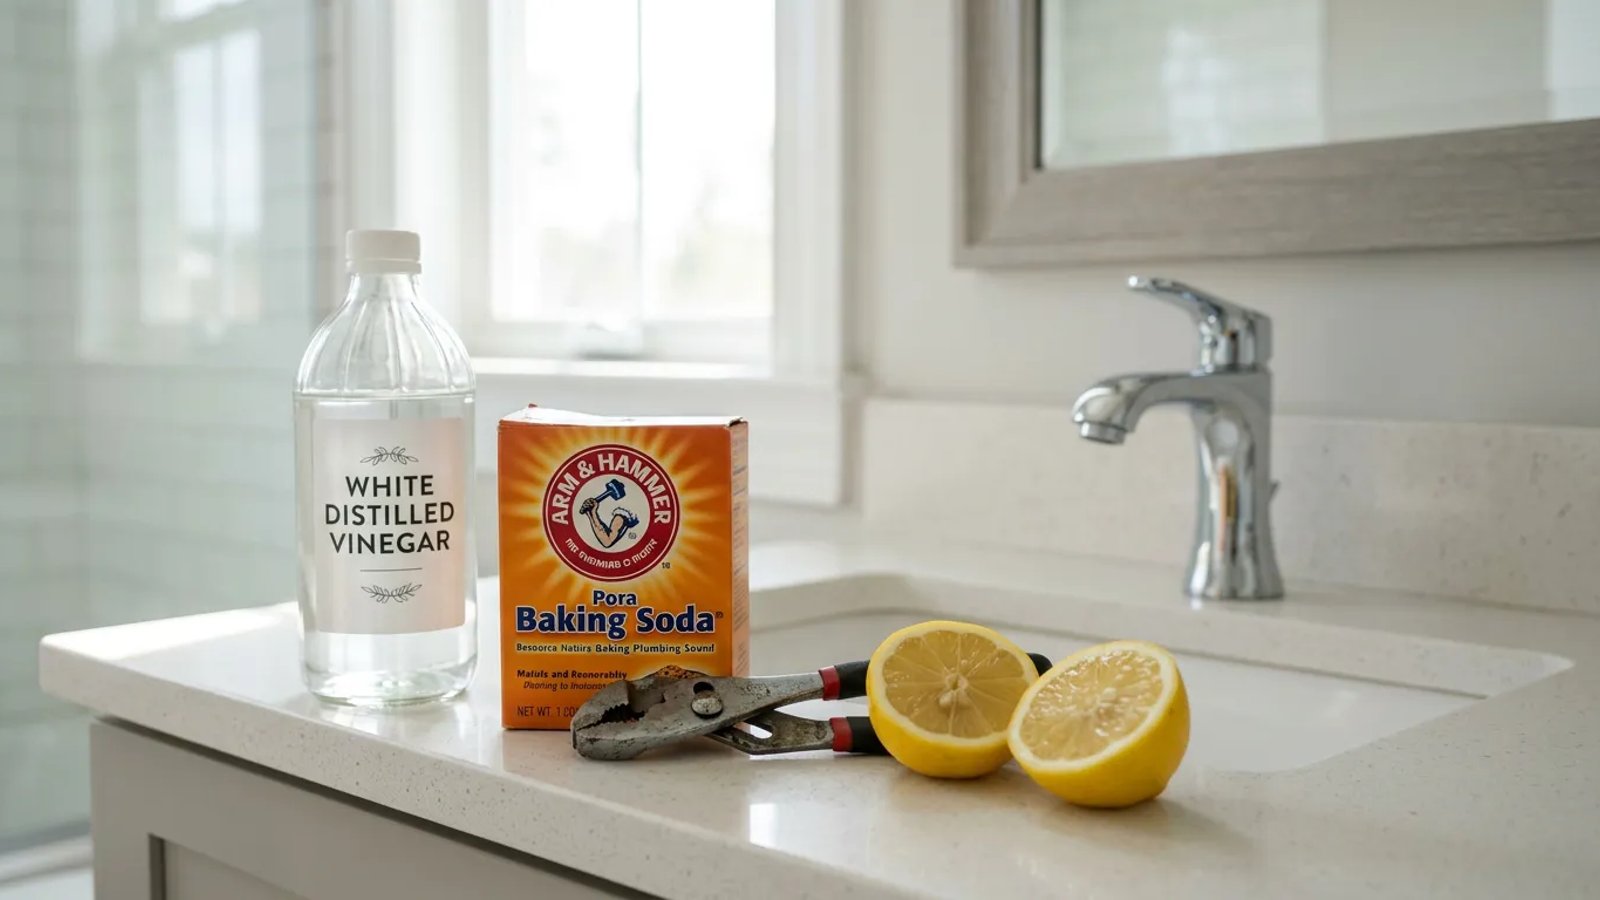
5. Unclogging Slow Drains with Baking Soda and Vinegar
When a kitchen sink starts draining slowly, grease and soap scum are usually the culprits. Rather than reaching for a $15 bottle of caustic chemical cleaner that can corrode your pipes, use an endothermic chemical reaction to break up the sludge.
A $3 bottle of white vinegar can solve more plumbing problems safely than a $30 jug of harsh chemical drain cleaner.
Start by pouring half a cup of standard baking soda directly down the slow drain. Follow it immediately with half a cup of white vinegar. Quickly plug the drain with a stopper or a wet rag to force the fizzing, expanding reaction downward into the clog rather than up into the sink. Let it sit for 15 to 20 minutes. Finally, flush the drain with a kettle of hot water. Note: If you have PVC plastic pipes, do not use boiling water, as temperatures over 140°F can warp the plastic. Use the hottest water your tap can produce instead.
Easy Fixes for Fixtures & Pipes
Sometimes the plumbing works perfectly fine, but the hardware surrounding it becomes stubborn or unsightly. These lifehacks focus on the external components of your plumbing system.
6. Wax Paper for Spotless Chrome Fixtures
Chrome and brushed nickel bathroom faucets look beautiful until they are covered in hard water spots and fingerprints. You can clean them with glass cleaner, but the spots will return the next time someone washes their hands.
To keep them spotless longer, clean the fixture thoroughly and dry it completely. Then, crumple up a piece of standard kitchen wax paper and rub it vigorously over the metal. The friction transfers a microscopic layer of carnauba wax onto the fixture. This invisible barrier causes water droplets to bead up and roll off instantly, preventing mineral deposits from forming for several weeks.
7. The Rubber Band Trick for Stripped Aerators
The aerator is the small screw-on screen at the tip of your faucet that mixes air into the water stream. Over time, mineral deposits can essentially cement the aerator to the faucet spout. If you take a pair of metal pliers directly to the aerator to twist it off, you will severely scratch and ruin the metal finish.
To protect the fixture, wrap a thick, wide rubber band around the aerator several times. The rubber band serves two purposes: it protects the chrome finish from the metal teeth of your slip-joint pliers, and it provides an incredibly tacky surface that prevents the pliers from slipping as you apply torque. Gently twist counter-clockwise, and the aerator will break free without a single scratch.
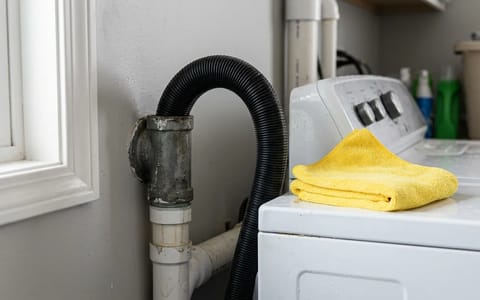
8. Freeing Stubborn Shut-Off Valves with a Hairdryer
The angle stop valves under your sinks and behind your toilets are designed to shut off the water supply in an emergency. However, because they sit unused for years at a time, the internal rubber washers can swell and the brass threads can seize. If you try to force a stuck valve by hand, you risk snapping the handle off entirely.
Instead of using brute force, grab a standard hairdryer. Aim the hairdryer at the brass body of the valve (not the plastic handle) on medium heat for 3 to 5 minutes. The localized heat will cause the brass body to expand ever so slightly—just enough to break the microscopic bond of corrosion. Wrap a rag around the warm handle and turn it gently. Once it breaks free, turn it fully off and back on a few times to clear the threads.
The Ultimate Garbage Disposal Hack
We covered cleaning the disposal, but what happens when it stops working entirely? This is one of the most common reasons homeowners call a plumber, yet it is usually the easiest fix of all.
9. The 1/4-Inch Allen Wrench Unjam
If you turn on your garbage disposal and hear a low humming sound but the impellers are not spinning, the unit is jammed. A piece of bone, a fruit pit, or a rogue piece of silverware is wedged between the impeller plate and the wall. If you leave it humming, the motor will eventually overheat and trip its internal breaker.
Turn the switch off immediately. Look underneath your sink at the very bottom center of the disposal cylinder. You will find a small hexagonal hole. Insert a standard 1/4-inch Allen wrench (hex key) into this hole and forcefully crank it back and forth. This manually turns the motor shaft, bypassing the jam. Once the wrench spins freely in a full circle, the jam is cleared. Press the small red reset button on the bottom of the unit, turn on the water, and flip the switch. You just saved yourself a $150 service call.
Wrapping Up Your Home Maintenance
Keeping your pipes, drains, and fixtures flowing smoothly does not require a master plumbing license or expensive, specialized chemicals. By understanding how your home's water systems work and utilizing a few clever household items, you can tackle minor quirks safely and effectively. Staying proactive with these simple maintenance hacks keeps your system running efficiently, extends the lifespan of your fixtures, and keeps your wallet a little heavier.