How to Fix Peeling Bathroom Paint (And Stop It Coming Back)
Stop the cycle of flaking bathroom walls. Learn how to diagnose moisture issues, properly prep damaged drywall, and apply the right moisture-resistant paint.
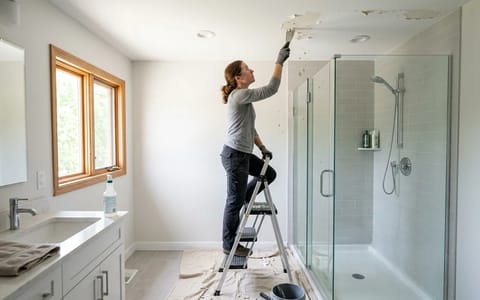
You step out of a hot, relaxing shower, reach for your towel, and look up to see a familiar, frustrating sight: the paint on your bathroom ceiling is bubbling, flaking, and peeling away. It usually starts as a small blister above the showerhead, but left unchecked, it quickly spreads into an unsightly, flaky mess. Fixing peeling bathroom paint requires more than just slapping on a new coat of color. If you do not address the root cause, you will be scraping and repainting those exact same spots six months from now.
This problem is incredibly common, but the good news is that it is entirely fixable over a weekend. To get a permanent seal, you need to understand why the paint failed in the first place, prepare the surface meticulously, and choose materials designed specifically for high-humidity environments.
Why Your Bathroom Paint Keeps Peeling
Paint needs a clean, dry, and stable surface to adhere properly. Bathrooms are notoriously hostile environments for paint because they experience extreme, rapid fluctuations in humidity and temperature. When hot water runs, steam fills the room. If that moisture cannot escape, it looks for a place to settle, usually condensing on the coolest surfaces—your walls and ceiling.
If the previous homeowner used a flat or matte paint finish, you are already at a disadvantage. Flat paints are highly porous. They absorb condensation like a sponge, allowing moisture to penetrate beneath the paint film and weaken its bond with the drywall or plaster beneath. Once that bond is broken, the paint bubbles and eventually cracks. Similarly, if there is a lack of proper ventilation, even high-quality paint will eventually succumb to the relentless daily moisture assault.
The Paper Towel Test (And Ventilation Fixes)
Before you pick up a scraper or a paintbrush, you need to ensure your bathroom can actually breathe. The most common culprit behind peeling paint is an underperforming exhaust fan. Over time, fan motors weaken, and the internal housing gets clogged with dust, hairspray, and lint, severely reducing airflow.
You can check your fan’s efficiency right now with a simple diagnostic trick. Turn the exhaust fan on, take a single square of toilet paper or a lightweight paper towel, and hold it flat against the fan grille. Let go. If the fan has enough suction to hold the paper firmly in place, your airflow is decent. If the paper slides off and flutters to the floor, your fan is not pulling enough air to keep your walls dry.
If your fan fails the test, remove the plastic cover (most pull straight down and pinch off via wire springs) and vacuum out the accumulated dust. If it still fails, you may need a replacement motor. For a standard 8-foot ceiling, your fan should have a CFM (Cubic Feet per Minute) rating of at least 1 CFM per square foot of room area. A 50-square-foot bathroom needs at least a 50 CFM fan.
How to Fix Peeling Bathroom Paint: Step-by-Step
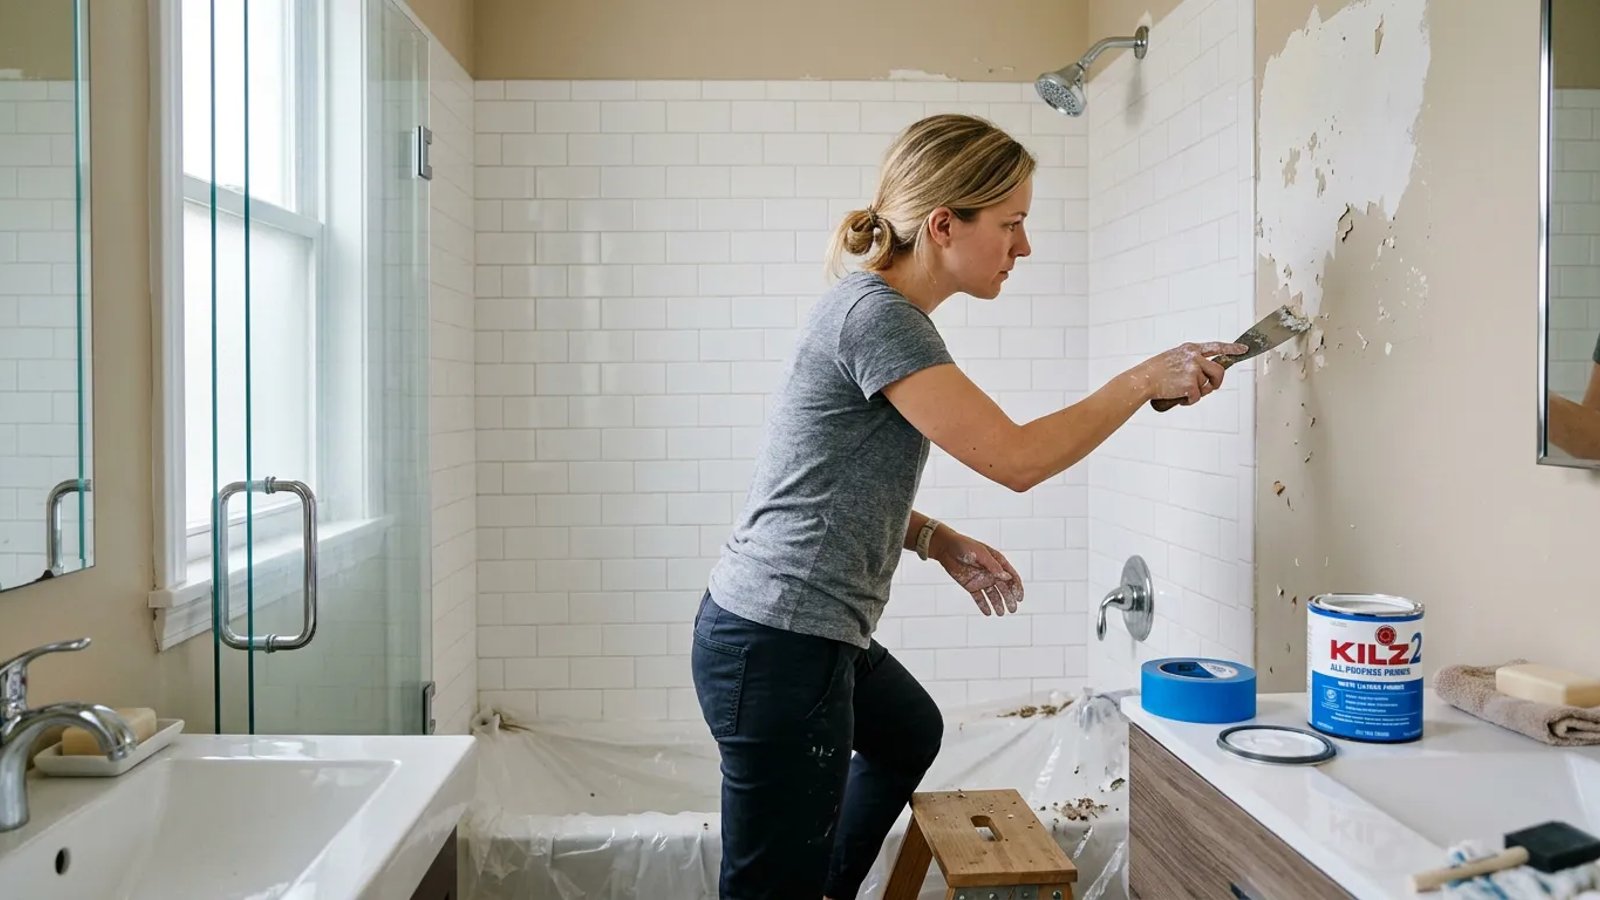
Once your ventilation is sorted, it is time to tackle the cosmetic damage. I used to just paint over the flakes in my first house, hoping a thick layer of latex would hold it all together. Six months later, it looked like a peeling sunburn again. Doing the prep work makes all the difference between a temporary patch and a permanent fix.
- Prep and Protect. Lay down canvas drop cloths over your vanity, toilet, and floor. Tape off the edges of your shower surround with high-quality blue painter's tape. Sanding and scraping will create fine dust that you do not want settling into your grout lines.
- Scrape the Loose Paint. Take a rigid metal putty knife and gently slide it under the edges of the peeling paint. Push firmly but keep the blade at a shallow angle so you do not gouge the underlying drywall. Keep scraping until the paint stops flaking and you hit a solid, firmly adhered edge.
- Patch and Sand. You will now have a noticeable depression where the old paint was removed. Apply a thin layer of lightweight joint compound (spackle) over the area using your putty knife. Once it dries (usually 1 to 2 hours), use a 120-grit sanding sponge to sand the patch smooth. Focus on "feathering" the edges so you cannot feel the transition line between the bare drywall and the existing paint.
- Clean the Surface. Drywall dust is the enemy of paint adhesion. Wipe the entire wall or ceiling down with a barely damp microfiber cloth. For areas near the shower, washing the walls lightly with a TSP (Trisodium Phosphate) substitute or a mild degreaser will remove soap scum and hairspray residue. Let it dry completely.
Choosing the Right Primer and Paint
With the surface smooth and clean, you must seal the patched areas. Do not skip the primer. Joint compound is highly porous and will suck the moisture right out of your topcoat, leading to a dull, uneven finish that is prone to peeling.
For bathrooms, you need a high-adhesion, moisture-resistant primer. Products like Zinsser Bulls Eye 1-2-3 or Kilz 2 All-Purpose are excellent choices for sealing bare drywall and providing a grippy surface for your new paint. If you noticed any dark spots or mildew during your prep, upgrade to a specific mold-killing primer to prevent spores from growing through your new finish.
Using flat paint in a bathroom is like wearing a wool sweater in a sauna—it’s going to soak up every drop of moisture.
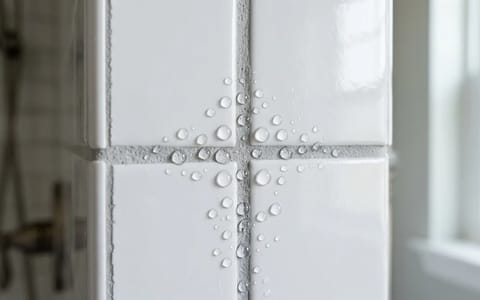
When selecting your topcoat, finish is everything. You want a 100% acrylic latex paint in either a satin or semi-gloss finish. These finishes contain more resins, creating a hard, slick shell that causes water to bead up and roll off rather than soaking in. While high-gloss offers the most moisture resistance, it also highlights every single imperfection in your drywall, making satin the ideal middle ground for most homeowners.
Applying the New Finish for a Permanent Seal
Begin by "cutting in" around the edges of the ceiling, shower surround, and trim using a high-quality, 2-inch angled nylon brush. Work in small sections so the cut-in paint stays wet while you roll the main walls. Use a 3/8-inch nap roller for smooth walls or a 1/2-inch nap if your walls have heavy texture. Apply two even coats, waiting the manufacturer's recommended time between coats (usually 2 to 4 hours).
The most critical step in this entire process happens after you put the brushes away: the cure time. While your new bathroom paint might feel dry to the touch in an hour, it is not fully cured. The chemical cross-linking that gives acrylic paint its moisture resistance takes time. You must wait a minimum of 48 hours—ideally 72 hours—before taking a shower in that bathroom. Introducing heavy steam before the paint has cured will ruin the bond and restart the peeling cycle.
Keeping the Peel Away for Good
You have put in the elbow grease to scrape, patch, prime, and paint. To protect your investment, make moisture management a daily habit. Always run your exhaust fan during showers and leave it on for 20 minutes afterward. If you do not have a timer switch on your fan, installing one is a fantastic $25 upgrade that ensures the fan runs long enough without accidentally being left on all day.
Leave the bathroom door cracked open after showering to encourage cross-ventilation, and consider keeping a small squeegee in the shower to wipe down the tile walls before you step out. By managing the humidity and using the correct satin or semi-gloss finish, your newly painted bathroom walls will stay smooth, sealed, and securely attached for years to come.