How to Clean Moldy Shower Grout (And Stop It Coming Back)
Stop reaching for harsh bleach. Learn how to safely deep-clean moldy shower grout with oxygen bleach and seal it properly to prevent it from ever coming back.
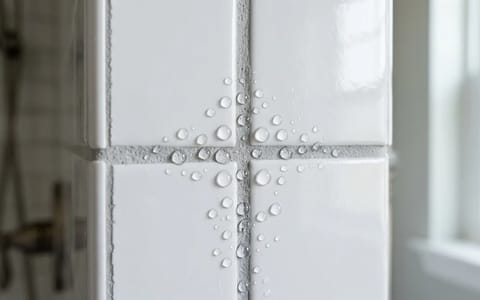
Dark, stubborn spots in your bathroom are more than just an eyesore. When you need to clean moldy shower grout, the stakes are actually higher than mere aesthetics. Grout is a highly porous mixture of cement, sand, and water. When mold takes root, it doesn't just sit on the surface; it burrows deep into those microscopic pores, feeding on soap scum and lingering moisture. If left unchecked, this fungal growth can compromise the integrity of the grout, leading to hidden water leaks, damaged backer board, and expensive rot behind your tiles.
Most homeowners immediately reach for the strongest bottle of household bleach they can find. A few years ago, I spent an entire Saturday scrubbing my guest bathroom shower with pure bleach, only to find the mold creeping back a month later—and the grout lines starting to look suspiciously crumbly. That is when I learned the hard way about the chemistry of cementitious grout and why harsh chemicals are a short-term illusion.
Why Traditional Bleach Ruins Grout Over Time
Chlorine bleach is excellent at bleaching things white, which means it quickly turns dark mold invisible. However, its high surface tension prevents it from soaking deeply into the porous structure of the grout. It kills the surface spores but leaves the deep-rooted mycelium intact, practically guaranteeing the mold will return.
More importantly, chlorine bleach has a highly alkaline pH that actively degrades the cementitious bonds in your grout over time. Repeated applications will cause the grout to become brittle, crack, and eventually wash away down the drain. This creates even larger crevices for water to pool and mold to grow.
Instead of chlorine, the secret to safely deep-cleaning your shower is sodium percarbonate, commonly known as oxygen bleach. When dissolved in warm water, it releases hydrogen peroxide and soda ash. This solution easily penetrates the porous grout, bubbling away the organic matter and killing the mold roots without eating away at the cement.
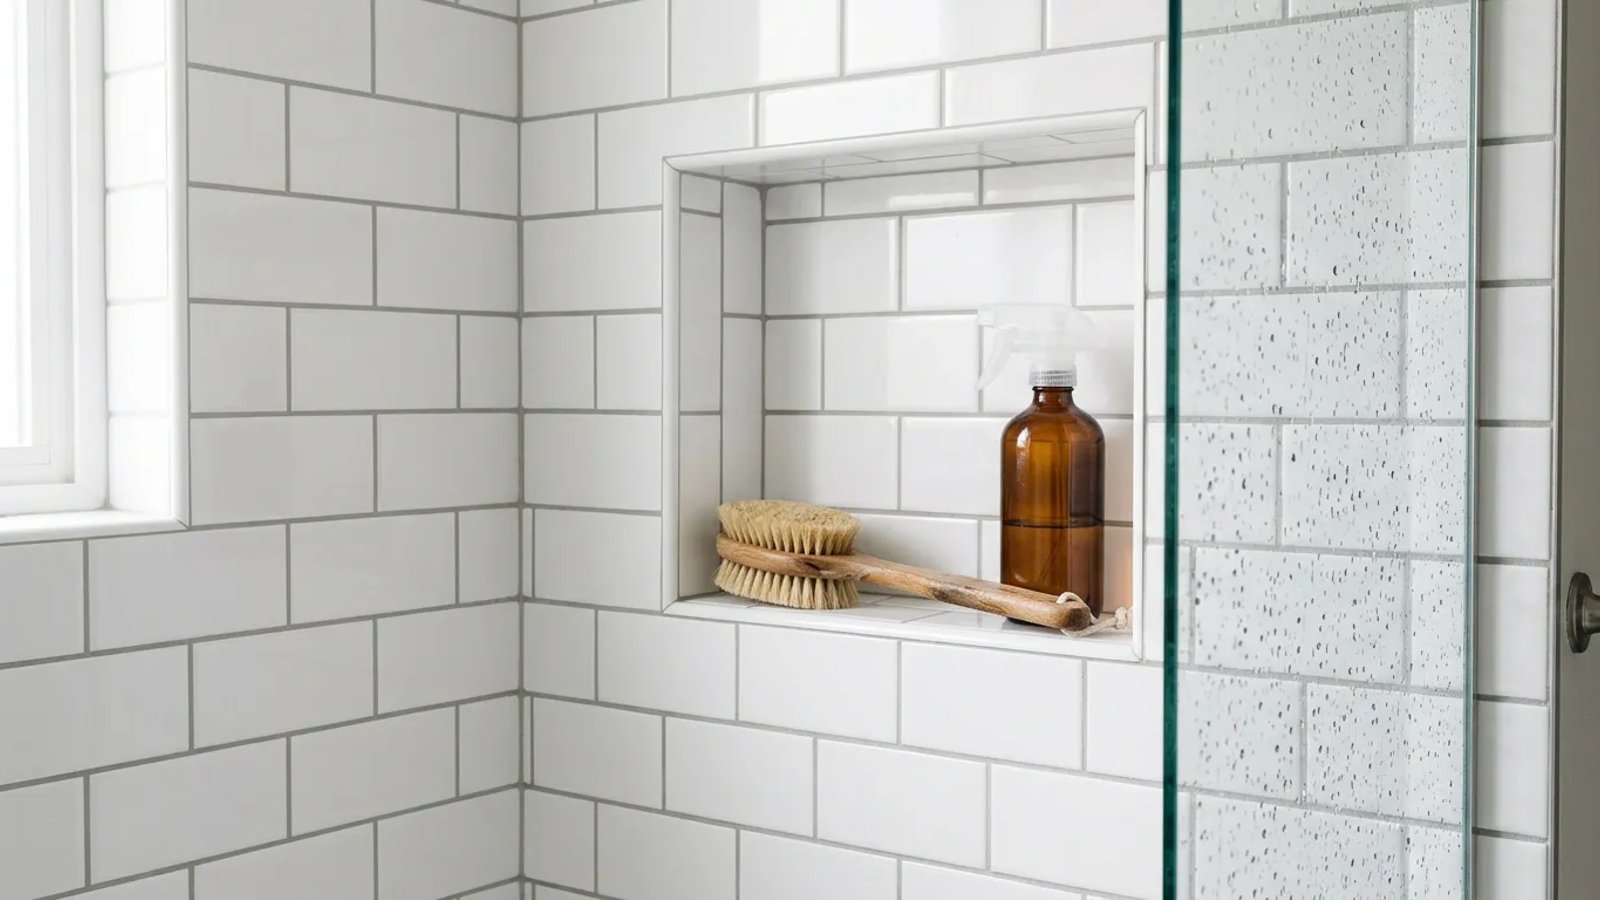
The Tools You Need for a Safe Deep Clean
Before you start, gather the right materials. You can find all of these at your local hardware store for under $30.
- Oxygen bleach powder: Look for brands free of dyes and perfumes, or pure sodium percarbonate.
- Stiff nylon grout brush: Never use a metal wire brush, which will scratch your ceramic or porcelain tiles and destroy the grout.
- Warm water: Around 120 degrees Fahrenheit is ideal to activate the powder.
- A plastic mixing bowl and spoon: For creating your cleaning paste.
- Microfiber cloths: For wiping away the residue.
How to Clean Moldy Shower Grout Safely
The key to this method is dwell time. Oxygen bleach needs time to work its way into the pores and break down the organic structure of the mold.
- Mix your paste. In a plastic bowl, combine oxygen bleach powder with just enough warm water to create a thick paste, roughly the consistency of peanut butter.
- Apply to the grout lines. Using a spoon or your gloved fingers, smear the paste directly onto the moldy areas. Work from the bottom of the shower upward to prevent watery streaks from washing away the paste below.
- Let it dwell. Leave the paste undisturbed for 30 to 60 minutes. You may hear a faint fizzing sound—that is the oxygen bleach actively breaking down the mold.
- Scrub the lines. Dip your stiff nylon brush in warm water and scrub the grout lines vigorously. The mold and discolored soap scum should lift away easily.
- Rinse thoroughly. Use your showerhead or a bucket of clean water to wash all the remaining paste and debris down the drain. Wipe the tiles down with a clean microfiber cloth.
The secret to a pristine shower isn't scrubbing harder; it's giving your cleaning solution the proper time to break down the mold roots.
The Crucial Step: Drying the Grout Lines
Once your shower is sparkling clean, you might be tempted to immediately apply a sealer. Do not rush this step. If you seal damp grout, you will trap moisture inside, which can lead to a fresh outbreak of mold beneath the protective barrier.
Grout must be bone dry before sealing. In a well-ventilated bathroom, this typically takes 24 to 48 hours. Turn on your bathroom exhaust fan and, if possible, set up a small oscillating fan pointing directly into the shower stall to keep the air circulating.
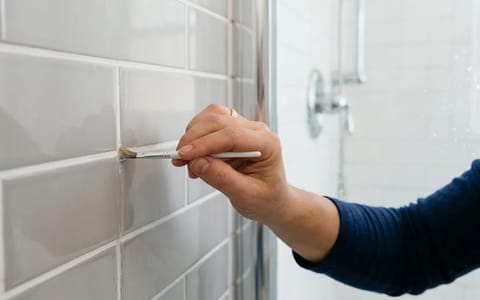
Sealing the Grout to Stop Mold Coming Back
Grout sealer acts like a microscopic raincoat for your shower walls. You want a penetrating sealer (often labeled as an impregnator), rather than a topical sealer. Topical sealers sit on the surface and can peel or turn yellow in a wet environment. Penetrating sealers soak into the pores, blocking water and soap scum from entering while still allowing the grout to breathe.
A high-quality penetrating sealer usually costs between $15 and $25 at home improvement stores. Application is straightforward but requires a bit of precision.
Start by pouring the sealer into a small applicator bottle with a brush tip or a sponge wheel. Slowly trace the grout lines, applying a generous coat. Allow the sealer to soak in for 5 to 10 minutes. This is where many homeowners make a mistake: you must wipe off the excess sealer from the face of the tiles before it dries. If left on the glazed tile surface, it will dry into a hazy, sticky film that is very difficult to remove. Use a dry microfiber cloth to buff the tiles clean, leaving the sealer only in the recessed grout lines.
Most penetrating sealers require two coats for maximum protection. Wait about 30 minutes between coats, and then let the shower cure completely for 24 hours before turning on the water.
Long-Term Shower Maintenance Habits
Once you have a clean, sealed shower, keeping it that way requires just a few minor adjustments to your daily routine. Mold spores are everywhere in the air, but they cannot grow without a steady supply of moisture and food, like body oils and soap scum.
Taking a weekend to properly clean and protect your shower grout will save you from endless scrubbing and potentially thousands of dollars in water damage repairs down the road. With the right tools and a little patience, you can keep your bathroom looking bright, fresh, and structurally sound for years to come.