Water Pooling in Crawl Space? How to Find and Fix the Cause
Discovering standing water under your house after heavy spring rains is stressful, but it is usually a fixable surface-drainage issue. Learn how to safely remove the water and stop it from coming back.
Finding a puddle under your house is a fast way to ruin a perfectly good weekend. Mid-spring brings heavy rain showers that put residential drainage systems to the absolute test. If you have recently poked your head through the access door and noticed water pooling in your crawl space, your first reaction was likely panic. That is completely normal. Standing water under a house looks alarming and raises immediate fears of foundation rot or massive repair bills. Fortunately, this is rarely a structural emergency. In most cases, it is a solvable surface-water issue caused by poor exterior drainage. We are going to walk through exactly how to safely inspect the area, remove the standing water, and implement permanent fixes to keep your foundation dry.
Why You Have Water Pooling in Your Crawl Space Right Now
Understanding the source of the moisture is half the battle. When heavy spring rains saturate the soil, the water table naturally rises. If the dirt around your house cannot absorb the deluge fast enough, hydrostatic pressure pushes that excess moisture toward the path of least resistance. Often, that path leads straight through the porous cinder blocks, mortar joints, or foundation vents of your home.
A wet crawl space is almost never a foundation failure; it is a roof runoff problem disguised as a foundation issue.
A few springs ago, I crawled under my own house to check a loose duct and practically needed a canoe. It turned out a single disconnected downspout was dumping 50 gallons of roof runoff directly against the foundation block every time it rained. Once the soil against the house becomes waterlogged, it acts like a sponge slowly wringing itself out into the low-lying dirt beneath your floors. The water is simply following gravity.
Step 1: Safety First and Immediate Water Removal
Before you try to fix the perimeter, you have to deal with the puddle. Do not simply crawl into a lake of unknown depth, especially if your home's HVAC unit, ductwork, or electrical junction boxes are located down there.
If the water is deeper than an inch or two, you need active extraction. A standard wet/dry shop vacuum works for minor puddles, but you will spend all day emptying a heavy 5-gallon tank. For anything substantial, rent or buy a 1/4-horsepower submersible utility pump. You can pick one up at any major hardware store for about $60 to $100. Attach a standard 5/8-inch garden hose to the discharge port, drop the pump into the deepest part of the puddle, and plug it into a GFCI-protected outlet. Run the hose at least 20 feet away from the house into a street gutter or downhill slope. These pumps can move up to 1,500 gallons per hour and will clear out a typical flooded footprint in 30 to 60 minutes.
Step 2: The 6-Foot Downspout Rule (The Easiest Fix)
Once the area is drained, you must stop the next storm from refilling it. The single most common cause of water pooling in a crawl space is roof runoff discharging too close to the foundation. An average roof sheds hundreds of gallons of water during a brief downpour. If your downspouts drop that water right at the base of your brickwork, it will eventually find its way underneath.
- Measure your current clearance. Take a tape measure and check where your downspouts end. If the water exits less than six feet from the foundation wall, it is too close.
- Purchase corrugated extensions. Buy 4-inch black corrugated plastic drain pipes. They cost around $15 for a 10-foot section at any home center.
- Attach and route downhill. Slip the extension over the end of the metal downspout. Secure it with a single 1/2-inch zip tie or a short sheet metal screw. Route the pipe over the grass so it discharges on a downward slope away from the house.
Step 3: Assessing Your Foundation's Grading
If your gutters are clean and your downspouts are extended, the next culprit is the dirt surrounding your home. The soil must slope away from the foundation walls to shed surface water. Over the decades, the backfill dirt around a house naturally settles, creating a negative grade. This forms a shallow, invisible moat that traps rainwater against the bricks.
Grab a 4-foot carpenter's level and a tape measure. Place one end of the level against the foundation dirt and hold the other end out toward the yard, lifting it until the bubble is perfectly centered. Measure the distance from the bottom of the floating end of the level down to the soil. You want to see a drop of at least 6 inches over the first 10 feet of yard. If the dirt is flat, or worse, sloping toward the house, you need to bring in pulverized topsoil. Pack the new soil firmly against the foundation using a hand tamper to recreate that necessary outward slope.
Step 4: Perimeter Drains and Sump Pumps
Sometimes, exterior surface fixes are not enough. If you live at the bottom of a hill, have a naturally high water table, or sit on dense clay soil, groundwater will seep up from the dirt floor regardless of what your gutters are doing. This requires an internal drainage system to actively manage the water.
A professional interior French drain involves digging a trench around the inside perimeter of the crawl space, laying perforated PVC pipe surrounded by washed gravel, and directing that pipe to a collection basin. Inside that basin sits a dedicated sump pump—usually a 1/3 HP or 1/2 HP cast-iron model with a mechanical float switch. When groundwater rises, it fills the basin, lifts the float, and the pump shoots the water out through a dedicated 1.5-inch PVC discharge pipe before it can ever form a puddle on the floor.
Long-Term Protection: Vapor Barriers and Encapsulation
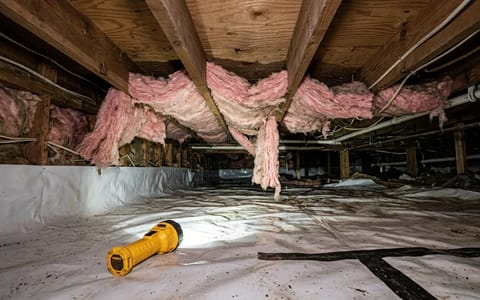
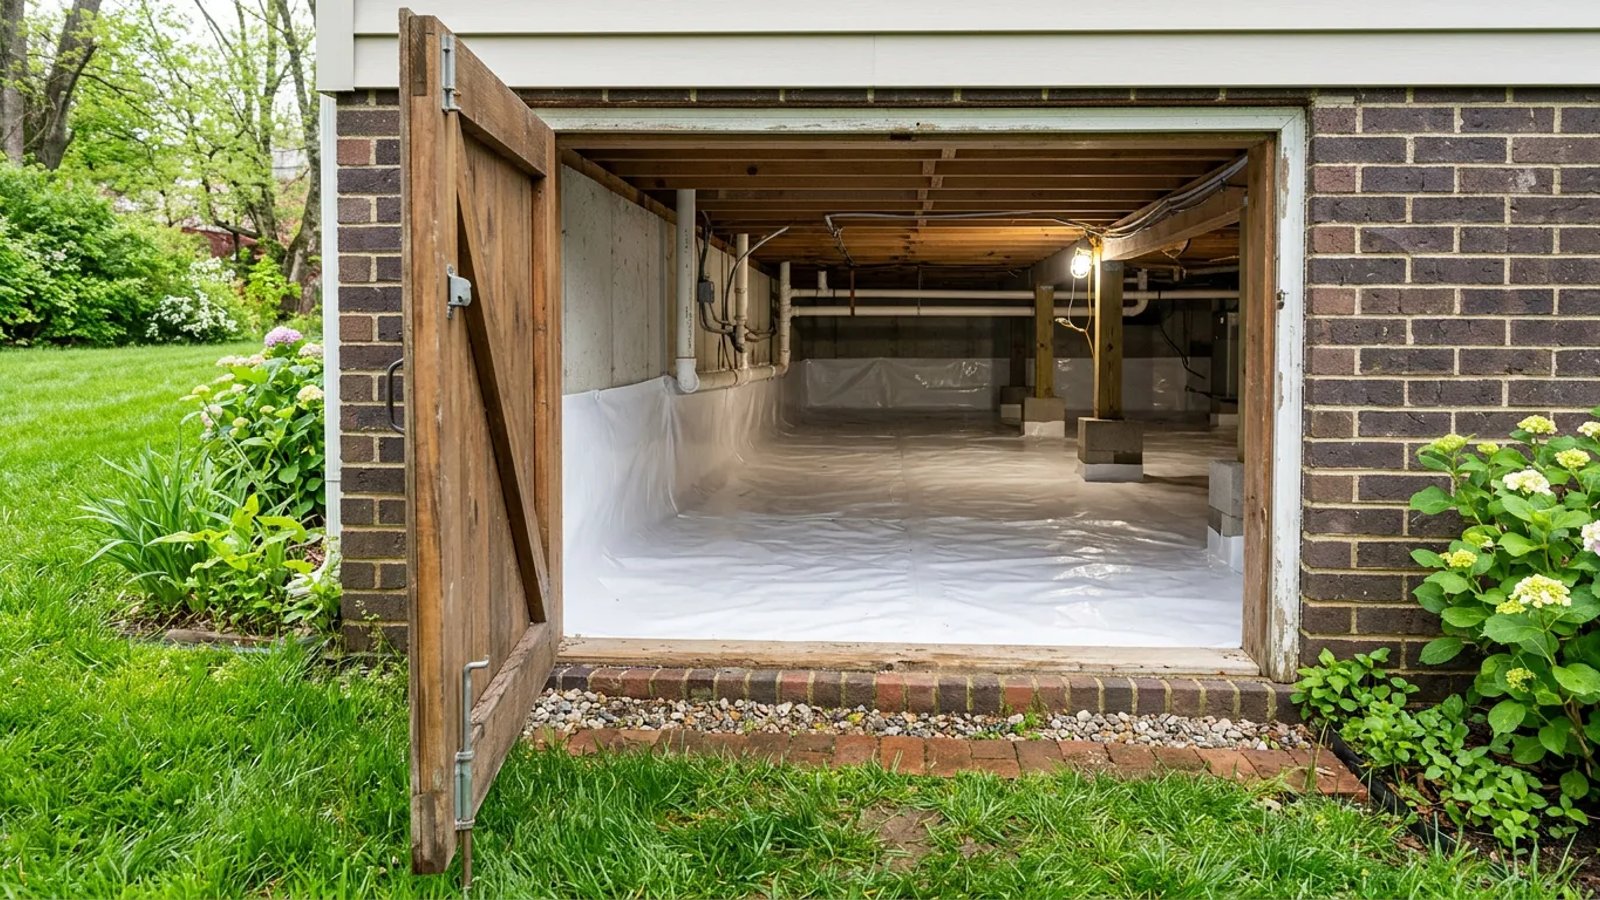
Once you have stopped the active pooling, you still need to manage the residual moisture. Damp dirt evaporates slowly, and that trapped humidity will rot floor joists, rust HVAC equipment, and invite mold growth as temperatures rise.
At a bare minimum, every dirt floor should be covered with a 6-mil polyethylene vapor barrier. This heavy plastic sheeting traps soil moisture so it cannot evaporate into the air. Overlap the plastic seams by 12 inches and seal them with specialized vapor tape. For maximum protection, many homeowners are opting for full encapsulation. This involves sealing the exterior vents, running a heavy-duty 20-mil reinforced plastic liner up the foundation walls, and installing a dedicated crawl space dehumidifier to keep the relative humidity strictly below 55 percent.
Stopping water intrusion takes a bit of detective work, but the solutions are highly systematic. Start at the roof, work your way down to the gutters, evaluate the soil grade, and finally address the interior dirt. By tackling these drainage fundamentals now, you protect your home's structural framing, improve your indoor air quality, and guarantee a dry foundation for the rest of the year.