How to Keep Garage Pipes From Freezing and Bursting
Exposed water lines in an unheated garage are a major flood risk. Learn how to properly air-seal drafts, install closed-cell insulation, and safely apply heat tape to protect your plumbing.
We often remember to cover our outdoor garden spigots before the first hard freeze, but it's vital to keep garage pipes from freezing, as the water lines routed through the garage are easily forgotten. Because these pipes are technically "inside" the house, they create a false sense of security. A freezing night can quickly turn that oversight into a catastrophic burst pipe, flooding your garage and ruining everything stored on the floor.
Protecting these exposed lines is a straightforward weekend project that requires only basic hand tools and materials from your local hardware store. I want to show you exactly how to keep garage pipes from freezing, using professional techniques that go beyond just wrapping them in cheap foam.
Why Garage Pipes Freeze and How to Keep Garage Pipes from Freezing
Your garage is a uniquely hostile environment for plumbing. Unlike the living room or kitchen, the garage lacks climate control. Even if the walls are insulated, the space is dominated by a massive, poorly insulated metal door that acts as a thermal bridge, radiating cold into the room.
What's more, every time you open that garage door, a blast of sub-zero air floods the space, instantly dropping the ambient temperature. The concrete slab floor also holds onto cold temperatures, acting like a giant ice block beneath your feet. When water sits stagnant in copper or PVC pipes in this environment, it only takes a few hours of temperatures dipping below 20°F (-6°C) for ice crystals to form.
When water freezes, it expands by roughly nine percent. This expansion creates immense pressure inside the pipe—often exceeding 3,000 pounds per square inch. The pipe doesn't usually burst where the ice blockage is; it bursts between the ice blockage and the closed faucet, where the water pressure has nowhere to go.
Step 1: Stop the Drafts at the Source
Before you buy a single inch of insulation, you need to address the air leaks. Moving cold air, even through a gap as small as 1/4 inch, is the natural enemy of plumbing.
A few winters ago, I helped a neighbor troubleshoot a frozen supply line in his garage. He had diligently wrapped the pipe in thick fiberglass, but it still froze solid. When we pulled the insulation back, I noticed a half-inch gap in the drywall exactly where the pipe exited the house framing. Cold air from the uninsulated wall cavity was funneling straight into the insulation jacket like a wind tunnel. A simple $6 can of expanding foam would have saved him a $400 emergency plumber visit.
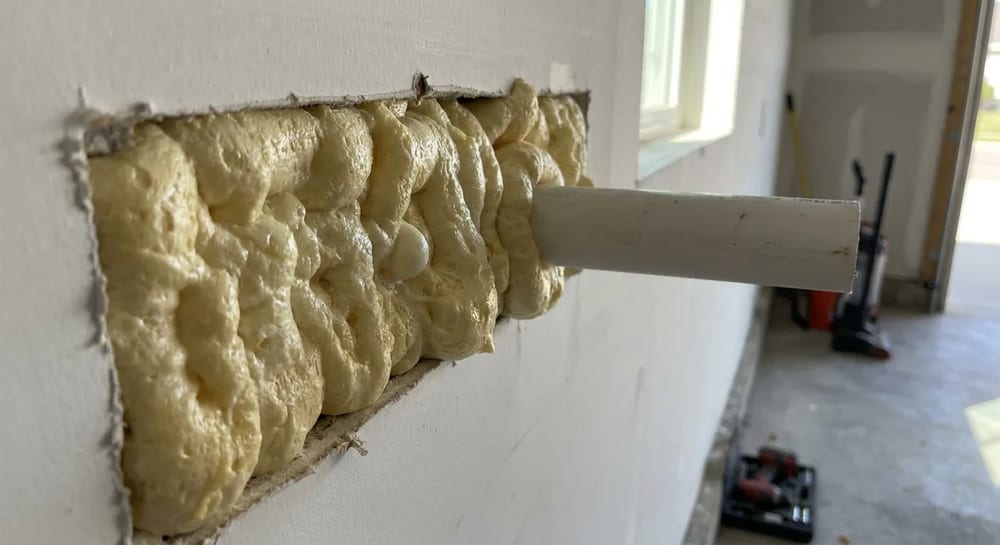
Inspect every inch of exposed pipe in your garage. Look closely at the points where the pipes emerge from the drywall, the ceiling, or the floor. You will almost always find a rough, oversized hole cut by the original installers.
- Clean the area. Wipe away any drywall dust or cobwebs around the pipe penetration so the foam will adhere properly.
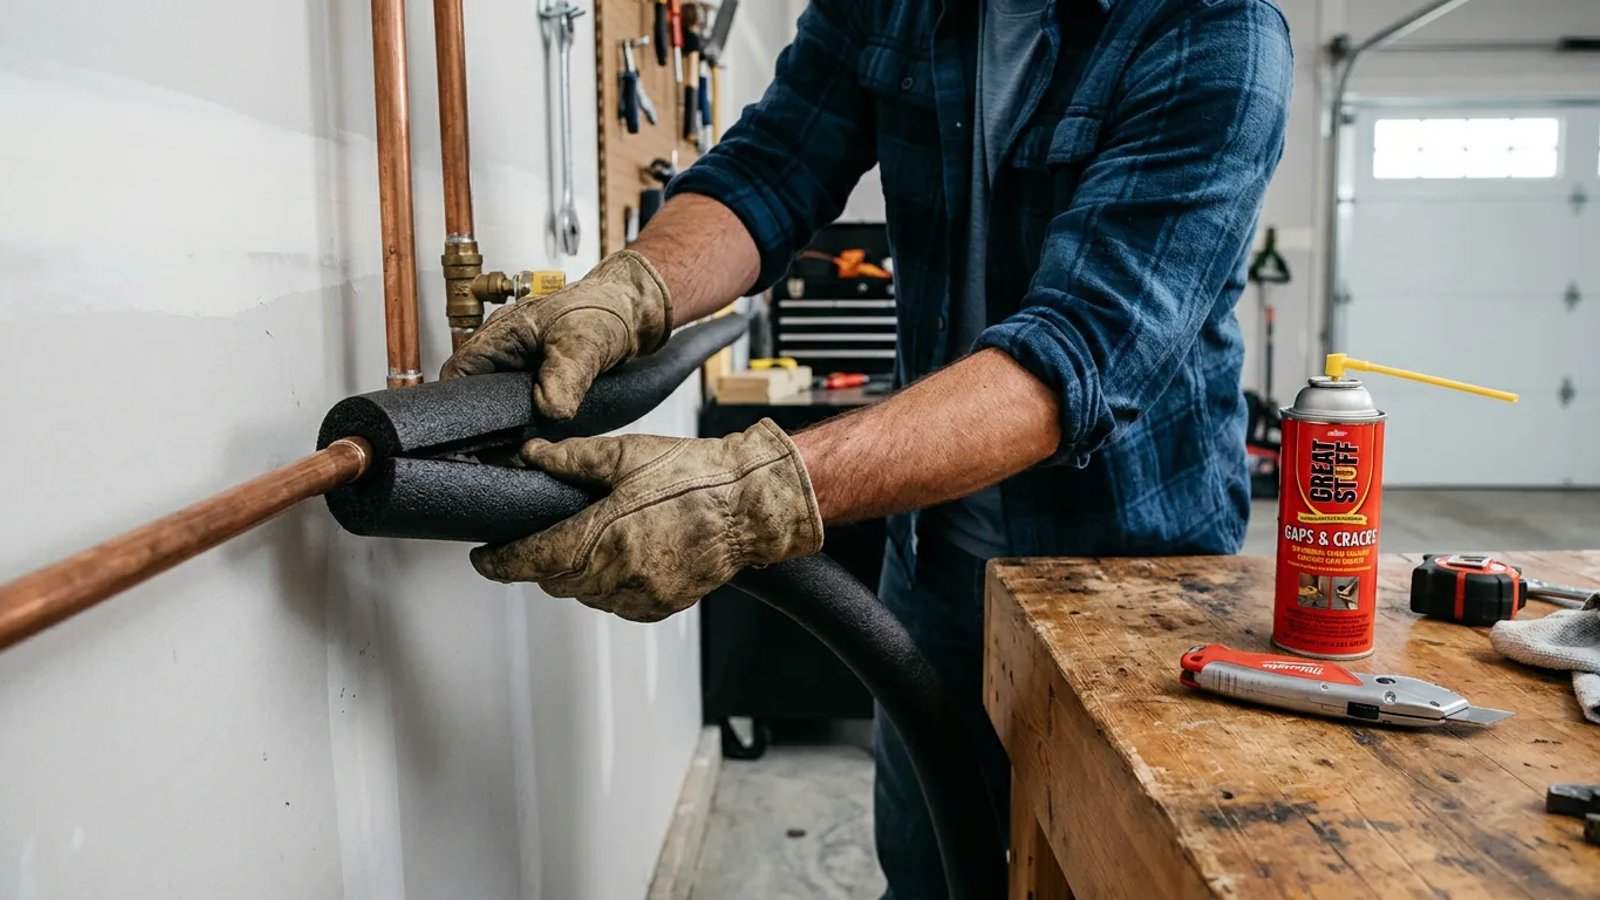
- Apply expanding foam. Use a low-expansion polyurethane foam (like Great Stuff Window & Door) to fill the gap. Low-expansion foam is crucial here; high-expansion foam can actually put pressure on plastic pipes as it cures.
- Let it cure and trim. Wait about an hour for the foam to harden, then use a utility knife to slice the excess flush with the wall.
Step 2: Select the Right Pipe Insulation
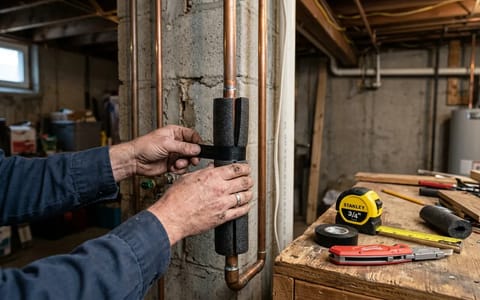
If you walk down the plumbing aisle, you will see a few different types of pipe insulation. The most common are closed-cell polyethylene foam (the black or dark gray tubes) and fiberglass wrap with a foil backing.
For garage applications, closed-cell foam is usually the best choice. It resists moisture, is easy to cut, and provides an excellent thermal barrier. You need to buy the correct size for your pipes. Most residential water lines are either 1/2-inch or 3/4-inch in diameter. If you buy insulation that is too large, cold air will circulate between the pipe and the foam, rendering it useless. If it's too small, the seam won't close.
Pool noodles are for swimming, not plumbing. They degrade quickly and trap moisture against your pipes.
Many DIYers try to save a few dollars by cutting up brightly colored pool noodles to wrap their pipes. This is a massive mistake. Pool noodles are made of open-cell foam. They do not have a designated R-value (thermal resistance), they degrade rapidly when exposed to temperature swings, and they can actually absorb condensation, holding wetness directly against copper pipes and accelerating corrosion.
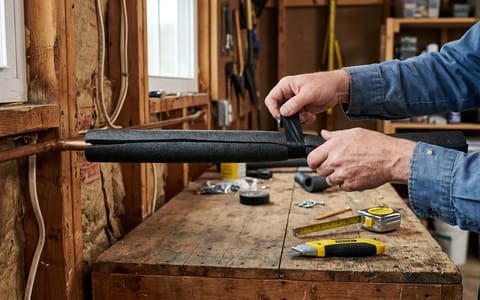
Step 3: Measure, Cut, and Tape
Installing foam insulation is simple, but the details dictate how well it performs. The goal is to create a continuous, unbroken thermal jacket.
Start by measuring straight runs of pipe and cutting the foam tubes to length with a sharp utility knife. Most closed-cell foam tubes come pre-slit down the middle. Gently pull the slit apart and slip it over the pipe. If your foam comes with self-sealing adhesive strips, peel the backing off and press the edges firmly together.
Corners and elbows require a bit more finesse. Do not just bend the foam tube around a 90-degree copper elbow; the foam will stretch, thin out, and eventually tear. Instead, use a miter box to cut two 45-degree angles in the foam, bringing them together to form a perfect, insulated corner.
Once all the foam is in place, you must seal the joints. Do not use standard cloth duct tape. The adhesive on duct tape dries out and flakes off in cold garage environments. Instead, use aluminum foil tape or specialized acrylic HVAC tape. Wrap the tape tightly around every joint where two pieces of foam meet, and run a strip down the longitudinal seam if you didn't use self-sealing foam.
How Should You Install Heat Tape in Extreme Climates?
If you live in a region where winter temperatures routinely drop below zero for days at a time, passive foam insulation might not be enough. The cold will eventually penetrate the foam if the water inside the pipe isn't moving. In these extreme climates, you need active heating.
Thermostatically controlled heat tape (also called a heat cable) is an electrical wire that generates gentle warmth. It features a small built-in thermostat that rests against the pipe. When the pipe temperature drops near freezing, the cable turns on automatically. When the pipe warms up, it shuts off.
Safety is paramount when mixing electricity and plumbing. According to the Consumer Product Safety Commission (CPSC), improperly installed heat tapes are a known fire hazard. Always purchase a cable that is recognized by a testing lab (like UL or CSA) and follow the manufacturer's directions strictly.
- Clean the pipe. Wipe the pipe down with a damp rag to remove dust and grease. The heat cable needs direct contact with the pipe.
- Position the thermostat. Place the sensor block tightly against the coldest end of the pipe, usually near the exterior wall.
- Run the cable flat. Run the cable straight along the bottom edge of the pipe. Heat rises, so placing it at the bottom ensures the entire pipe stays warm.
- Secure with fiberglass tape. Use the manufacturer-provided fiberglass tape (never electrical tape or duct tape) to strap the cable to the pipe every six inches.
- Insulate over the cable. You must install foam insulation over the heat tape to trap the warmth. Ensure the insulation you buy is rated to be used over heat cables.
- Plug into a GFCI. Always plug the heat tape into a Ground Fault Circuit Interrupter (GFCI) outlet to prevent electrical shocks in case of a water leak.
Final Checks Before the Freeze
Taking a few hours on a Saturday to properly insulate and seal your garage plumbing is one of the highest-return investments you can make in your home. Burst pipes cause thousands of dollars in water damage and drive up insurance premiums.
Once you have the foam taped up and the drafts sealed, make it a habit to check the system once a year before the first frost. Look for any foil tape that has peeled back, test the GFCI outlet if you are using heat tape, and ensure rodents haven't chewed through the foam to make winter nests. A quick visual inspection is all it takes to ensure your plumbing survives the winter untouched.
- Drafts are often more dangerous to pipes than ambient cold; seal wall penetrations before adding insulation.
- Pool noodles lack the proper R-value and degrade quickly—always buy dedicated closed-cell pipe insulation.
- Heat tape must be installed flat against the pipe and plugged into a GFCI outlet to meet safety standards.
- Never overlap heat tape on itself, as it creates a severe fire hazard.