Chimney Flashing Leaking? How to Temporarily Seal It Fast
Discovering a chimney leak during a heavy spring rainstorm is stressful. Learn how to safely apply a temporary chimney flashing repair to stop water damage until a pro arrives.
Full guide Roofing Learn how long shingles last, how to spot leaks early, and how to decide between a quick repair and a full roof replacement.Water spots blooming on your ceiling during a heavy rainstorm usually point to one highly frustrating culprit: a roof leak. More often than not, the weakest link in your roofing system is the metal flashing surrounding your masonry chimney. Because professional roofing contractors are notoriously booked out for weeks during peak storm seasons, you need a reliable way to stop the water right now. Executing a temporary chimney flashing repair buys you crucial time. This protects your drywall, insulation, and wood framing from severe water damage until a professional can permanently replace the failing metal.
Tracing the Leak: Is It Actually the Flashing?
Water leaks are notoriously tricky. Rainwater rarely drips straight down from the entry point. Instead, it runs along rafters, follows the slope of your roof underlayment, and pools before finally soaking through your ceiling drywall. Before assuming the chimney is to blame, you need to verify the source.
Grab a high-lumen flashlight and head into your attic. Carefully navigate the joists until you have a clear view of the wood framing directly beneath and around the masonry chimney column. Look for dark, damp trails on the plywood decking or rafters. If the wood surrounding the chimney base is soaked, or if you see daylight peeking through a gap between the brick and the roof deck, your flashing has definitively failed.
Safety First: When to Stay Off the Roof
Before discussing sealants and trowels, we need to talk about gravity. Asphalt shingles become incredibly slick when wet, and a steep roof pitch multiplies the danger exponentially. Never attempt to climb onto your roof while it is actively raining, if the shingles are damp, or if lightning is in the area.
Wait for a dry pause in the weather. If your roof pitch is steeper than 6/12 (meaning it rises 6 inches vertically for every 12 inches of horizontal run), or if you have a multi-story home with a sheer drop, do not attempt this yourself. Call an emergency tarping service instead.
Gathering Your Repair Supplies
You need specific, heavy-duty materials to seal a roof. Standard silicone window caulk will not work on dusty masonry or rough shingles. For a reliable temporary chimney flashing repair, you have two primary options depending on the weather: butyl flashing tape or wet-patch roofing cement.
As of 2026, a roll of butyl tape typically costs about $25 at hardware stores like Home Depot or Lowe's. It adheres aggressively to brick and metal, but the surface must be completely dry for it to bond. Wet-patch roofing cement, usually sold in gallon tubs for a typical 2026 range of $30 to $40, is messy but incredibly useful. It can be troweled directly onto damp surfaces if you are caught in a persistent drizzle.
The 2026 Shift to Hybrid Polymer Sealants
While traditional wet-patch cement remains a reliable staple, the roofing industry has largely shifted toward advanced hybrid polymer sealants as of 2026. These modern caulks fit into a standard caulking gun, can be applied to soaking wet brick, and will even cure underwater. This makes them ideal for emergency active-leak situations. Though a single tube might run you $15 to $20, the ease of application often outweighs the messy troweling required by older asphalt-based cements.
Step-by-Step: How to Apply the Temporary Fix
Once you have a safe, dry window to access your roof, you can apply your patch. The goal here is not to make it look pretty. Your primary objective is to bridge the gap where the metal flashing has pulled away from the brick mortar.
- Clean the joint aggressively. Use your stiff wire brush to scrub the brick and metal where they meet. You must remove all loose mortar dust, flaking rust, and old, dried-out caulk. Adhesives will not stick to dust.
- Wipe the surface down. Take a dry rag and wipe away the debris you just brushed loose. If you are using butyl tape, ensure the area is 100% dry to the touch.
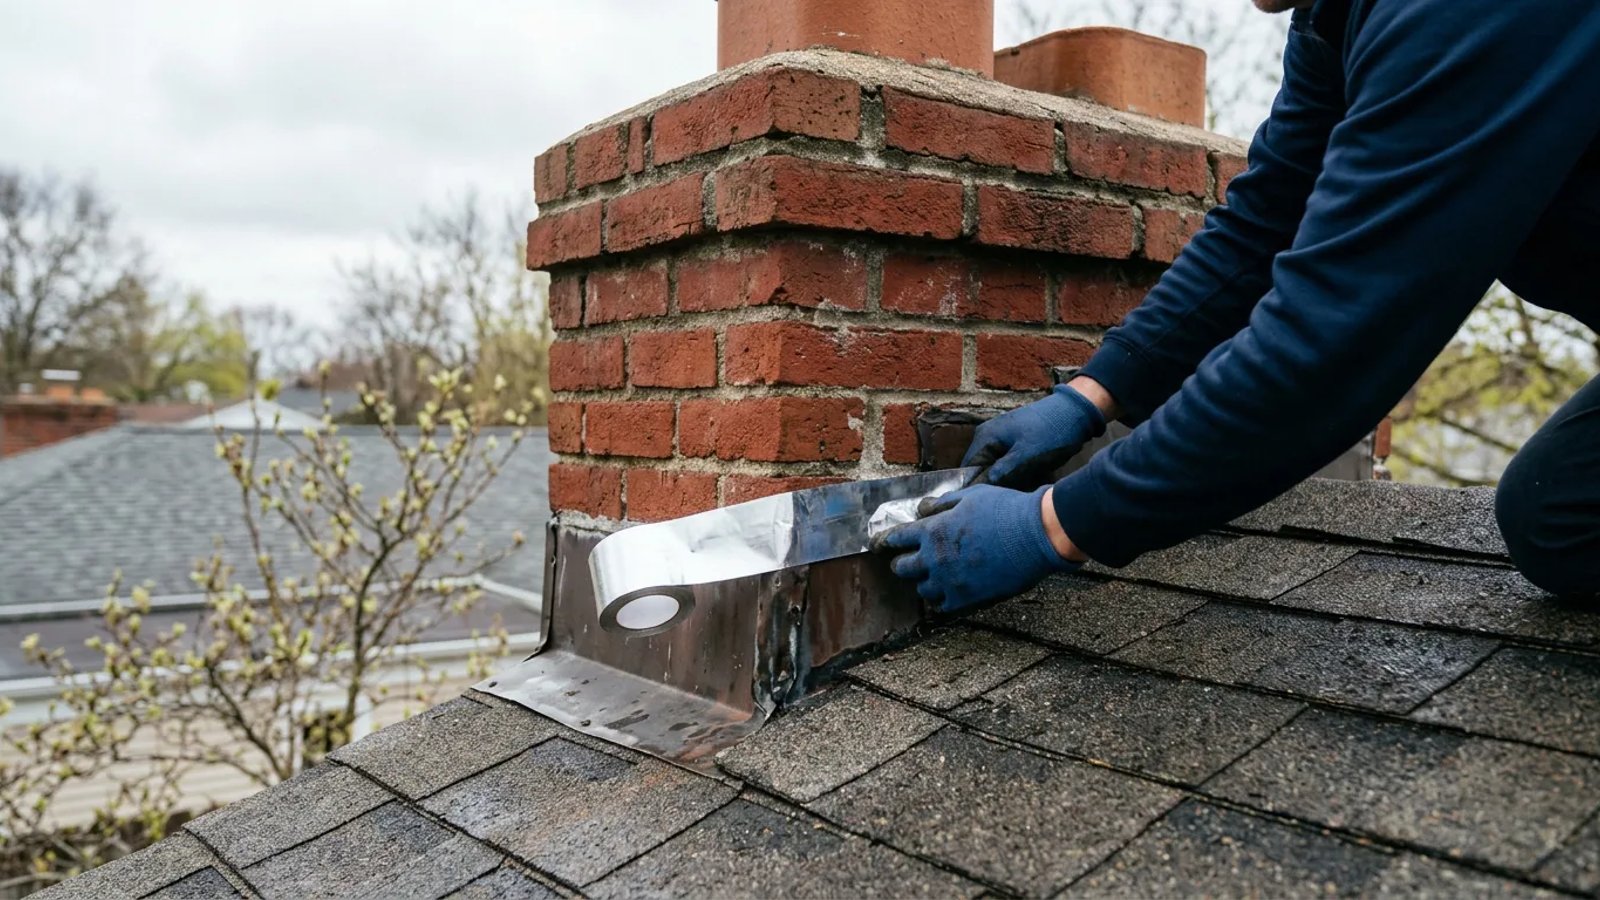
- Apply the sealant or tape. If using tape, cut a strip slightly longer than the gap. Press it firmly half onto the brick and half onto the metal flashing, smoothing out any air bubbles. If using wet-patch cement or a hybrid sealant, apply a generous amount and force it deep into the gap.
- Feather the edges. For wet-patch cement, use your trowel to smooth the edges so water will shed easily over the patch rather than pooling behind it.
Why This is Strictly a Stopgap Measure
It is tempting to apply a thick layer of roofing tar, watch the leak stop, and forget about the problem entirely. However, surface sealants are ultimately destined to fail.
Surface sealants are a band-aid, not a cure. True flashing relies on overlapping layers to shed water, not chemical adhesion.
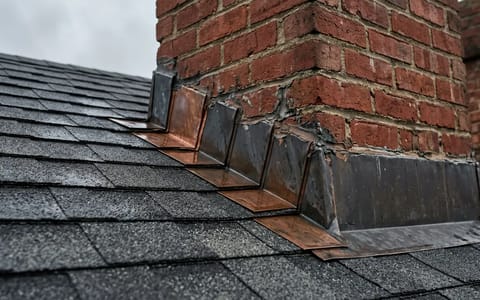
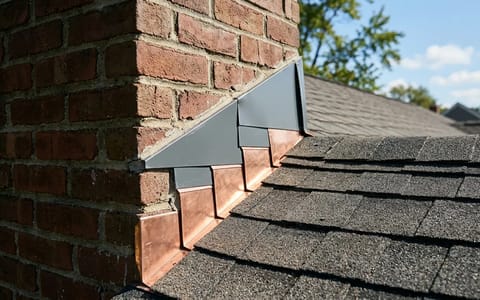
Proper chimney flashing consists of two parts. First is the step flashing, which weaves under the shingles and bends up the side of the chimney. Second is the counter-flashing, which is physically embedded into the mortar joints of the brick and folds down over the step flashing. This overlapping system sheds water naturally via gravity. When relying on a surface patch, you are fighting thermal expansion. As the chimney bakes in the summer sun and cools at night, the brick and metal expand and contract at different rates. Within a few months, this movement will tear your tape or crack your sealant, bringing the leak right back.
Protecting Your Interior While You Wait
If you cannot safely get on the roof, or if the rain simply will not quit, you must manage the water from inside. Place heavy-duty plastic sheeting and buckets in the attic to catch the drips before they soak your insulation.
If water has already reached your living space and is pooling behind the ceiling drywall, you will notice a sagging, water-filled bubble. Do not let this burst on its own. A natural rupture will bring down large chunks of heavy plaster or drywall. Take a 1/4-inch drill bit, an awl, or a screwdriver, and carefully poke a single hole directly in the center of the bulge. Place a large bucket underneath. Draining the water relieves the weight and usually saves the surrounding ceiling from collapsing.
Dealing with a leaking roof is fundamentally an exercise in damage control. By taking swift action to divert interior water and applying a sturdy exterior patch when the weather permits, you can keep your home dry and secure until the professionals arrive to make things right.