Crawl Space Sweating? How to Stop Condensation Fast
As spring humidity rolls into summer heat, warm air hitting cool foundation walls creates damaging crawl space condensation. Learn how to stop the sweating, seal your vapor barrier, and protect your wood joists from rot.
As the crisp days of mid-spring give way to early summer heat, outdoor humidity levels begin their annual climb. You might pop your head under the house to check on a pipe or grab a stored item, only to find water beads clinging to the floor joists, ductwork, and foundation walls. This is known as crawl space sweating.
If left unchecked, this constant moisture turns dry structural wood into a damp breeding ground for rot, attracts pests, and causes fiberglass insulation to grow heavy and sag to the dirt floor. Learning how to stop crawl space condensation early in the season saves your foundation and prevents musty odors from seeping into your living space above.
Why Does Crawl Space Condensation Occur?
Crawl space condensation is entirely driven by physics. Because your crawl space is shielded from the sun and sits against the earth, it stays naturally cool year-round—usually hovering between 55°F and 65°F. When warm, humid outdoor air (say, 85°F with 70% humidity) enters the space, it cools rapidly.
Cold air cannot hold as much moisture as warm air. As the temperature of the air drops, it hits its dew point. The excess water vapor is forced out of the air and condenses directly onto the coldest surfaces available: your uninsulated water pipes, metal HVAC trunks, and wooden floor joists.
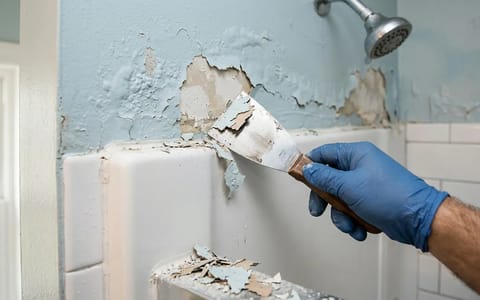
Beyond the immediate appearance of water droplets, persistent crawl space condensation creates a cascade of problems for your home. The elevated humidity fosters the growth of various molds, including black mold, which can degrade wood and compromise indoor air quality, potentially leading to respiratory issues for occupants. In addition, the constant moisture softens wooden structural elements like floor joists and subflooring, making them susceptible to rot and weakening their integrity over time. This can manifest as bouncy floors or even structural sagging.
Pests like termites, carpenter ants, and rodents are also drawn to damp, dark environments. A moist crawl space provides an ideal habitat, increasing the risk of infestations that can cause further damage to your home's structure and wiring. Addressing condensation isn't just about preventing visible dampness; it's about safeguarding your home's structural health, air quality, and protecting against costly pest damage.
Step 1: Inspect and Upgrade the Vapor Barrier
The dirt floor under your house naturally pumps gallons of water vapor into the air every single day. A vapor barrier is a thick sheet of plastic that traps this ground moisture before it can evaporate into your crawl space.
Many older homes have thin, 6-mil clear plastic loosely tossed over the dirt. Over time, this thin material degrades, tears easily, and shifts out of place. A few years ago, I inspected a crawl space where the original 6-mil plastic looked like shredded cheese just from the homeowners dragging a few storage boxes across it. We replaced it with a heavy-duty 12-mil reinforced poly, overlapped the seams by 12 inches, and sealed them with specialized waterproof butyl tape. The humidity drop was noticeable by the next morning.
If you are doing this yourself, buy a roll of 10-mil or 12-mil string-reinforced polyethylene. Overlap all seams by at least a foot. Run the plastic about six inches up the foundation walls and secure it using double-sided seam tape and masonry pins driven in with a hammer drill.
Proper installation of a heavy-duty vapor barrier is a foundational step in controlling crawl space humidity. It not only blocks moisture from the ground but also creates a cleaner, drier environment that discourages mold growth and pest activity. When planning your installation, ensure the plastic sheeting extends up the piers and foundation walls, creating a continuous seal. This comprehensive coverage is key to effectively isolating the crawl space from ground moisture.
Should You Close Your Crawl Space Vents in Summer?
For decades, building codes required open vents in crawl spaces under the assumption that fresh air would dry out the dampness. Modern building science has proven this is exactly the wrong approach in areas with humid summers.
Venting a cool crawl space with hot, humid summer air just feeds the condensation cycle.
Opening vents in the summer invites moisture in. According to the EPA moisture control guidelines, unvented (or conditioned) crawl spaces perform much better at preventing mold and rot in mixed and humid climates. By sealing the vents with rigid foam board (typically 2 inches thick) and spray foam, you stop the influx of wet summer air entirely.
The strategy of sealing crawl space vents, often part of a larger encapsulation project, fundamentally changes the environment under your home. By preventing the ingress of warm, humid air, you stabilize the temperature and humidity, making it easier for a dehumidifier to maintain optimal conditions. This approach also helps keep conditioned air from your living space from leaking into the crawl space, potentially improving your home's energy efficiency and reducing utility bills.
Step 2: Stop Outside Water Intrusion
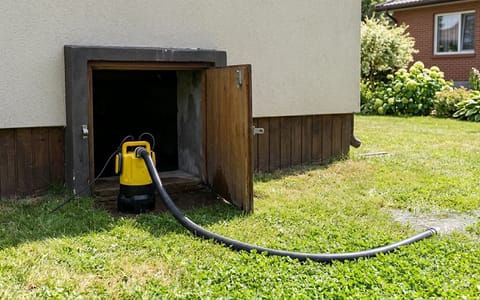
Before you can effectively dry the air inside, you have to stop bulk water from getting under the house during spring rainstorms. Surface water management is cheap, highly effective, and completely DIY-friendly.
- Clean your gutters. Overflowing gutters dump hundreds of gallons of water directly against your foundation walls, which eventually seeps into the crawl space.
- Extend your downspouts. A standard downspout elbow drops water just inches from the house. Attach corrugated black plastic extensions to route the water at least 6 feet away from the foundation.
- Fix the grading. The soil around your house should slope away from the foundation. Aim for a drop of about 6 inches over the first 10 feet. Use dense topsoil or clay to build up the slope, not loose mulch.
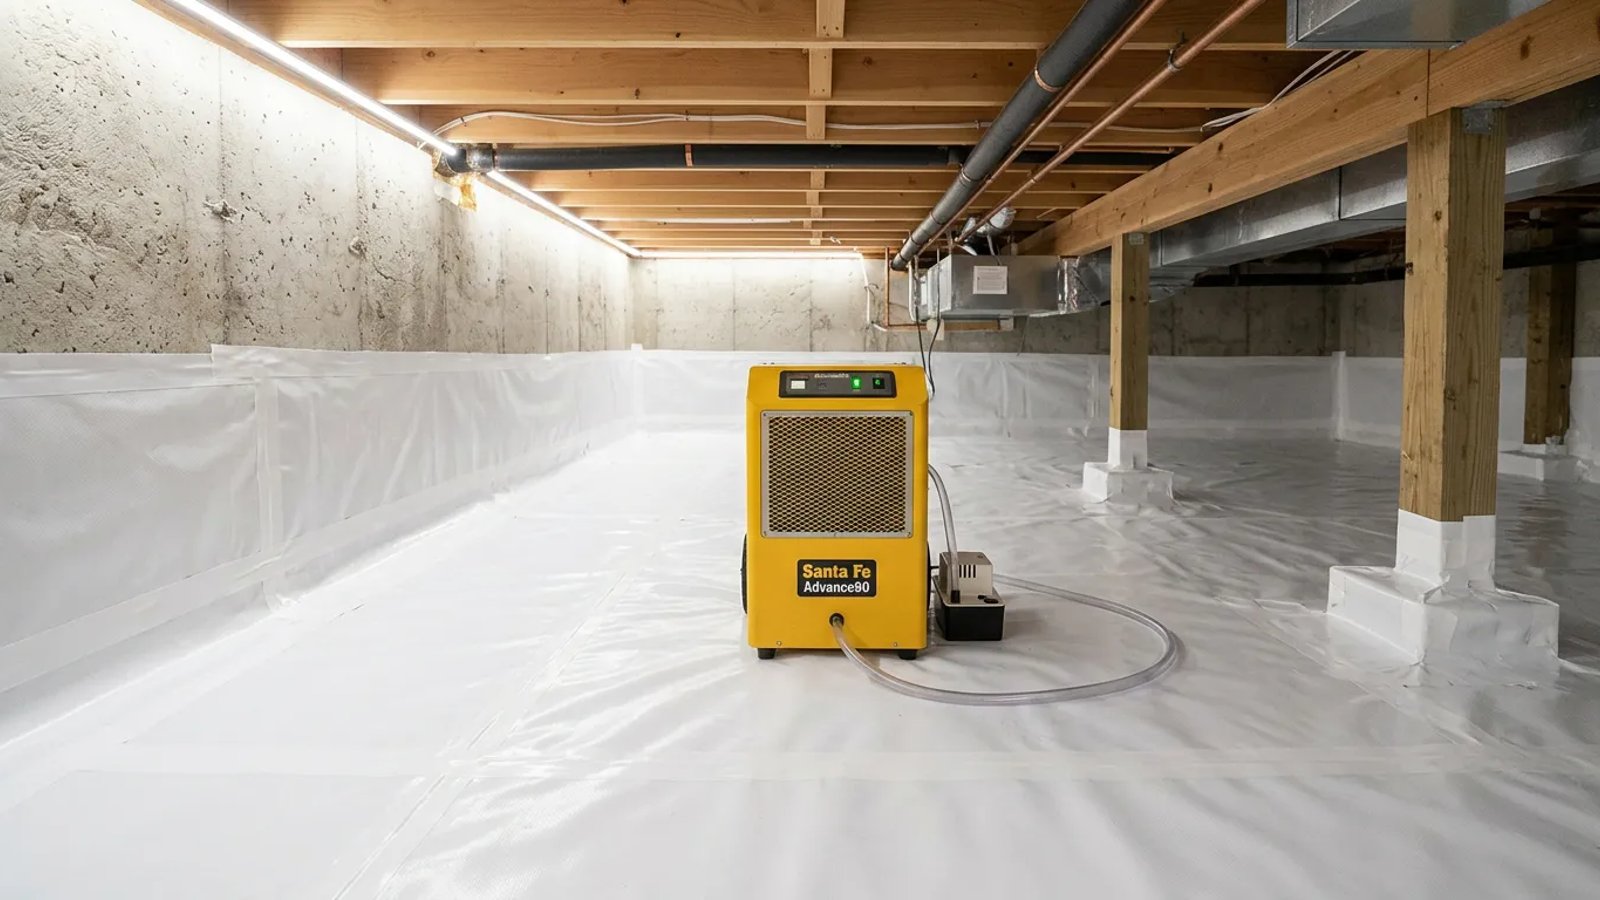
Step 3: Install a Crawl Space Dehumidifier to Stop Condensation
Once you have sealed the floor and blocked the vents, the final step to stop crawl space condensation is active drying. You need a machine to pull the remaining moisture out of the air.
Do not buy a $150 bedroom dehumidifier from a big box store. They are not rated to operate in the low temperatures of a crawl space, and their coils will quickly freeze into a block of solid ice. Instead, invest in a dedicated crawl space dehumidifier.
Look for a unit rated for at least 70 pints per day (PPD). These commercial-grade machines have powerful fans that circulate air across the entire footprint of the house. Set the humidistat to 55%. Most importantly, they use a gravity drain hose. You can route this hose directly outside or into a sump pump pit, meaning you never have to crawl under the house to empty a plastic bucket.
Regular maintenance of your crawl space dehumidifier is crucial for its longevity and effectiveness. This typically involves cleaning or replacing the air filter every 3-6 months, depending on the dustiness of your crawl space. Periodically check the drain hose for kinks or blockages to ensure continuous drainage. A well-maintained dehumidifier will efficiently keep humidity levels in check, protecting your home's foundation and air quality for years to come.
How to Monitor Your Progress
You do not need to suit up and army-crawl through the dirt every week to know if your fixes are working. Buy a simple digital hygrometer with a remote sensor. They cost about $25 online.
Place the battery-operated sensor on a floor joist near the center of the crawl space, and keep the digital display screen in your kitchen or living room. You want that number to stay between 45% and 55%. If you see it creeping past 65% for more than a few days, you know it is time to check the dehumidifier filter or look for a torn vent cover.
Stopping the sweat comes down to three basic rules: keep the ground covered, keep the outside rain away, and dry the trapped air. Tackle those, and your foundation will stay dry and solid through the hottest, stickiest days of summer.
- Inspect your vapor barrier for tears and ensure all seams overlap by at least 12 inches.
- Direct surface water away from your foundation using clean gutters and 6-foot downspout extensions.
- Seal open vents and install a commercial-grade dehumidifier to actively control summer humidity.