How to Anchor Furniture Without Drilling in a Rental
Protect your toddler and your security deposit. Learn how to secure heavy dressers and bookshelves in a rental without damaging the drywall.
Moving into a new rental apartment with a toddler brings a very specific type of anxiety. You look around the room and suddenly every bookshelf, media console, and tall dresser looks like a severe hazard waiting to happen. You know you need to secure these heavy items to protect your child. Yet, your lease agreement likely includes a strict clause explicitly forbidding you from putting holes in the drywall. You are caught in a frustrating trap between prioritizing safety and protecting a security deposit that might equal a full month's rent.
When my oldest was learning to walk, I lived in an apartment with a famously strict landlord. I spent hours staring at a massive IKEA Hemnes dresser, terrified of it tipping but equally terrified of losing my $2,000 deposit. I quickly learned that physics and the right materials can solve both problems. You can absolutely anchor furniture without drilling, provided you use the correct specialized materials and understand exactly how tipping forces work.
The Hidden Hazard: Why You Cannot Skip This Step
Before looking at the solutions, we have to respect the severity of the problem. A dresser might feel incredibly heavy and stable when you push against it. But a toddler does not push; a toddler climbs. When a thirty-pound child opens the top drawers of a dresser and uses them as a ladder, the center of gravity shifts entirely outside the footprint of the furniture. Suddenly, a 150-pound piece of solid wood is acting as a lever, and gravity is pulling it directly forward.
The Consumer Product Safety Commission reports that a child is injured by falling furniture or televisions every 46 minutes. Dressers, bookcases, and entertainment centers are the most common culprits. Skipping this step is simply not an option for parents. The goal is to create a secure, unmoving environment for your child, even if you are restricted by the rules of a temporary living situation.
Fortunately, the baby-proofing industry has evolved significantly over the last decade. We are no longer limited to industrial L-brackets and massive toggle bolts. Renters now have access to engineered adhesives and tension systems designed specifically to mimic the holding power of traditional hardware.
Why Standard Wall Strips Will Fail You
The first instinct for most renters is to grab a pack of heavy-duty picture hanging strips. If a strip claims it can hold 16 pounds, applying ten of them to the back of a dresser should hold 160 pounds, right? This is a dangerous misconception rooted in a misunderstanding of adhesive physics.
Standard removable strips are engineered for shear strength. This means they are incredibly good at resisting weight that pulls straight down, parallel to the wall. A heavy mirror exerts shear force. However, when a child climbs a dresser, the force is completely different. The furniture pulls away from the wall at a 90-degree angle. This is known as tensile force, or peel force.
Standard picture-hanging adhesives have almost zero peel strength. The moment a dresser starts to tip forward, the top edge of the adhesive will simply peel away from the paint, violently releasing the furniture. You must abandon the idea of using standard household adhesives for tip-over prevention. They offer a false sense of security that is more dangerous than doing nothing at all.
How to Anchor Furniture Without Drilling: Renter-Approved Kits
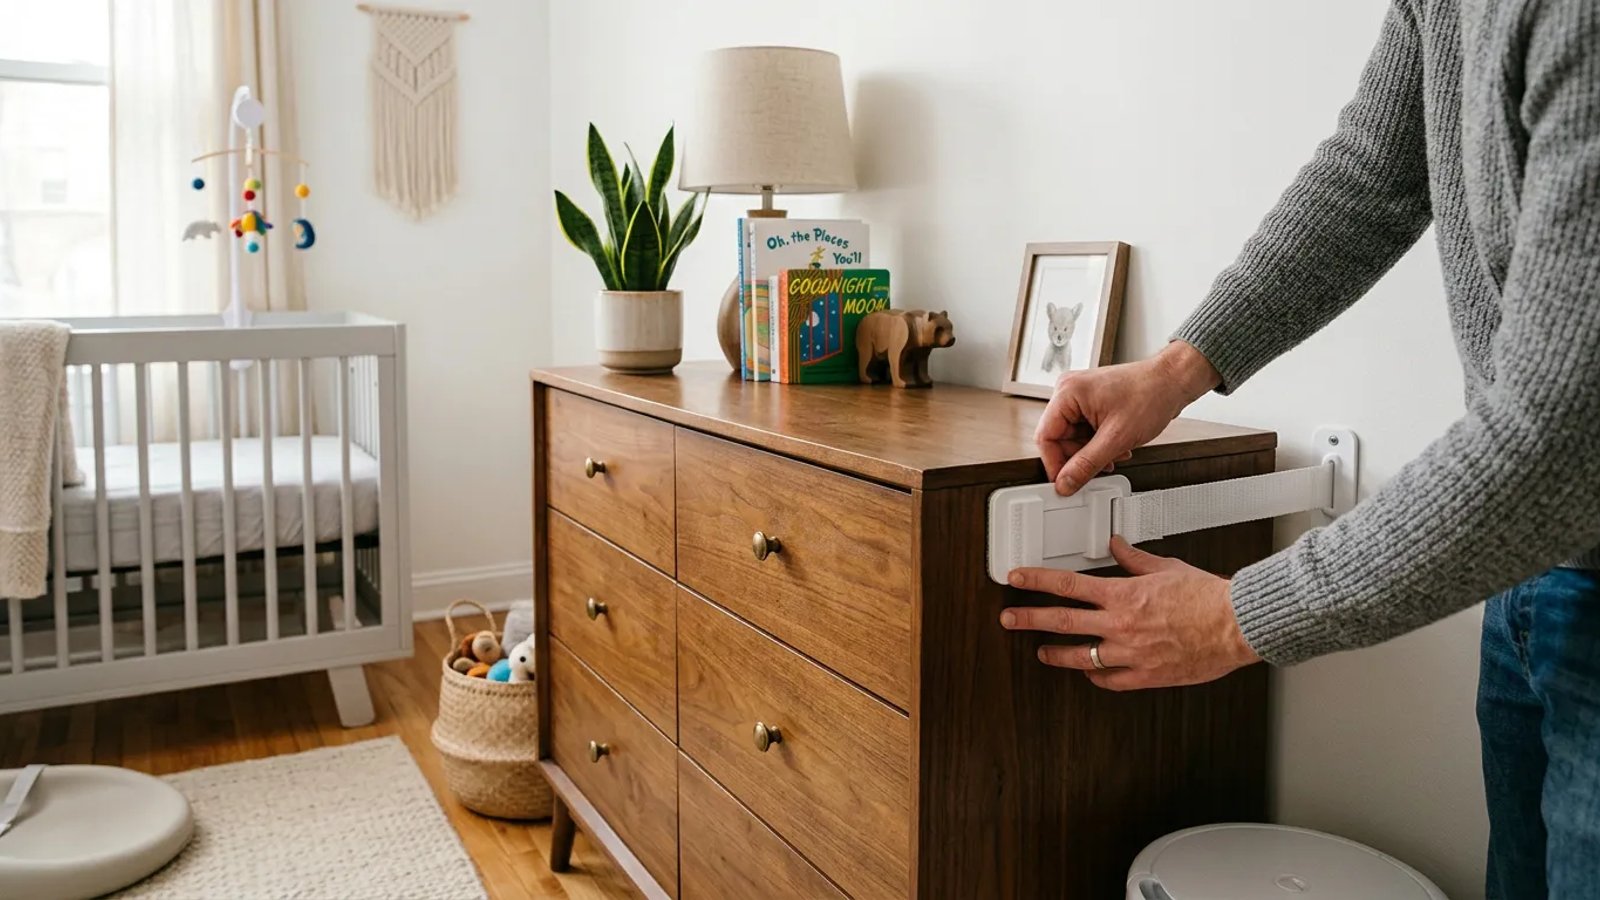
To safely anchor furniture without drilling, you need products specifically engineered for high peel strength and forward-tipping resistance. The market leader in this specific category is Qdos, which manufactures a "Zero-Screw Furniture Glide Track" system, though other brands like Safety 1st are developing similar heavy-duty adhesive anti-tip kits.
These specialized kits use a proprietary adhesive that is vastly different from standard mounting tape. The adhesive pads are usually larger, thicker, and designed to distribute tensile force across a wider surface area of the drywall. When properly installed, top-tier adhesive kits are rated to hold up to 200 pounds of forward-tipping force.
Proper installation is the single most critical factor when using adhesive anchors. If you rush the process, the bond will fail.
- Clean the surfaces meticulously. Wipe down both the wall and the back of the furniture with 70% isopropyl alcohol. Do not use household spray cleaners, as they leave behind a slick residue that prevents adhesives from bonding. Let the alcohol dry completely.
- Position the anchors high. Attach the adhesive pads as close to the top edge of the furniture as possible. This is where the leverage is highest during a tip-over event.
- Apply firm, sustained pressure. When pressing the adhesive pad to the wall, push hard for a full 60 seconds. This forces the adhesive to micro-bond with the texture of the paint.
- Respect the curing time. Do not attach the tension straps immediately. Heavy-duty adhesives require 72 hours to fully cure. Let the wall pads and furniture pads sit undisturbed for three days before connecting them with the provided straps.
Physics is Your Friend: Bottom-Heavy Loading and Shimming
While adhesive anchors provide the primary defense, you can drastically reduce the amount of force they ever have to endure by manipulating the furniture's center of gravity. You want gravity working for you, pulling the furniture back toward the wall, rather than away from it.
Start by loading your furniture strategically. The bottom drawers of a dresser should contain the heaviest items: thick winter sweaters, denim jeans, or heavy blankets. The top drawers should hold lightweight items like socks, underwear, and baby onesies. For bookshelves, place heavy encyclopedias and art books on the bottom shelf, leaving paperbacks and small decor for the top. A bottom-heavy piece of furniture requires significantly more force to tip over.
Next, employ the shimming technique. This is a brilliant, entirely damage-free method that costs less than three dollars. Go to any hardware store and buy a pack of basic wooden shims (the thin, wedge-shaped pieces of wood used for leveling doors) or specialized plastic furniture wedges.
Slide these wedges under the front two legs of your dresser or bookshelf. Tap them in just enough so that the furniture leans slightly backward, resting firmly against the baseboard or the wall. By altering the resting angle by just a few degrees, you force the center of gravity backward. If a child pulls on a drawer, they have to overcome that backward lean before the furniture even reaches a vertical, tipping point. It is a massive mechanical advantage.
The Fallback Plan: Patching Small Holes if You Must Drill
There are scenarios where adhesives simply cannot be trusted. If your rental has heavily textured walls, peeling paint, or if you are trying to secure a massive, 250-pound solid oak antique armoire, adhesives are not a safe choice. In these specific cases, you must drill into the wall and use standard hardware like 3/16-inch toggle bolts or screw directly into a wall stud.
A lost security deposit is temporary, but your child's safety is forever.
Many renters avoid drilling because they believe a wall hole is permanent damage that guarantees a lost deposit. The reality is that patching a standard 1/4-inch drill hole is one of the easiest, cheapest DIY tasks in home maintenance. You can completely erase the evidence of a drilled anchor for less than $15.
If you decide drilling is the only safe route, plan to patch the holes a week before your lease ends. You will need a small tub of lightweight pink spackle (which turns white when it dries), a 2-inch flexible putty knife, and a 120-grit sanding sponge.
First, use the handle of your putty knife to press the edges of the drill hole slightly inward, creating a tiny crater. This ensures no torn drywall paper sticks out above the flat surface of the wall. Scoop a small amount of spackle onto the edge of your putty knife and press it firmly into the hole. Scrape the knife flat against the wall to remove the excess.
Wait about 30 to 60 minutes for the pink spackle to turn completely white. Once dry, take your 120-grit sanding sponge and lightly buff the area in a circular motion until it is perfectly flush with the surrounding wall. Run your hand over it; you shouldn't be able to feel where the hole was. Finally, dab a small amount of matching paint over the patch using a foam brush or even a Q-tip. Landlords expect minor wear and tear, and a properly patched, painted hole will almost never trigger a deposit deduction.
Securing your home for a toddler while navigating lease restrictions requires a bit of strategy, but it is entirely achievable. By combining heavy-duty engineered adhesives, smart weight distribution, and a few wooden shims, you can create a highly secure environment. Evaluate your walls, choose the right materials, and take the time to install them correctly. You will sleep much better knowing your heavy furniture isn't going anywhere.