Smoke Detector Beeping Every 30 Seconds? The Quick Fix
A smoke detector beeping every 30 seconds is usually signaling a low battery, a residual charge error, or an expired unit. Here is how to silence the chirp safely and quickly.
It always seems to happen at 2:00 AM. A sharp, high-pitched chirp echoes through your hallway, waking everyone up. You wait. Thirty seconds later, it happens again. A smoke detector beeping every 30 seconds is incredibly frustrating, especially when you are tired and just want the noise to stop. However, that intermittent chirp is a critical built-in safety feature. It is designed to alert you to a low battery, a dirty sensor, or a unit that has reached the end of its usable life.
Silencing the chirp requires identifying the root cause. Yanking the unit off the ceiling and stuffing it under a pillow might buy you a few hours of sleep, but it leaves your house vulnerable. Let's walk through the exact steps to stop the noise permanently while keeping your fire safety intact.
Why Is My Smoke Detector Beeping Every 30 Seconds?
First, we need to clarify the difference between an active alarm and a maintenance chirp. If your smoke detector detects an actual fire, it will sound in a continuous, loud pattern—typically three long beeps followed by a brief pause, repeating continuously, usually at least 85 decibels. If you hear this pattern, evacuate your home immediately and call 911.
If you hear a single, short chirp once every 30 to 60 seconds, the device is communicating a maintenance issue. The most common trigger is a dying battery. As the battery's voltage drops below a specific threshold, the internal circuitry detects the weakness and triggers the warning chirp. This gives you a few weeks of warning before the unit loses power entirely.
Other causes include trapped dust blocking the internal photoelectric or ionization sensors, extreme temperature fluctuations from a nearby open window, or an expired unit. Smoke alarms do not last forever. The sensors degrade over time, and the internal logic board is programmed to start chirping once the unit passes its 10-year lifespan.
The Immediate Fix: Swapping the Battery
If your unit takes a standard 9-volt or AA battery, a simple swap is the first and most obvious fix. Keep in mind that even hardwired units usually have a backup battery inside them to maintain functionality during power outages. When that backup battery runs low, the hardwired unit will still chirp.
Alkaline batteries are the standard, but they drain faster in environments with extreme temperature shifts, like an unfinished basement or an attic stairway. Lithium 9-volt batteries cost slightly more ($10 to $15 at most hardware stores) but last significantly longer and resist temperature-related voltage drops.
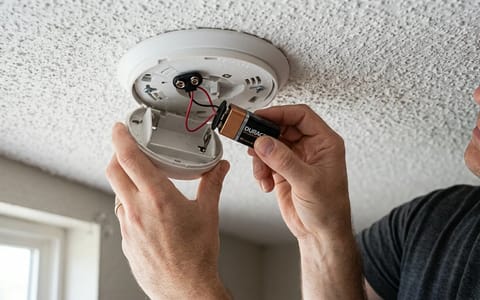
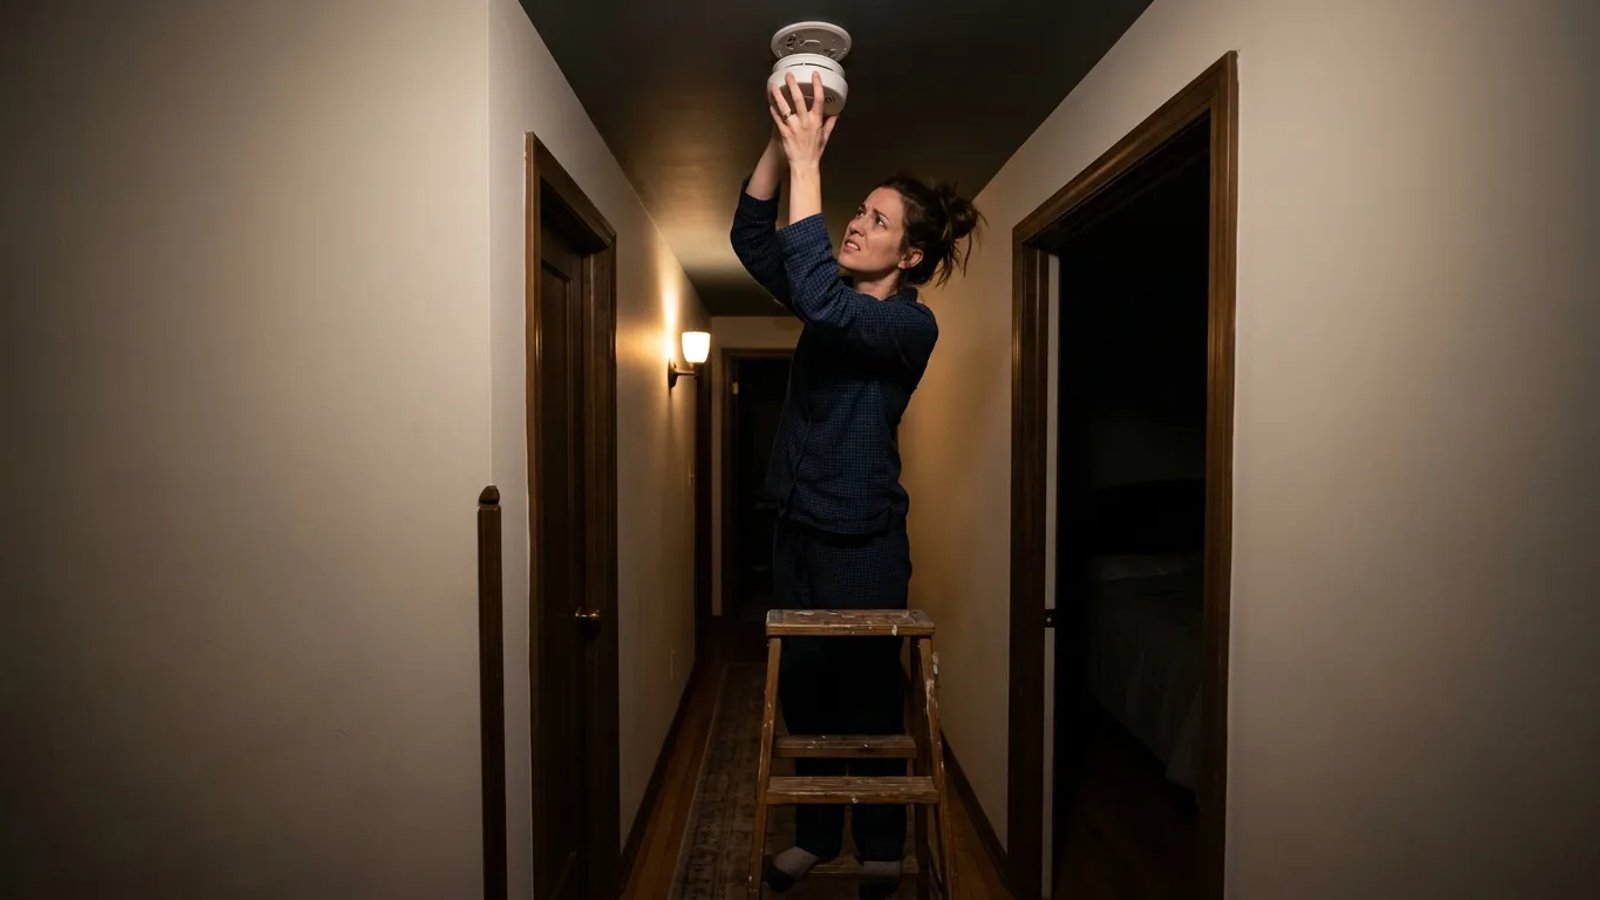
- Remove the detector from the ceiling. Most units detach with a simple counter-clockwise twist. If it is hardwired, you will see a small plastic wiring harness plugged into the back. You do not need to unplug the harness just to change the battery, but doing so makes the unit easier to handle. Simply squeeze the plastic tabs on the sides of the connector and pull.
- Open the battery compartment. Slide or pop open the battery door on the back or side of the unit. Remove the old battery.
- Install a fresh, high-quality battery. Insert a new 9-volt or AA battery, paying close attention to the positive and negative terminals. Use a name-brand alkaline or lithium battery. Cheap, heavy-duty batteries often lack the consistent voltage required to satisfy the detector's low-battery threshold.
- Reattach and test. Snap the battery door shut, plug the wiring harness back in if applicable, and twist the unit back onto its mounting bracket. Press and hold the test button on the front for three to five seconds until the alarm sounds to verify it has power.
The "Residual Charge" Reset Trick
You swapped the battery, twisted the unit back onto the ceiling, and went back to bed. Thirty seconds later—chirp. This is the most common point of frustration for homeowners.
When I replaced the detectors in my own hallway last year, one specific unit kept chirping even with a fresh Duracell 9-volt installed. I thought the new battery was a dud, but the actual issue was a residual electrical charge trapped in the detector's internal capacitor. The device still "remembered" the low battery error state because the internal memory had not fully cleared.
To fix this, you have to drain the leftover power completely.
- Remove the unit and the battery. Take the detector down again and take the new battery out of the compartment.
- Press and hold the test button. With the battery completely removed, press and hold the main test button on the front of the unit for 15 to 20 seconds. You might hear a faint, dying chirp as the last bit of power drains from the capacitor.
- Reinstall the battery. Put the fresh battery back in.
- Remount the detector. Twist it back onto the bracket. The error state should now be cleared, and the chirping will stop.
Secondary Causes: Dust, Spiders, and Drafts
If the reset trick fails, the next culprit is usually physical interference. Smoke detectors work by passing a beam of light into a sensor chamber (photoelectric) or measuring electrical current between two plates (ionization). If something blocks the light or disrupts the current, the alarm assumes there is a problem and triggers a warning chirp or a false alarm.
Dust is the primary offender. Homes circulating pet dander, drywall dust from recent renovations, or standard household lint will eventually clog the small vents along the side of the detector. Small insects and spiders also love to crawl into the dark, warm housing to build webs.
To clean the unit, take it down and use the soft brush attachment on your vacuum cleaner. Run the vacuum around the perimeter vents to suck out any loose debris. For stubborn dust, a quick blast of compressed air—the kind used for computer keyboards—works perfectly. Keep the nozzle a few inches away to avoid damaging the delicate sensors inside.
Temperature swings and high humidity can also cause intermittent beeping. If your detector is mounted just outside a bathroom, steam from a hot shower can enter the sensor chamber and mimic smoke particles. Similarly, a unit mounted too close to an HVAC supply register or an exterior door might react to sudden blasts of cold air. If humidity or drafts are the issue, you may need to relocate the unit a few feet away from the airflow source.
How to Troubleshoot Hardwired Interconnected Systems
Modern homes built after the late 1990s usually feature interconnected hardwired smoke alarms. When one unit detects smoke, it sends a signal down a dedicated traveler wire (usually red) to trigger every other alarm in the house simultaneously.
This is excellent for safety, but it makes troubleshooting a low-battery chirp complicated. Because the units are linked, a single detector with a dying battery can occasionally cause all the units in the house to chirp in unison, making it incredibly difficult to isolate the bad one.
To find the culprit, you have to look closely at the LED indicator lights on the front of each unit. Most hardwired detectors have a green light indicating AC power and a red light indicating alarm status. On the unit that is actually experiencing the low battery or error, the red LED will usually flash in time with the chirp, or flash a specific code (like once every 30 seconds). The other units echoing the chirp will not show the flashing red light.
Once you identify the initiating unit, replace its backup battery and perform the residual charge reset. If the system still acts up, the wiring harness itself might be loose.
Has Your Smoke Detector Expired?
If you have tried a fresh battery, cleared the residual charge, and vacuumed the vents, but the detector is still beeping every 30 seconds, there is a very high probability the unit has simply expired.
The National Fire Protection Association (NFPA) mandates that all smoke alarms must be replaced 10 years from the date of manufacture. This is not a marketing gimmick to sell more alarms. The radioactive isotope in ionization detectors decays, and the light-emitting diodes in photoelectric detectors dim over time. After a decade, the unit can no longer be trusted to detect a smoldering fire reliably.
Manufacturers program a hard stop into the device's logic board. Once the internal clock hits the 10-year mark, the unit will begin an end-of-life chirp that cannot be reset or silenced by a new battery.
To check the age of your device, remove it from the ceiling and look at the sticker on the back. You will find a printed "Date of Manufacture." If that date was more than 10 years ago, throw the unit away and buy a new one. Even if the date says it is nine years old, it is usually worth replacing it now to save yourself another 2:00 AM wake-up call a few months down the road.
When buying replacements, consider upgrading to units with sealed 10-year lithium batteries. These models cost a bit more upfront, but they eliminate the need for annual battery changes. You simply mount them to the ceiling, and when they start chirping a decade later, you throw the entire unit away and start fresh.
After a decade, the unit can no longer be trusted to detect a fire reliably. The end-of-life chirp cannot be reset.
A chirping smoke alarm is an annoyance, but it is also a reminder that your home's safety systems are actively monitoring their own health. By keeping fresh batteries on hand, vacuuming the units twice a year, and replacing them every decade, you ensure your family stays protected—and you get to sleep through the night without interruption.
- Always hold the test button for 20 seconds with the battery removed to drain residual power before putting a new battery in.
- Use name-brand alkaline or lithium batteries; cheap heavy-duty batteries often lack the consistent voltage required.
- Vacuum the side vents of your detectors twice a year to prevent dust buildup from triggering false chirps.
- Check the manufacturing date on the back of the unit. If it is older than 10 years, it cannot be fixed and must be replaced.