How to Flush Water Heater Sediment (And Get More Hot Water)
Running out of hot water or hearing strange popping noises? Learn how to safely flush sediment from your water heater to restore efficiency and capacity.
If you are constantly running out of hot water halfway through your morning shower, or you keep hearing a strange popping noise coming from your utility closet, you are not alone. These are classic signs of a struggling appliance. Fortunately, you do not need to pay for a costly professional service call to fix this issue. Learning how to flush water heater sediment is a straightforward weekend project that requires nothing more than a standard garden hose, some basic safety gear, and a little patience.
Over time, the natural minerals present in your home's water supply settle at the bottom of the tank. This sediment literally takes up physical space where hot water should be, reducing your overall capacity. Worse, it forms an insulating barrier between the heating element (or gas burner) and the water itself, forcing your system to work overtime just to reach your desired temperature. By clearing out this buildup, you can restore your heater's efficiency, lower your monthly energy bills, and enjoy longer, hotter showers.
Understanding the Sediment Problem
To fix the issue, it helps to understand exactly what is happening inside that large metal cylinder. Unless you have a whole-house water softening system, your municipal or well water contains dissolved minerals—primarily calcium and magnesium. When this "hard" water enters your water heater and warms up, the minerals separate from the water and fall out of suspension. Gravity pulls them down, creating a layer of sand-like debris at the very bottom of the tank.
I remember the first time I heard my own water heater popping and rumbling. It sounded like someone was shaking a coffee can full of marbles in the basement. That noise is actually caused by water trapped beneath the heavy layer of sediment. As the burner heats the bottom of the tank, that trapped water boils and turns into steam bubbles, which violently force their way up through the mineral crust. Not only is this noisy, but the constant localized overheating can eventually weaken the steel bottom of the tank, leading to premature leaks and catastrophic failure.
Tools You Need for the Job
Before you begin, gather your supplies. You do not need specialized plumbing tools for this job, but you do need to prioritize safety. The water inside the tank is scalding hot, often sitting around 120 to 140 degrees Fahrenheit.
- A standard 5/8-inch garden hose (long enough to reach a floor drain or the exterior of your home)
- A flathead screwdriver (to open the drain valve)
- Heavy-duty leather work gloves (to protect your hands from hot fittings)
- Safety glasses (to protect against unexpected splashes)
- A 5-gallon bucket (optional, but highly recommended for testing the water clarity)
Step-by-Step: How to Flush Water Heater Sediment
This process is entirely safe as long as you follow the steps in the correct order. The most critical rule of water heater maintenance is to never drain the tank while the heating source is active. Let's walk through the procedure.
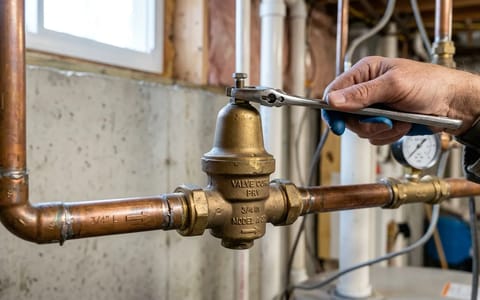
- Turn off the power or gas. For an electric water heater, go to your main electrical panel and flip the dedicated circuit breaker to the "Off" position. For a gas water heater, locate the control valve at the bottom of the tank and turn the dial from "On" to the "Pilot" setting.
- Shut off the cold water supply. Look for the cold water inlet pipe at the top of the tank. Turn the shut-off valve clockwise until it stops. If you have a lever-style ball valve, turn it so the handle is perpendicular to the pipe.
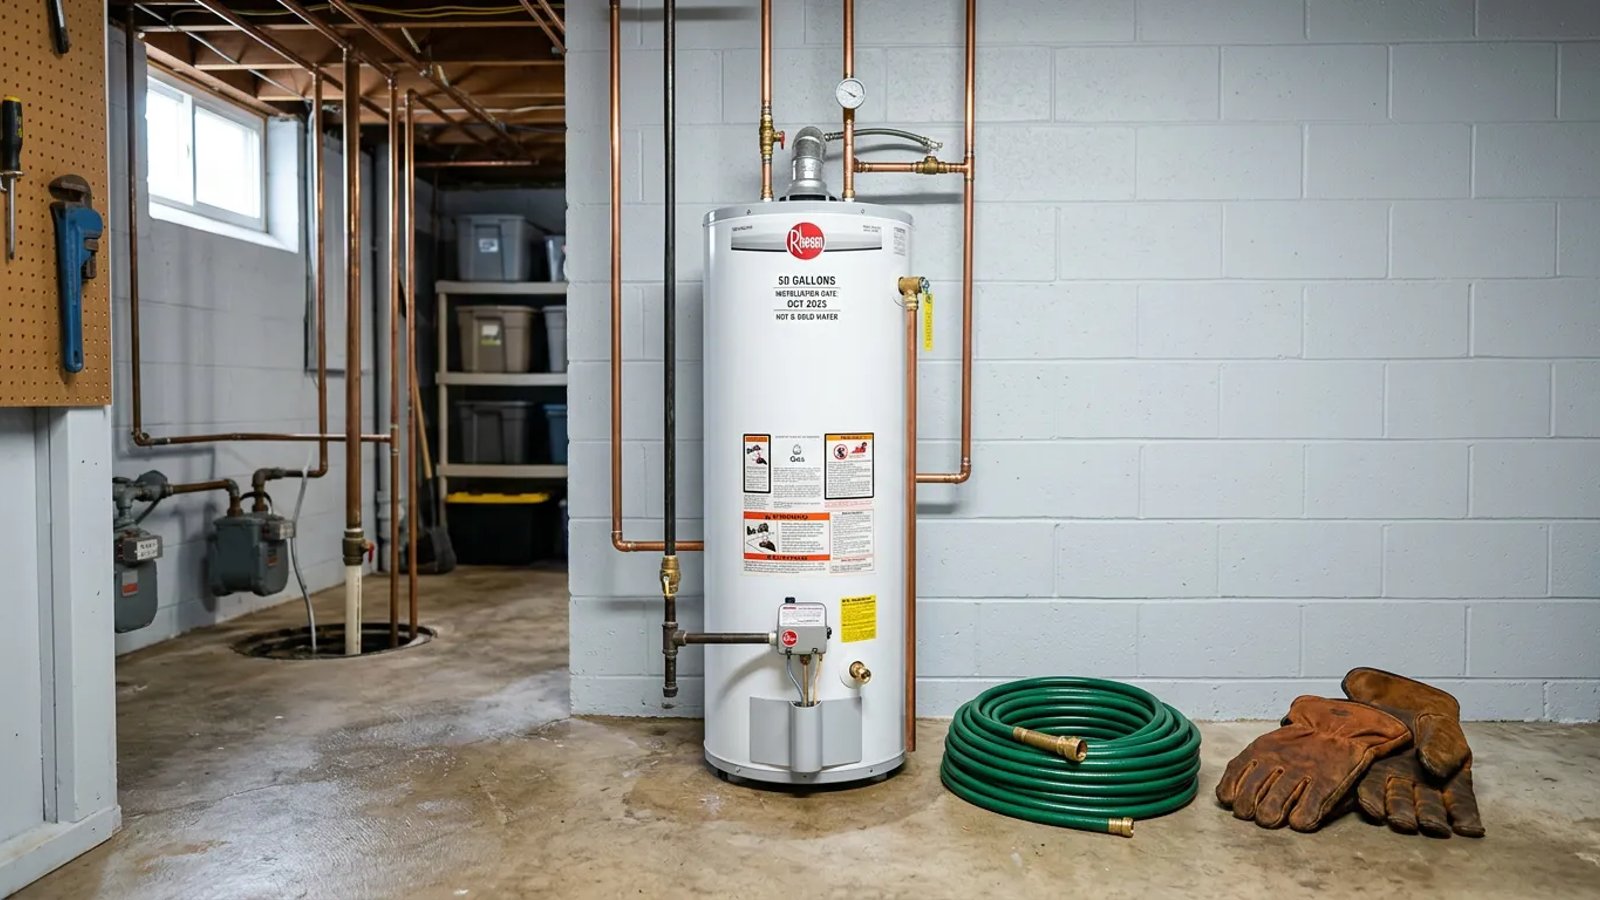
- Attach the garden hose. Thread your garden hose onto the drain valve located near the bottom of the tank. Ensure the connection is tight to prevent leaks. Run the other end of the hose to a floor drain, a utility sink, or outside to your driveway.
- Open the pressure relief valve. Locate the Temperature and Pressure (T&P) relief valve near the top of the tank. Carefully lift the metal lever to open it. This step is crucial—it breaks the vacuum inside the tank, allowing the water to flow freely out of the bottom, much like taking your finger off the top of a drinking straw.
- Open the drain valve. Using your flathead screwdriver (or by turning the handle, depending on your valve type), slowly open the drain valve. The hot water will begin flowing out through the hose. Let the tank drain completely. This usually takes 15 to 20 minutes.
- Flush the tank. Once the tank is empty, leave the drain valve open and turn the cold water supply valve back on for about 15 seconds, then turn it off. This sudden rush of cold water stirs up any remaining stubborn sediment at the bottom. Let it drain out. Repeat this "flush and drain" cycle three or four times until the water exiting the hose runs crystal clear.
- Refill and restore power. Close the drain valve tightly and remove the garden hose. Close the T&P relief valve at the top of the tank. Turn the cold water supply valve fully back on to refill the tank. Go inside your house and open the hot water side of a nearby faucet—air will sputter out for a minute or two. Once a steady stream of water flows from the faucet, the tank is completely full. Only then should you turn the circuit breaker back on or turn the gas valve back to the "On" position.
Dealing with Stubborn Sediment
Sometimes, the sediment buildup is so severe that it completely clogs the drain valve, preventing any water from flowing out. If you open the valve and nothing happens, do not panic. The blockage is likely just inside the tank opening.
First, ensure the cold water supply is turned off and the T&P valve is open. Then, take a stiff piece of wire—a straightened wire coat hanger works perfectly—and carefully insert it through the opening of the drain valve. Gently prod the blockage to break up the mineral crust. Be prepared: once the clog clears, hot water will immediately begin rushing out, so keep your heavy leather gloves on and stand back.
When to Call a Professional
While flushing a tank is highly accessible for most homeowners, there are a few scenarios where it makes sense to step back. If your water heater is more than ten years old and has never been flushed, the drain valve may be completely seized. Forcing a stuck plastic valve can cause it to snap off, resulting in a flooded room.
Making Maintenance a Habit
To keep your plumbing system running efficiently, you should aim to flush your water heater once a year. If you live in an area with notoriously hard water, or if you draw from a private well, you might need to increase that frequency to every six months.
An hour of simple maintenance today can add years to the life of your water heater and save you hundreds of dollars in premature replacement costs.
Taking care of your home's mechanical systems doesn't always require a contractor. By understanding how your appliances work and staying on top of routine clearing, you keep your household running smoothly. Enjoy those longer, hotter showers—you earned them.