10 Clever DIY Bathroom Lifehacks Every Homeowner Needs
Transform your bathroom maintenance routine with these 10 clever DIY lifehacks. Learn how to conquer soap scum, clear slow drains, and maximize storage using simple household items.
Homeowners constantly battle bathroom maintenance. From stubborn hard water stains on shower doors to slow-draining sinks and chaotic under-sink cabinets, the bathroom is one of the most heavily used rooms in the house. Because of this high traffic, it degrades quickly if not maintained properly. Fortunately, keeping this space pristine does not require a closet full of expensive, harsh chemicals or an immediate call to a contractor. Implementing a few clever diy bathroom lifehacks can save you significant time, money, and frustration.
The secret to effortless bathroom upkeep lies in using basic household items to solve common problems. By understanding a little bit of chemistry and rethinking how you utilize space, you can tackle everything from mineral buildup to storage woes. Here are 10 highly effective, inexpensive tricks to keep your bathroom clean and fully functional.
Defeating Hard Water and Soap Scum
Hard water and soap scum are the twin enemies of a sparkling bathroom. When the fatty acids in bar soap react with the calcium and magnesium in hard water, they form a stubborn, chalky residue that clings to glass, tile, and metal. Scraping it off requires immense physical effort, but breaking it down chemically is simple.
1. The Magic Soap Scum Buster
You can create a highly potent soap scum remover using just two ingredients: white vinegar and Dawn dish soap. The acetic acid in the vinegar breaks down the mineral deposits, while the surfactants in the dish soap cut through the greasy body oils binding the scum to the wall.
Mix equal parts white vinegar and dish soap in a spray bottle. For the best results, heat the vinegar in the microwave for 30 to 45 seconds before mixing it with the soap. Spray the warm solution generously over your shower doors and fiberglass tub. Let it sit for 30 minutes, then scrub lightly with a non-scratch sponge and rinse with warm water. The scum will melt away.
2. The Baggie Trick for Showerheads
When hard water scale clogs the tiny rubber nozzles of your showerhead, water pressure drops, and the spray pattern becomes erratic. You do not need to unscrew the fixture or buy a replacement to fix this.
- Fill a bag. Pour one cup of white vinegar into a sturdy plastic sandwich bag.
- Submerge the fixture. Lift the bag over the showerhead so the entire face is submerged in the vinegar.
- Secure it tightly. Wrap a thick rubber band or a zip tie around the neck of the showerhead to hold the bag in place.
- Let it soak. Leave the bag attached for 60 to 90 minutes.
- Flush the lines. Remove the bag, scrub the face lightly with an old toothbrush, and run the hot water for one minute to flush out the dissolved minerals.
3. Black Tea for Sparkling Mirrors
Glass cleaners often leave streaks, especially in a humid environment. An unconventional but highly effective alternative is brewed black tea. The tannic acid in the tea acts as a solvent that cuts through toothpaste splatters and fingerprints without leaving a cloudy residue.
Brew a strong cup of black tea using two or three bags. Let it cool completely, then pour it into a spray bottle. Mist your bathroom mirror and wipe it down with a crumpled piece of newspaper or a microfiber cloth. The result is a lint-free, streak-free shine.
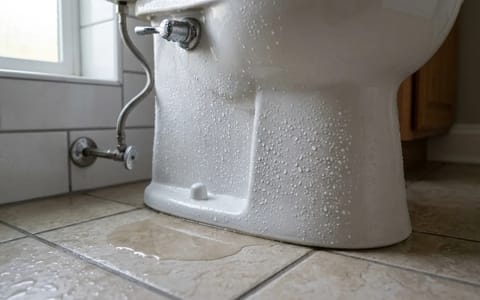
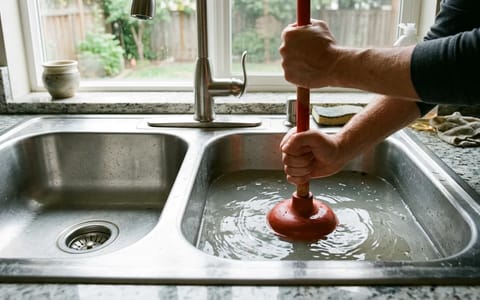
Conquering Clogs and Plumbing Hiccups
A slow-draining sink or tub is a daily annoyance that quickly escalates into a sanitary issue. Before reaching for caustic liquid drain cleaners—which can actually damage older PVC pipes and metal traps over time—try these mechanical and natural solutions.
4. The Volcano Method for Slow Drains
Routine maintenance is the best way to prevent total blockages. Once a month, treat your drains to a natural flush to clear out the sticky buildup of toothpaste, shaving cream, and soap residue that traps hair.
Pour one-half cup of baking soda directly down the drain. Follow this immediately with one cup of white vinegar. Cover the drain with a wet washcloth to force the fizzy, expanding chemical reaction downward into the pipe rather than up into the sink basin. Wait 15 minutes, then flush the drain with a kettle full of boiling water (around 200 to 212 degrees Fahrenheit). The reaction loosens the sludge, and the boiling water washes it away.
5. The DIY Zip-Tie Snake
If a drain is completely clogged with hair, the baking soda method will not be enough. You need to physically extract the blockage. If you do not own a barbed plastic drain snake, you can easily make one.
Take a long, thick plastic zip-tie (at least 12 inches long). Using a utility knife, carefully cut diagonal notches along both edges of the zip-tie, pointing upward toward the head. Slide the notched end down into the drain, twist it around a few times, and pull it back up. The DIY barbs will snag the hair clog, allowing you to pull it out in one piece.
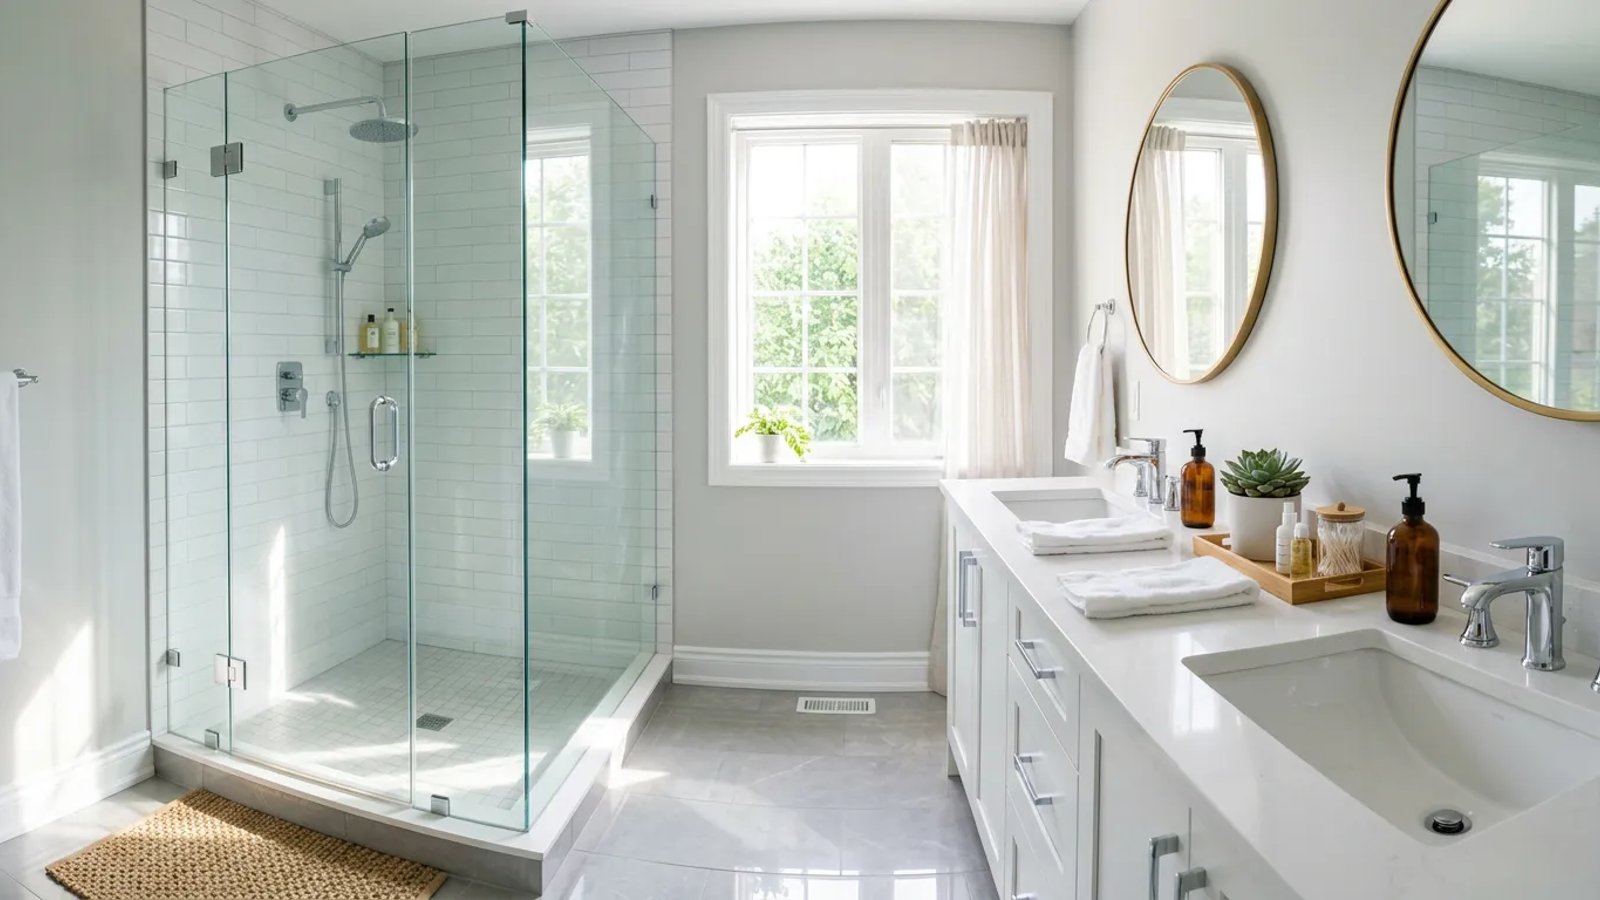
Mildew, Grout, and Moisture Control
Bathrooms are inherently damp, making them prime real estate for mildew and mold. Managing moisture and treating porous surfaces is essential for a clean, healthy space.
A bathroom that fights back against daily wear and tear doesn't require a weekend renovation—just a few clever applications of basic chemistry.
6. Shaving Cream Anti-Fogger
Stepping out of a hot shower only to find the mirror completely fogged over is frustrating. You can prevent this using standard shaving cream. The soap in the shaving cream leaves a microscopic, invisible film on the glass that prevents water vapor from condensing into droplets.
Spread a thin layer of basic foaming shaving cream (not gel) over your bathroom mirror. Wipe it off immediately with a dry microfiber cloth until the glass is completely clear. This simple treatment will keep your mirror fog-free for two to three weeks.
7. The Toilet Paper Bleach Trick for Caulking
Silicone caulk around the bathtub often develops black mildew spots that seem impossible to scrub away. Because the caulk is vertical, liquid bleach simply runs off before it has time to kill the spores.
Take a few squares of toilet paper and twist them into a tight rope. Lay the paper rope directly over the mildew-stained caulk line. Carefully saturate the paper with liquid bleach. The paper holds the bleach against the silicone, preventing it from evaporating or dripping away. Leave it overnight. In the morning, remove the paper and rinse the area—the mildew will be completely gone.
8. Hydrogen Peroxide Grout Cleaner
Grout is highly porous and absorbs dirty mop water, spills, and mildew. To restore dingy grout lines without harsh commercial acids, mix a paste of baking soda and 3% hydrogen peroxide.
Apply the paste to the grout lines and let it sit for 15 minutes. The hydrogen peroxide acts as a safe, oxygen-based bleach, while the baking soda provides gentle abrasion. Scrub the lines with a stiff-bristled brush, then mop the floor with warm water. Your grout will look freshly installed.
Taming the Under-Sink Chaos
The cabinet beneath the bathroom sink is notoriously difficult to organize. The plumbing pipes dictate how much space you have, often leaving a tall, awkward cavern where items get shoved to the back and forgotten. I remember constantly knocking over bottles of rubbing alcohol while trying to reach the kids' bath toys until I finally rethought the vertical space.
9. Tension Rod Spray Bottle Storage
The upper half of the under-sink cabinet is almost always dead space. You can reclaim this area by installing a simple, inexpensive tension rod.
Extend a small tension rod across the width of the cabinet, positioning it high enough to clear the plumbing pipes but low enough that bottles won't hit the top of the cabinet. Hang your glass cleaners, tub scrubs, and daily shower sprays by their triggers right on the rod. This gets them off the floor of the cabinet, freeing up valuable square footage for bulky items like toilet paper or towels.
10. Magnetic Strips for Grooming Tools
Bobby pins, tweezers, nail clippers, and small scissors constantly clutter bathroom drawers or get lost in the depths of the medicine cabinet. A self-adhesive magnetic knife strip is the perfect solution.
Mount a small magnetic strip on the inside of your vanity cabinet door or along the inner wall of your medicine cabinet. Slap your small metal grooming tools directly onto the strip. They will stay perfectly organized, easily accessible, and safely out of the way.
Maintaining a bathroom does not have to be a grueling, weekend-long chore. By utilizing these simple DIY hacks, you can stay ahead of the grime, prevent costly plumbing blockages, and keep your daily routines organized. A little bit of preventative care and some creative problem-solving will ensure your bathroom remains a clean, welcoming space year-round.