Ceiling Fan Making Grinding Noise? How to Find the Cause
A grinding, scraping, or humming ceiling fan can ruin a quiet room. Learn how to diagnose the noise, find the exact point of friction, and fix your fan step-by-step.
Full guide Appliances Learn how long your home appliances will last and when to repair or replace them.You hit the wall switch expecting a cool breeze, but instead, your bedroom sounds like a rock tumbler. A ceiling fan making grinding noise is one of the most frustrating household disruptions, especially when you are just trying to get a good night's sleep. While a light clicking sound usually just points to a wobbly blade, harsh grinding, scraping, or buzzing sounds indicate a deeper mechanical or electrical problem.
Last summer, I spent three nights sleeping with earplugs before I finally dragged a step ladder out to take apart my living room fan. I assumed the heavy motor was completely shot and mentally prepared to spend $200 on a new fixture. It turned out to be a single, slightly loose $2 screw rubbing against the glass light shade. The fix took exactly three minutes.
Before you rush out to buy a replacement, you need to isolate the exact type of sound your fan is making. Different noises point to entirely different problems. Let's walk through a safe, step-by-step diagnostic process to find the friction and quiet your fan down for good.
Why Is My Ceiling Fan Making Grinding Noise?
If the sound is a heavy, metal-on-metal grinding or scratching, the primary suspect is the fan's internal motor bearings. The motor relies on a series of small steel ball bearings to rotate smoothly. In a new fan, these bearings are packed with heavy grease or oil. Over years of heavy use—especially if the fan runs constantly during warmer months—that lubrication dries up or leaks out.
Once the lubrication is gone, the steel bearings scrape directly against their metal housing. This creates the harsh grinding noise you hear. If left ignored, the friction will eventually cause the motor to overheat and seize up entirely.
Older, high-end cast-iron ceiling fans (like vintage Hunters) were designed with an oil bath system that requires regular topping off, typically every 1-2 years. Modern, budget-friendly fans use sealed bearings. If a modern fan with sealed bearings develops a severe grind, the motor is essentially eating itself alive, and the fixture usually needs to be replaced.
Scraping and Rubbing: Finding Physical Friction
Often, what sounds like internal grinding is actually external scraping. As a fan operates, the minor vibrations slowly loosen the dozens of small screws holding the fixture together. When parts shift out of alignment, they rub against each other with every rotation.
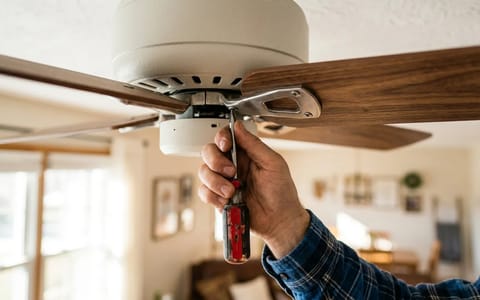
Here is how to check your fan for external physical friction. You will need a step ladder and a standard Phillips-head screwdriver.
- Turn off the power. Flip the wall switch off, and for absolute safety, turn off the breaker for that room at your main electrical panel.
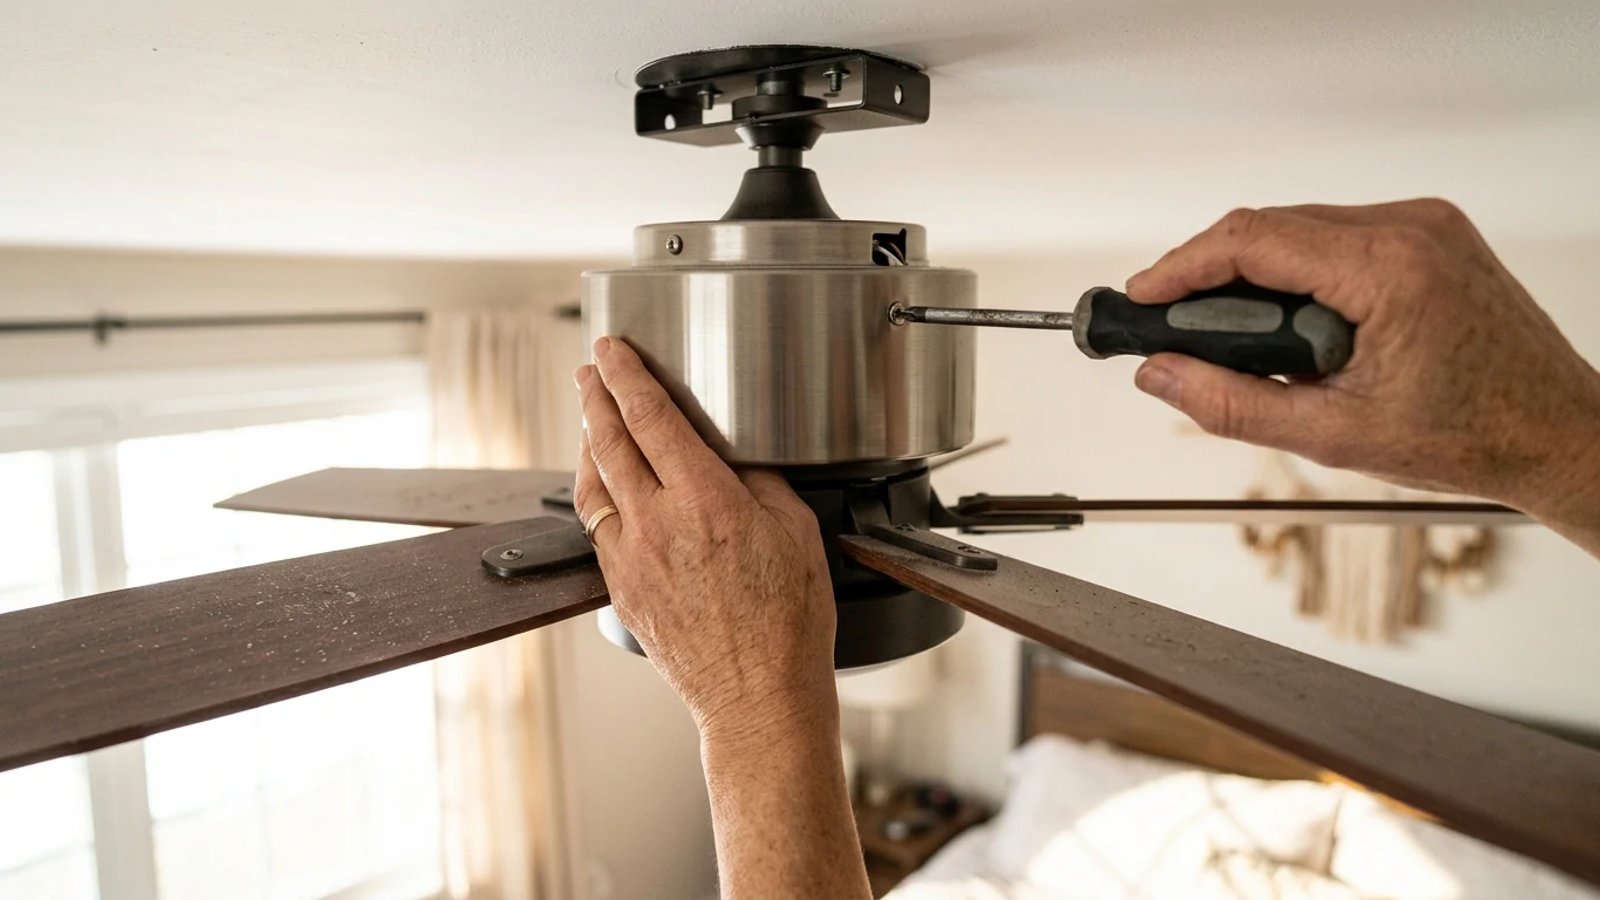
- Inspect the ceiling canopy. The canopy is the metal bowl that covers the wiring at the ceiling. If it drops even a quarter of an inch, the rotating downrod or the top of the motor housing will scrape against it. Loosen the canopy screws, push the bowl flush against the ceiling drywall, and tighten the screws firmly.
- Check the blade brackets. Inspect the metal arms (irons) that connect the wooden blades to the motor. If these screws back out, the bracket can sag and scrape against the light kit or the bottom of the motor housing. Tighten the two screws holding each bracket to the motor.
- Examine the light kit and glass shades. Glass globes vibrate easily. Remove the light bulbs and gently tighten the thumbscrews holding the glass shades in place. Do not over-tighten, or the glass will crack.
- Spin the fan by hand. With the power still off, manually push the blades to spin the fan. Listen closely and watch the gaps between the moving and stationary parts. If you hear the scrape now, you can pinpoint exactly where the two pieces of metal are touching.
If you have tightened every visible screw and the fan spins silently by hand, but the noise returns when you turn the power back on, you are likely dealing with an electrical issue rather than physical friction.
Humming and Buzzing: Diagnosing Electrical Issues
A loud, steady hum or buzz is very different from a mechanical grind. Electrical humming means the motor is struggling to process the current it is receiving. This is annoying, but it is also one of the easiest problems to diagnose.
The most common culprit is an incompatible wall switch. Many homeowners replace standard toggle switches with dimmer switches to control the room's lighting. However, if you wire a ceiling fan to a standard incandescent light dimmer, the fan motor receives a chopped electrical waveform. This makes the motor vibrate aggressively, creating a loud buzz. You must use a dedicated variable-speed fan controller, not a light dimmer.
If the wall switch is correct, the next suspect is the fan's capacitor. The capacitor is a small black box tucked inside the light kit or switch housing that helps regulate power to the motor. When a capacitor begins to fail or bulge, the fan will hum loudly, run sluggishly, or refuse to change speeds. Replacing a capacitor is a cheap fix—usually around $10 to $15—and only requires stripping a few wires and twisting on new wire nuts.
A loud, steady hum is rarely a mechanical failure. It usually means the motor is struggling with dirty power from a bad switch or a failing capacitor.
Finally, check the wire connections in the ceiling box. The vibrations of the fan can cause the plastic wire nuts inside the ceiling canopy to rattle against the metal housing. If you open the canopy, make sure all wire nuts are tight and neatly tucked up into the electrical box, away from the moving downrod.
How to Oil a Ceiling Fan Motor
If you have ruled out loose parts and electrical hums, and you are certain the fan is suffering from dry bearings, you may be able to lubricate it. However, this only applies to specific types of fans.
Check the top of the motor housing near the downrod. If you see a small hole labeled "Oil" (sometimes covered by a small plug), you are in luck. Your fan was designed to be lubricated.
To oil the fan, purchase a bottle of 10- or 20-weight non-detergent motor oil. You can find this at any hardware store or auto parts shop for a few dollars. Clean the area around the oil hole with a rag to prevent dust from falling inside. Slowly drip 3 to 5 drops of oil into the hole, then spin the blades by hand to help distribute the fluid into the bearings. Wait a few minutes and add a few more drops if the motor seems to be absorbing it quickly.
If your fan does not have an oil hole, it uses sealed bearings. While it is technically possible to take the entire motor apart, pry the seals off the bearings, and repack them with grease, this is a tedious job that requires specialized snap-ring pliers and a lot of patience. For a standard builder-grade ceiling fan, it simply isn't worth the effort.
Repair or Replace: Making the Final Call
When dealing with a ceiling fan making a grinding noise, you eventually have to decide if the fixture is worth saving. If tightening a few screws or swapping out a $10 capacitor solves the problem, it is an easy win. But if the motor is grinding internally and the bearings are sealed, replacement is usually the smartest path.
If you decide to replace the fixture, take the opportunity to upgrade your home's efficiency. Look for Energy Star certified ceiling fans, which use highly efficient DC motors. Not only do DC motors use significantly less electricity than older AC motors, but they also run noticeably quieter and rarely suffer from the electrical humming issues that plague older models.
A noisy ceiling fan doesn't have to be a permanent annoyance. By systematically checking the canopy, tightening the brackets, and listening for the difference between a mechanical scrape and an electrical hum, you can quickly locate the problem. Grab your screwdriver, cut the power, and get your quiet room back.
- Check the obvious first: tighten all visible screws on the fan blades, light kit, and mounting canopy.
- Never use standard WD-40 to lubricate a ceiling fan motor; it will strip away remaining grease. Use 10- or 20-weight non-detergent motor oil.
- If your fan is wired to a standard light dimmer switch, replace it with a dedicated fan speed control switch to stop electrical humming.
- If a newer fan with sealed bearings starts grinding heavily, it is usually cheaper and safer to replace the entire fixture rather than attempt a motor rebuild.