How to Use a Ceiling Fan Balancing Kit to Stop Wobbles
Stop that annoying ceiling fan wobble. Learn how to properly use a standard balancing kit to locate the heavy blade and apply weights for a smooth, silent spin.
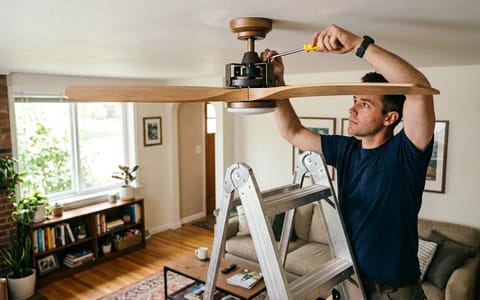
Late summer heat means your ceiling fans are likely running on high all day long. But sitting in your living room trying to relax is impossible when the fan overhead is wobbling violently and clicking with every rotation. It is a common annoyance that drives homeowners crazy. Luckily, you can often fix this by learning to use ceiling fan balancing kit.
You grab a screwdriver, climb up a stepladder, and tighten every visible screw on the blades and the mounting bracket. You turn the fan back on, expecting a smooth, silent breeze. Instead, the annoying wobble persists. Tightening the hardware is always the right first step, but it cannot fix a fan that is fundamentally off-balance.
Last August, I spent two hours trying to fix a persistent wobble in my living room fan. I tightened every screw twice and even checked the downrod pin before I finally dug the balancing kit out of my toolbox. Ten minutes later, the fan was spinning silently. If you have a fan that shakes, it is time to use a ceiling fan balancing kit.
Why Do Ceiling Fans Lose Their Balance?
Ceiling fans are heavy appliances suspended from a single central point. They rely on perfect weight distribution to spin smoothly. Even a weight difference of a few grams between blades will cause the entire motor housing to shift off-center as it rotates.
Over time, a few common reasons can throw a fan out of balance. The most common culprit is uneven dust buildup. Dust is surprisingly heavy, and it rarely settles evenly across all blades. A typical fan blade can accumulate 5-10 grams of dust over a season. Another major factor is humidity. Wooden or composite fan blades absorb moisture from the air during the muggy summer months. This moisture can cause the blades to warp slightly, changing their aerodynamic pitch and weight.
Finally, simple settling occurs. Houses shift, mounting brackets settle into the ceiling joists, and minor manufacturing defects become more pronounced after thousands of hours of rotation. When the weight is uneven, centrifugal force pulls the fan toward the heaviest side, creating that rhythmic, irritating wobble.
What Is in a Standard Balancing Kit?
If you installed your ceiling fan yourself, you likely saw a small plastic bag containing a black clip and some metal rectangles. Most people toss this bag in a junk drawer and forget about it. That is your balancing kit.
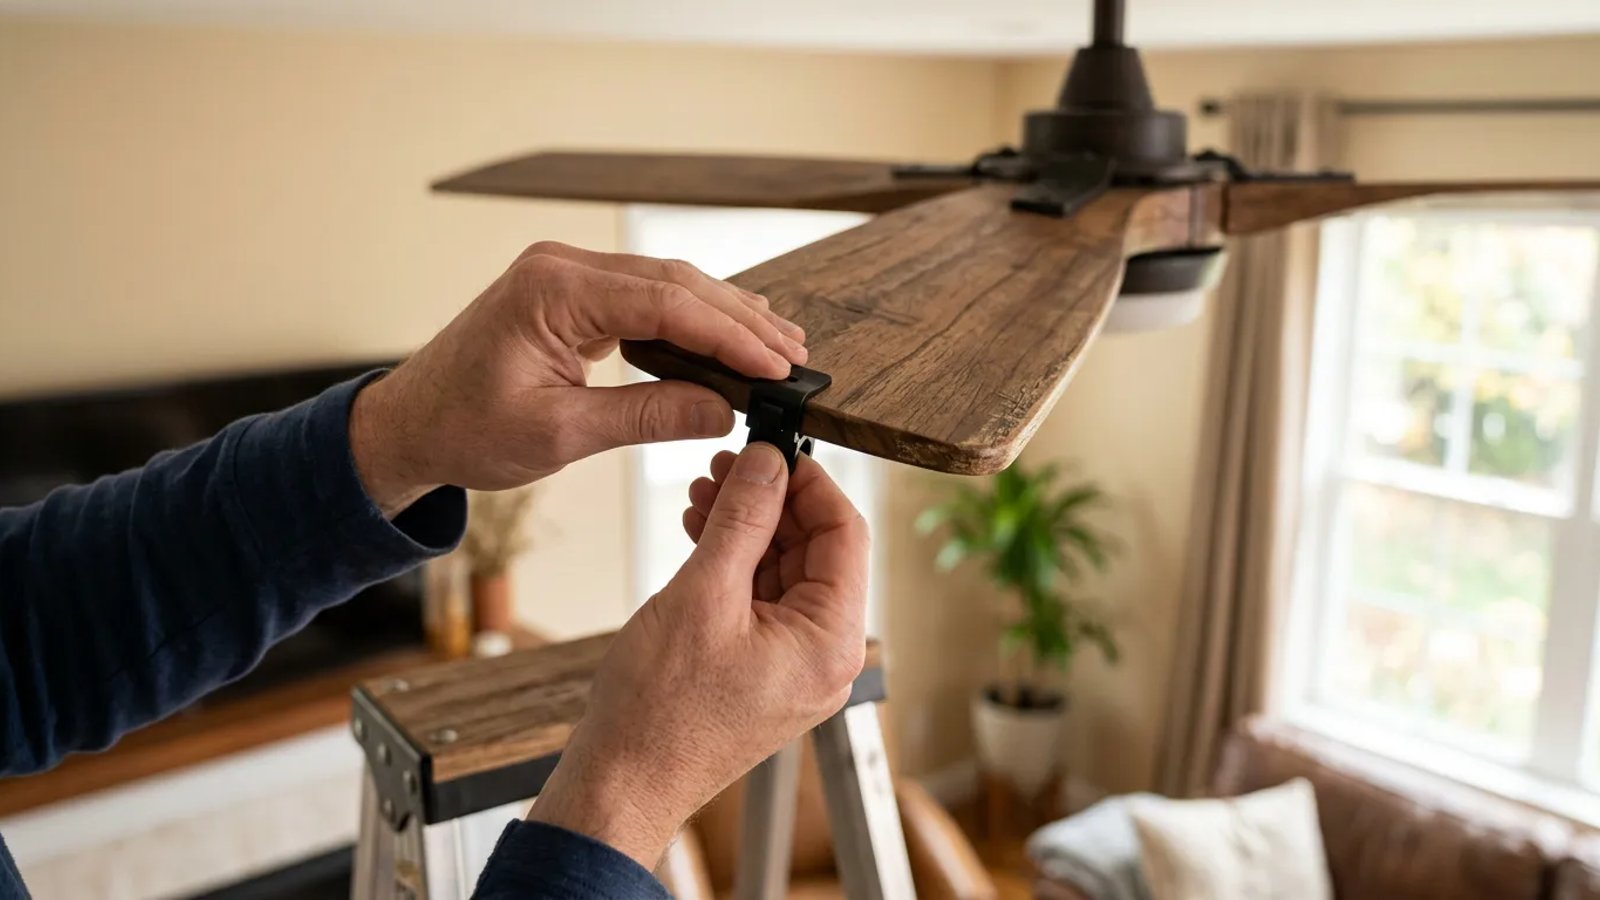
A standard kit contains two main components. First, there is a U-shaped plastic clip. This clip acts as a temporary, movable test weight. It is designed to slide snugly onto the trailing edge of a fan blade without scratching the finish. Second, the kit includes two or three adhesive metal weights. These usually weigh about 3 to 5 grams each. Once you find the source of the imbalance with the plastic clip, you stick the permanent metal weight to the blade to fix the problem permanently.
Pre-Balance Checks: Do This Before You Clip
Before you start sticking weights to your fan, you need to rule out other common issues. In my experience, balancing a fan that has underlying mechanical problems is a waste of time.
First, clean the fan thoroughly. Use a damp microfiber cloth to wipe the top and bottom of every blade. Removing the dust might solve the wobble completely. Next, check the blade pitch. Grab a standard wooden yardstick. Hold the yardstick vertically against the ceiling, letting it hang down next to the tip of one blade. Note the measurement. Rotate the fan manually and check the next blade. All blades should measure within a quarter-inch of each other. If one blade is hanging significantly lower, the metal bracket holding that blade (the blade iron) is likely bent. You can gently bend it back into alignment.
Finally, confirm the electrical box in the ceiling is actually rated for a ceiling fan. Standard light fixture boxes cannot handle the dynamic load of a spinning fan. If the whole box is shifting in the drywall, stop immediately.
How to Use Ceiling Fan Balancing Kit
Finding the exact spot that needs more weight requires a simple process of elimination. You will test each blade one by one until you find the sweet spot.
Here is how to execute the test:
- Turn the fan off. Wait for the blades to come to a complete stop.
- Number the blades. Stick a small piece of painter's tape on each blade, numbering them 1 through 4 or 5, so you don't lose track.
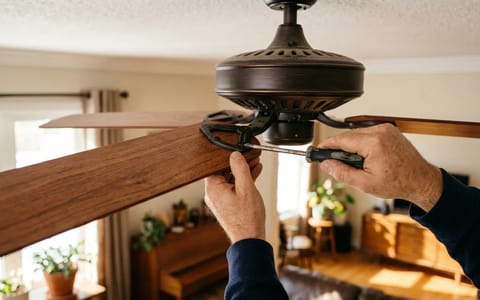
- Attach the plastic clip. Slide the U-shaped clip onto the middle of the trailing edge of blade number 1.
- Turn the fan on high. Observe the wobble carefully to see if it improved or got worse.
- Turn the fan off and move the clip. Move the clip to blade number 2, turn the fan back on, and observe.
- Repeat for all blades. Continue this process until you identify which blade shows the most improvement when the clip is attached.
Once you identify the blade that needs the weight, you have to find the exact position along that specific blade. Leave the clip on the problem blade. Slide it halfway toward the motor housing, turn the fan on, and check the wobble. Then, turn the fan off, slide the clip halfway toward the outer tip of the blade, and test again. Keep making small adjustments up and down the edge of the blade until the fan spins perfectly smooth.
Applying the Permanent Adhesive Weights
Now that you have found the perfect spot with the plastic clip, it is time to make the fix permanent. The temporary clip is bulky and ugly; the permanent weights are designed to hide out of sight.
Leave the plastic clip exactly where it is. Take a paper towel and a dab of rubbing alcohol, and clean the top surface of the blade directly in line with the clip. You want to place the permanent weight on the top center line of the blade, directly across from where the clip is sitting on the edge. Cleaning the dust and oil ensures the adhesive will stick for years.
Peel the paper backing off one of the metal adhesive weights. Press it firmly onto the top center of the blade, right in line with the plastic clip. Hold it down with your thumb for about 15 seconds to let the adhesive bond to the wood. Once the permanent weight is secure, pull the plastic test clip off the edge of the blade.
Turn the fan back on to high speed. It should run smoothly. If a slight wobble remains, you might need a second weight. You can repeat the clip-testing process to see if another blade needs balancing, or you can add a second permanent weight right next to the first one if the initial problem blade was severely underweight.
When Should You Replace the Fan Instead?
Balancing kits are fantastic for fixing weight distribution issues, but they cannot perform miracles on broken hardware. Sometimes, a wobble is a symptom of a fan that has simply reached the end of its lifespan.
If you hear a grinding, scraping, or loud humming noise coming from the motor housing, the internal bearings are shot. No amount of adhesive weight will fix a failing motor. Similarly, if the entire mounting bracket is drooping out of the ceiling, or if the downrod pin is sheared, the fan is structurally compromised.
When it is time for an upgrade, look for models that prioritize energy efficiency. You can check the Energy Star ceiling fans guide to find units that move more air while using less electricity. Modern fans often use DC motors, which run quieter, lighter, and are far less prone to the severe wobbling issues seen in older AC motor units.
A balanced fan doesn't just cool your room better; it protects your ceiling drywall and electrical wiring from years of destructive vibration.
Taking the time to balance your fan is a small maintenance task that yields immediate comfort. The next time you sit down in your living room on a hot afternoon, you will be greeted by a cool breeze instead of a rhythmic, annoying click.
- Tightening screws won't fix a fan that has a genuinely unbalanced or warped blade.
- The trial-and-error clip method is the most reliable way to find the problem blade.
- Always place permanent weights on the top center of the blade to keep them hidden and secure.
- If the fan still clicks or droops after balancing, the motor bearings or mounting box may need professional replacement.