Dishwasher Not Draining? How to Clear the Blockage Fast
Opening your dishwasher to a pool of murky water is frustrating, but rarely requires a plumber. Learn how to clear the most common blockages in under 15 minutes.
You open the dishwasher door expecting the satisfying gleam of clean plates and the rush of warm steam. Instead, you are greeted by a pool of murky, foul-smelling water sitting stagnant at the bottom of the tub. Panic usually sets in right about now. Your mind races to the cost of a new appliance, or worse, the emergency rates of a weekend plumber.
Take a deep breath. A dishwasher not draining is rarely a fatal appliance failure. In the vast majority of cases, the drain pump is working perfectly fine, but it is pushing water against a physical blockage somewhere in the drainage path. Fixing this issue usually takes less than fifteen minutes, requires zero specialized plumbing tools, and costs absolutely nothing.
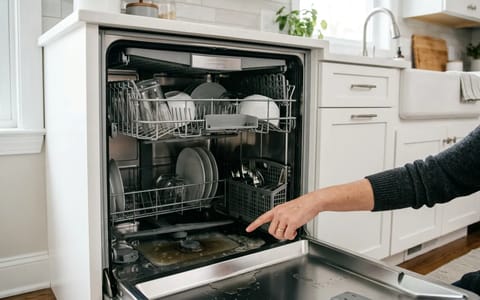
Before you start taking things apart, you need to remove the standing water. Grab a bucket, a plastic cup, and a few old towels. Bail the water out manually, using a large sponge to soak up the last few inches in the sump basin. Once the tub is relatively dry, you are ready to track down the clog. We will start with the most common culprits and work our way outward.
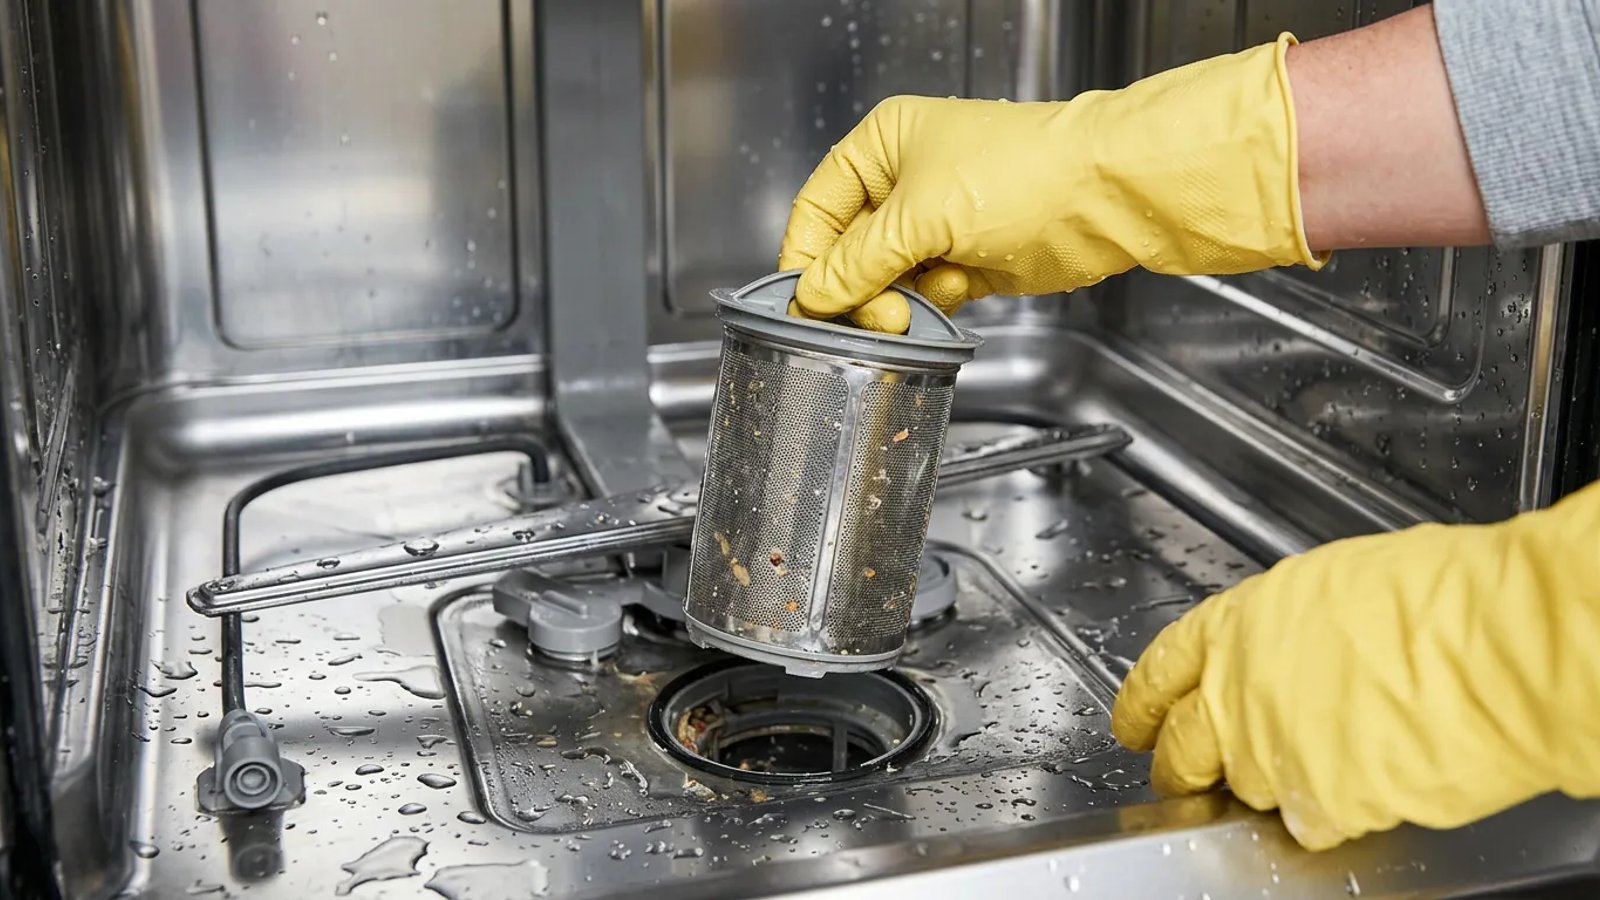
Step 1: Check the Primary Filter (The #1 Culprit)
Modern dishwashers are incredibly quiet. To achieve that whisper-quiet operation, manufacturers removed the noisy hard-food macerators (essentially mini garbage disposals) that used to sit at the bottom of older units. In their place, they installed removable mesh filters. If you have never cleaned yours, this is almost certainly why your dishwasher is not draining.
The filter is located at the very bottom of the dishwasher tub, usually directly under the lower spray arm. It typically looks like a plastic cylinder surrounded by a flat, fine-mesh screen. Over time, this screen gets coated in grease, pulverized food particles, paper labels from jars, and sometimes even broken glass or popcorn kernels.
To remove the filter, grip the top of the cylinder and twist it counterclockwise. You should feel it unlock, allowing you to lift it straight up and out. Take the entire filter assembly to your sink. Wash it thoroughly using warm water, grease-cutting dish soap, and an old soft-bristled toothbrush.
While the filter is out, shine a flashlight into the sump basin (the hole where the filter sits). Look for any obvious obstructions like a stray piece of bone or a toothpick resting near the impeller blade. Once everything is clear, lock the clean filter back into place.
Step 2: Clear the Air Gap (If Your Sink Has One)
If your filter is spotless but the water still refuses to drain, shift your attention to the kitchen sink. Look at the area right next to your faucet. Do you see a small, cylindrical chrome or plastic fitting sitting on the edge of the sink deck? That is the air gap.
The air gap is a crucial plumbing device required by code in many municipalities. It prevents dirty sink water from siphoning backward into your clean dishwasher. When the dishwasher drains, the water pumps up into this cylinder, shoots across a small physical gap of air, and then flows down a separate hose into your garbage disposal. Because the opening inside the air gap is quite narrow, it is a prime location for clogs.
- Remove the cover. Grab the chrome or plastic dome and pull it straight up. It should pop off easily without any tools.
- Unscrew the inner cap. Beneath the dome, you will find a plastic cap. Depending on the model, it might unscrew or simply unclip.
- Clear the debris. Inspect the small tube inside. You will often find a plug of grease or a stray piece of food stuck right at the bend.
- Clean the tube. Use a small bottle brush, a wooden skewer, or a pipe cleaner to push the debris out. Run a little hot water through it to ensure it flows freely.
If water has been spewing out of the air gap onto your counter during a wash cycle, this step will solve both that mess and your drainage issue simultaneously.
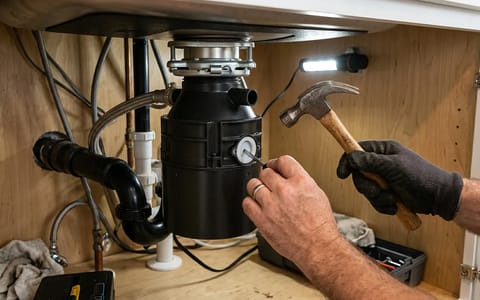
Step 3: Inspect the Garbage Disposal Connection
If you don't have an air gap, your dishwasher drain hose likely connects directly to the side of your garbage disposal or the sink drain pipe. This connection point is another common bottleneck, especially if you have recently replaced your disposal.
Every new garbage disposal comes from the factory with a plastic "knockout plug" inside the dishwasher inlet nipple. This plug must be forcefully knocked out with a hammer and screwdriver before the dishwasher hose is attached. If you or a handyman forgot this crucial step during installation, the dishwasher is trying to pump water against a solid plastic wall.
To check this connection, locate where the corrugated dishwasher hose meets the disposal. Use a 5/16-inch nut driver or a flathead screwdriver to loosen the metal hose clamp. Pull the hose off the disposal inlet. Shine a flashlight inside the disposal's inlet port. If you see a solid piece of plastic blocking the hole, you have found your problem. Take a screwdriver, place it against the plastic plug, and tap the handle with a hammer until the plug pops into the disposal chamber. Reach inside the disposal (with the power off!) to retrieve the plastic disc, then reattach the hose.
Even if the plug was removed years ago, this junction can still get clogged with congealed grease. Use a screwdriver to scrape out any sludge built up inside the disposal inlet before reattaching the hose.
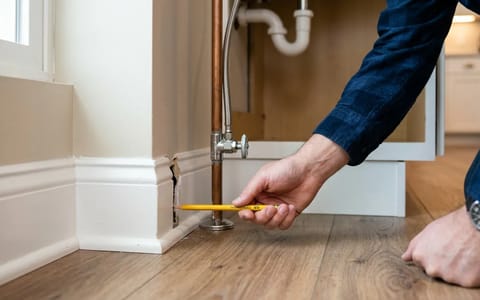
Step 4: Verify the "High Loop" Under the Sink
If your plumbing setup does not use an air gap, you must have what is called a "high loop." This is a simple but vital configuration of the drain hose under your sink.
To prevent dirty sink water from flowing down into your dishwasher, the drain hose must arch up higher than the sink basin's bottom before it connects to the disposal. If the hose is just lying flat on the floor of your sink cabinet, gravity is working against you. Every time you drain a sink full of dishwater, some of it is running backward into your dishwasher tub.
Open your under-sink cabinet and trace the white or gray corrugated hose coming from the dishwasher. Grab the middle of the hose and pull it up as high as it will go against the underside of the countertop. Secure it in this arched position using a plastic zip tie, a piece of plumber's strapping, or a dedicated hose bracket screwed into the back wall of the cabinet.
Never pour chemical drain cleaners into your dishwasher. The harsh caustic chemicals will eat through the appliance's rubber seals and destroy the plastic pump components long before they dissolve a clog.
Step 5: Check the Drain Hose for Kinks and Internal Clogs
If the filter is clean, the air gap is clear, and the disposal connection is open, the blockage must be trapped somewhere inside the length of the drain hose itself. Alternatively, the hose might be physically kinked.
This often happens if the dishwasher was recently pushed back into its cabinet space too forcefully. The corrugated hose gets pinched behind the machine, choking off the water flow. To check this, you will need to remove the lower kick panel at the front of the dishwasher (usually held on by two Phillips-head screws). Shine a flashlight underneath and look for any severe bends or crushed sections of the hose.
If the hose looks straight, you may need to clear an internal clog. Disconnect the hose from the garbage disposal and hold the end over a bucket. Run the dishwasher on a brief "drain" or "cancel" cycle. If water trickles out weakly, the hose is obstructed. You can try massaging the hose to break up the clog, or carefully feed a flexible drain snake (or a straightened wire coat hanger) into the hose to hook and pull out the blockage.
When to Call a Pro (And What It Might Cost)
If you have meticulously gone through all five steps and your dishwasher is still holding water, you have likely ruled out a physical clog. At this point, you are looking at a mechanical or electrical failure.
Replacing a drain pump is a manageable task for an advanced DIYer, but it requires pulling the entire appliance out of the cabinetry, flipping it on its side, and working with electrical multimeters. If you are not comfortable with appliance repair, this is the time to call a professional technician.
Dealing with standing water is never a fun chore, but working through these troubleshooting steps methodically will almost always save the day. By checking the filter, verifying the plumbing connections, and ensuring your drain hose is routed correctly, you can get your kitchen back to normal and keep your dishwasher running efficiently for years to come.