Garbage Disposal Humming But Not Spinning? The Quick Fix
Hearing a menacing hum when you flip the garbage disposal switch? Don't panic. Here is a safe, 3-step DIY fix to unjam the motor using a simple hex key.
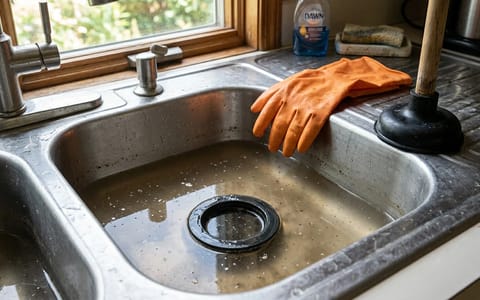
Full guide Plumbing Learn how your home plumbing works and how to stop leaks before they ruin your house.You stand at the kitchen sink, scraping the last bits of dinner off a plate. You flip the wall switch, expecting the familiar, aggressive grinding noise of your garbage disposal. Instead, you hear a menacing, low electrical hum. You quickly flip the switch back off, worried the motor is burning up or that you face a massive plumbing bill.
Finding your garbage disposal humming but not spinning is a common kitchen panic moment. Before you shop for a replacement unit or call a plumber, take a breath. That humming sound is actually good news. It confirms the unit still receives electrical power from the wall. The motor wants to work, but the internal impeller plate is physically jammed by a hard piece of food, a stray bone, or foreign debris.
Fixing a jammed disposal is a straightforward task that takes about 10 minutes and requires exactly one tool. We walk through the exact steps to safely free the motor, reset the safety switch, and get your kitchen sink draining normally again.
Why is my garbage disposal humming but not spinning?
To understand the fix, it helps to know what is happening inside that dark cylinder under your sink. A garbage disposal does not actually have sharp spinning blades like a blender. Instead, it relies on a flat spinning plate, called an impeller, equipped with dull metal lugs. These lugs use centrifugal force to throw food waste against a stationary, cheese-grater-like shredder ring mounted to the outer wall of the chamber.
When a hard object wedges itself between the spinning impeller plate and the stationary shredder ring, the plate locks up instantly. When you flip the switch, the motor receives 120 volts of electricity and tries its hardest to spin. Because it is physically restrained, the electrical energy converts into vibration and heat, producing that loud, vibrating hum. This issue is usually resolved with a 1/4-inch hex key, applied to the reset socket on the bottom of the unit.
If you leave the switch turned on while the motor is jammed, the internal temperature spikes rapidly. Fortunately, manufacturers plan for this. Most units feature a built-in thermal overload protector. This heat-sensitive switch automatically trips and cuts the power to the motor before it can melt its own wiring or start a fire. Once it trips, the humming stops, and the unit goes completely dead until you manually reset it.
A humming disposal is actually good news: it means the unit is still receiving electrical power, but the grinding plate is simply jammed.
Recently, I helped a neighbor who was convinced she needed a replacement, which costs around $200 to $400 as of 2026, because her disposal just buzzed angrily at her. We grabbed a flashlight, found a tiny piece of a broken shot glass wedged under the impeller, and had the unit running smoothly 60 seconds later. The fix is almost always physical, not electrical.
The Tools You Need for the Job
You do not need a massive toolbox to tackle this repair. In fact, you only need three basic items:
- A 1/4-inch Allen wrench (hex key): Many disposals come with a small, Z-shaped silver wrench just for this purpose. If you lost yours, any standard 1/4-inch hex key from a $15 hardware store set will work perfectly.
- A flashlight: The cabinet under your sink is dark, and you need to see exactly where you are inserting the tool.
- Needle-nose pliers or long tongs: You will use these to extract the debris once you break the jam free.
The 3-Step Fix to Unjam Your Disposal
This process is entirely safe as long as you follow the golden rule of appliance repair: cut the power first. Never rely solely on the wall switch being in the 'off' position. Someone could walk into the kitchen and bump it while you are working.
- Kill the power completely. Turn off the wall switch that controls the disposal. Then, go to your home's main electrical panel and flip the circuit breaker for the kitchen disposal to the OFF position. If your disposal plugs into an outlet under the sink, simply unplug it from the wall.
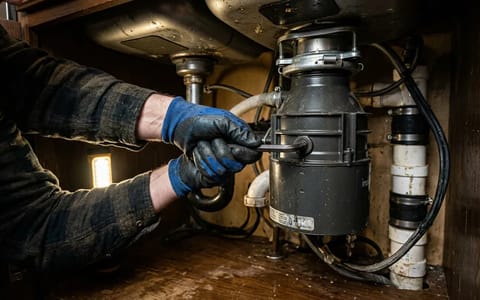
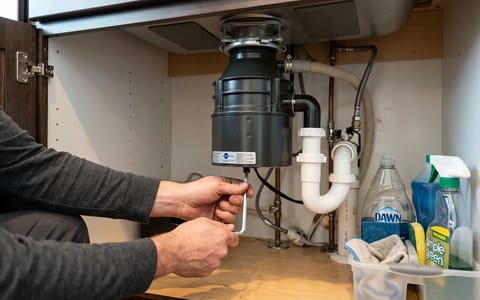
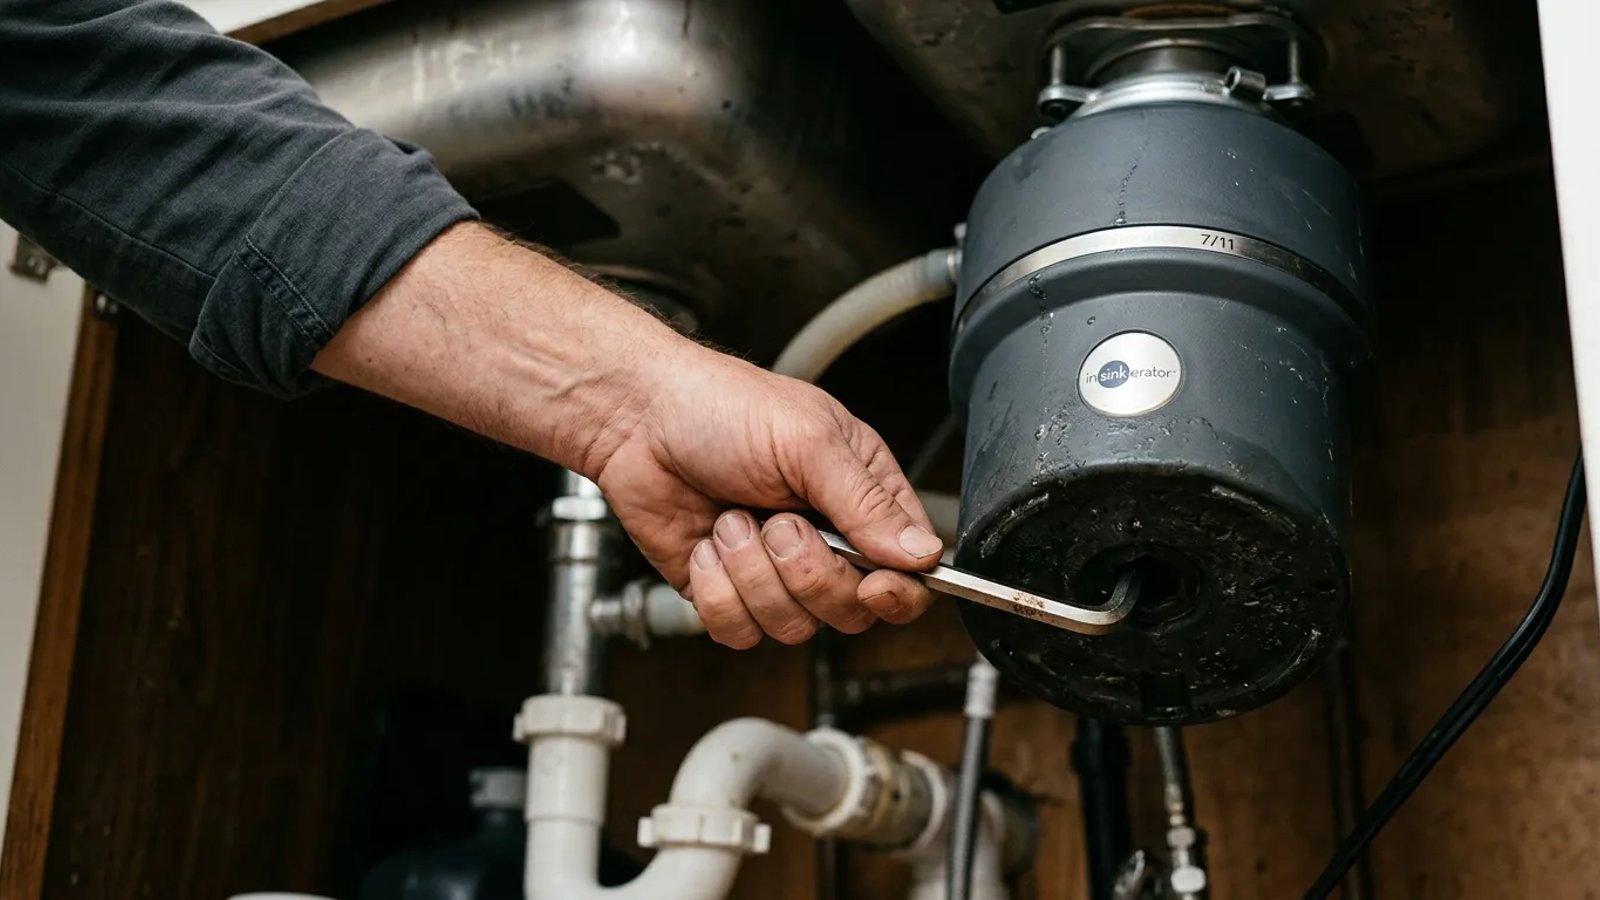
- Use the hex key underneath the sink. Clear out your cleaning supplies so you can comfortably reach under the sink. Grab your flashlight and look directly at the center of the very bottom of the disposal unit. You will see a small, hexagonal hole. Insert your 1/4-inch Allen wrench into this socket. This socket connects directly to the motor shaft.
- Wiggle the shaft free. Firmly push the wrench back and forth, clockwise and counterclockwise. At first, it will likely feel completely seized. Apply steady pressure. You are manually forcing the impeller plate to turn against whatever is jamming it. Suddenly, you will feel the tension give way, and the wrench will turn freely in a full circle. Turn it a few full rotations in both directions to ensure the plate is completely clear.
Extracting the Debris and Resetting the Unit
Now that the motor spins freely, you need to remove whatever caused the jam, or it will just lock up again the next time you run it. Take your flashlight and look down into the sink drain from above. Look for the culprit, often a fruit pit, a coin, a piece of bone, or a shard of glass.
Use your needle-nose pliers or long kitchen tongs to reach down and pull the object out. Remember, keep your fingers out of the drain.
Once the chamber is clear, you need to reset the motor. Look at the bottom of the disposal unit again. Somewhere near the outer edge of the bottom plate, you will find a small, square, red button. This is the thermal overload reset button. If the disposal was humming for more than a few seconds, this button likely popped outward. Press it firmly back into the housing until you feel it click.
Finally, restore the power. Plug the unit back in or flip the circuit breaker back on. Turn on the cold water tap, let it run for a few seconds, and then flip the disposal switch. You should hear that aggressive, satisfying grinding noise once again.
What to Do If the Hex Key Won't Turn
Sometimes, a jam is so severe that the 1/4-inch Allen wrench cannot generate enough leverage to break it free from the bottom. If you are pushing with all your might and the wrench simply bends or slips, stop. You do not want to strip the socket. In my experience, a stubborn jam like this often responds well to a wooden spoon handle, which provides excellent leverage without damaging the unit.
Instead, attack the jam from the top. You can use the handle of a heavy wooden spoon or a wooden broom handle. Insert the wooden handle down through the sink drain, angling it so the tip rests against one of the metal impeller lugs on the spinning plate. Using the edge of the sink drain as a fulcrum, firmly pry the wooden handle to force the plate to rotate counterclockwise. The wood is softer than the metal components of the disposal, so it will not damage the internal parts, but it provides excellent leverage to crack a stubborn jam.
Once the plate moves, go back beneath the sink and use the hex key to ensure it spins freely in full circles.
Do 2026 Auto-Reversing Disposals Still Jam?
As of 2026, many premium garbage disposals feature auto-reversing motors. When these smart units detect a jam, they automatically spin in the opposite direction to clear the obstruction. While this technology significantly reduces the number of locked impellers, hard objects like glass or thick bones can still wedge tightly enough to overwhelm the auto-reverse function. If your modern unit hums and fails to clear itself after a few attempts, you still need to unplug it and use the manual hex key method above.
Preventing Future Jams
According to InSinkErator's official guidelines, most disposal jams are entirely preventable. Disposals are designed to handle soft food scraps, not hard waste or fibrous materials that tangle. To keep your unit running smoothly, avoid putting the following items down the drain:
- Bones and seafood shells
- Fruit pits (peaches, avocados)
- Fibrous vegetables (celery, corn husks, artichokes)
- Coffee grounds (they create a thick sludge that clogs pipes)
- Expandable foods (large amounts of pasta or rice)
- Non-food items (glass, metal, rubber bands, aquarium gravel)
Always run a strong flow of cold water while the disposal is operating, and let the water run for a full 15 seconds after you turn the unit off. Cold water keeps the motor cool and helps flush the ground particles completely through your plumbing system.
When the Motor is Truly Dead
While a jam is the most common cause of a humming disposal, it is not the only cause. If you insert the hex key into the bottom socket and find that the motor shaft already spins perfectly freely with zero resistance, but the unit still only hums when you turn on the power, you have a different problem.
This combination of symptoms indicates that the internal electrical capacitor has failed, or the motor windings are burnt out. The electrical current is reaching the unit, but it lacks the ability to generate the magnetic field required to start spinning.
Fixing a jammed garbage disposal is a rite of passage for homeowners. By keeping a simple 1/4-inch Allen wrench under your sink and knowing how to use it, you can save yourself a costly service call and get your kitchen back in working order in minutes.
- Never put your hands inside a garbage disposal, even if the power is off.
- A 1/4-inch hex key is the only tool you need for the most common disposal jam fix.
- If the motor spins freely with the wrench but still only hums when turned on, the capacitor or motor is likely dead.