Standing Water? How to Unclog Disposal Drains Fast
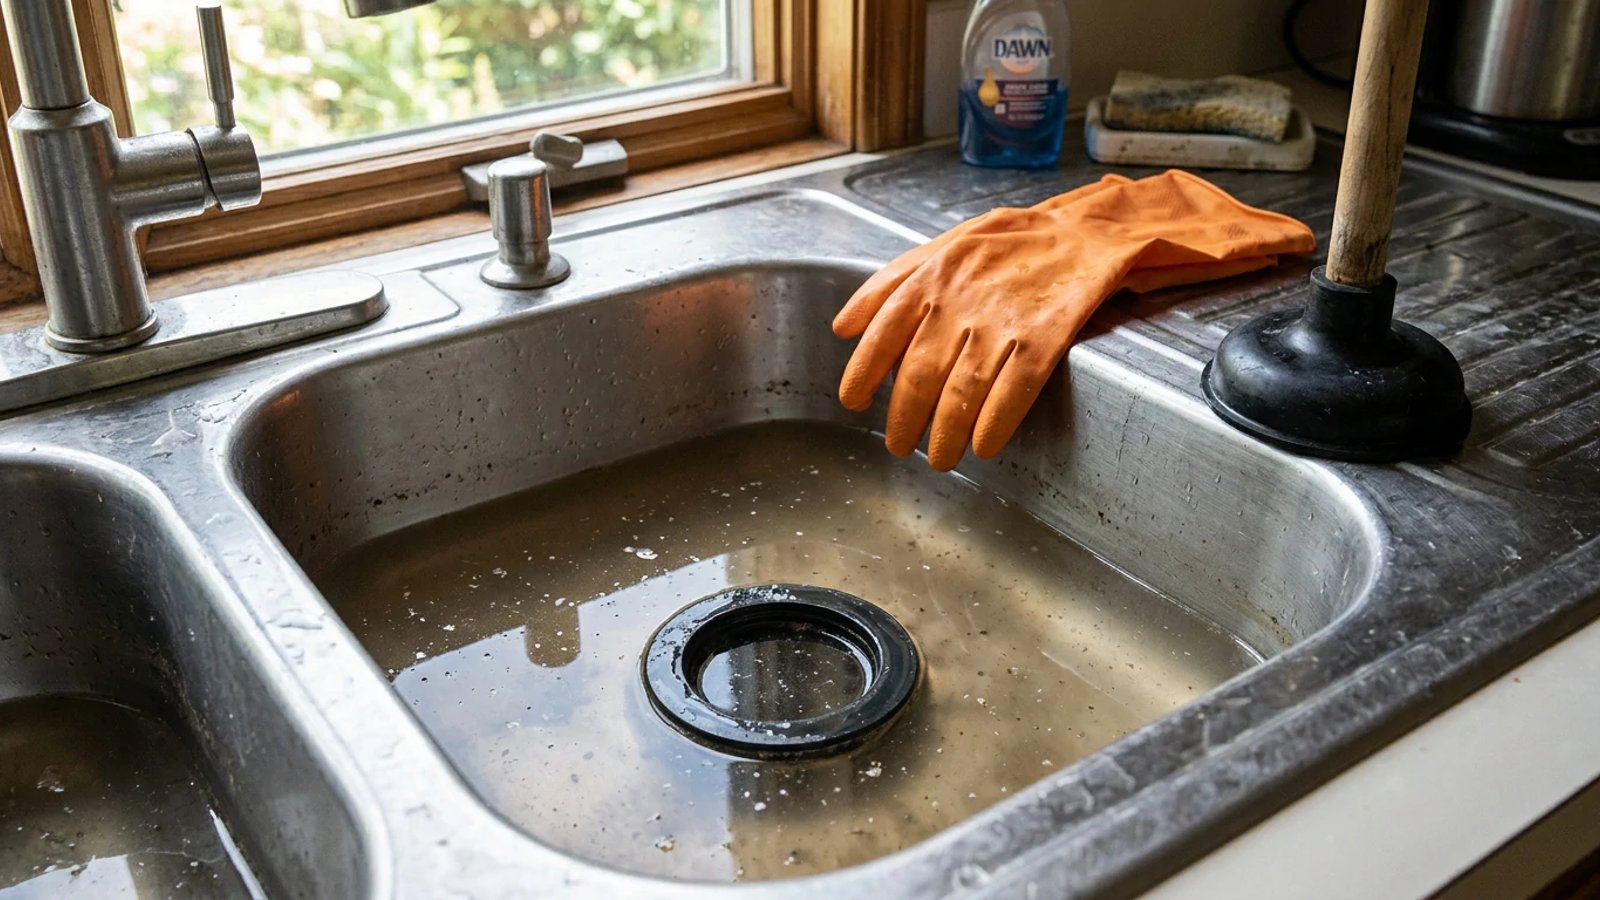
Staring at a kitchen sink full of murky, standing water? Learn how to safely unclog your garbage disposal using household tools—no chemicals or expensive plumbers required.
Full guide Plumbing Learn how your home plumbing works and how to stop leaks before they ruin your house.You walk into the kitchen, drop a plate in the sink, and realize the basin is filled with murky, standing water. A clogged garbage disposal is one of the most frustrating kitchen interruptions, usually happening right in the middle of meal prep or cleanup. The good news is that you rarely need to pay a plumber to clear it.
Figuring out how to unclog disposal pipes is a straightforward process that requires basic household tools and a little elbow grease. Before you reach for harsh chemicals or panic about buying a brand-new unit, we need to properly diagnose the issue and tackle it at the source.
Is It a Clog or a Jam?
Before doing anything, we have to make sure we are solving the right problem. Garbage disposals suffer from two distinct issues: clogs and jams. Treating one with the solution for the other will just waste your time.
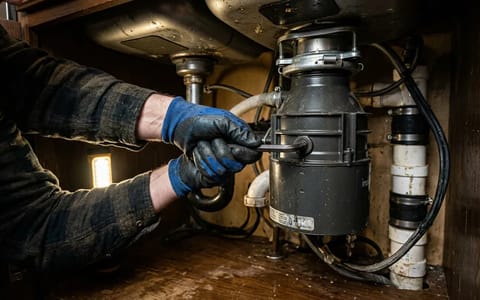
If you flip the switch and hear a loud, aggressive humming noise but the blades do not spin, you have a jam. A hard object—like a bone, a fruit pit, or a stray piece of silverware—is physically wedging the grinding plate in place. You fix a jam by turning off the power and using a 1/4-inch Allen wrench in the bottom of the unit to manually turn the motor shaft.
If you flip the switch and the motor runs normally, but the water simply refuses to go down the drain, you have a clog. A mass of food pulp, congealed grease, or fibrous vegetable matter is blocking the drain pipe below the unit. This guide is specifically for clearing clogs and draining that stubborn standing water.
Chemical drain cleaners are the fastest way to turn a simple clog into a $200 disposal replacement.
Step 1: Cut the Power at the Breaker
Safety is non-negotiable when dealing with water and motorized blades. Simply turning off the wall switch is not enough. Wall switches can be bumped accidentally, or a family member might walk in and flip it without realizing you are working on the sink.
Head to your main electrical panel and find the breaker labeled for the kitchen or the garbage disposal. Flip it to the "Off" position. To verify the power is completely dead, go back to the kitchen and flip the disposal wall switch. You should hear absolute silence.
How to Unclog Disposal Drains with a Plunger
A few months ago, I tested three different plunging techniques on a stubborn potato-peel clog in my own kitchen sink. I quickly learned that using the right type of plunger makes all the difference. You need a standard flat-bottom cup plunger (the kind meant for sinks), not a flanged toilet plunger.
- Clamp the dishwasher hose. Locate the ribbed plastic hose connecting the dishwasher to the disposal and clamp it shut gently.
- Seal the second basin. If you have a double-bowl sink, plug the non-disposal side with a tight-fitting sink stopper. This forces all the plunger's pressure downward toward the clog instead of up through the other drain.
- Position the plunger. Place the flat rubber cup directly over the disposal drain opening. Ensure the rim is fully submerged in the standing water to create an airtight seal.
- Plunge vigorously. Push down firmly and pull up sharply. The upward pull is actually what dislodges most clogs by sucking the compacted food matter apart. Repeat this motion 10 to 15 times.
- Check the flow. Lift the plunger. If the water suddenly swirls and drains away, you broke the clog. If the water remains standing, repeat the process two more times.
The Baking Soda and Vinegar Flush
If plunging managed to drain the water slowly but the pipe still feels sluggish, a natural flush can clear out the remaining greasy residue. The EPA recommends using safer, natural alternatives to caustic chemicals for standard household cleaning, and this combination is highly effective for pipes.
Pour one half-cup of baking soda directly into the disposal drain. Next, pour in one full cup of white vinegar. The mixture will immediately begin to fizz and foam, expanding to fill the pipe and eating away at organic buildup.
Let the mixture sit in the drain for 15 minutes. While you wait, boil a kettle of water. Once the 15 minutes are up, pour the boiling water directly down the drain to flush away the loosened debris. Finally, turn the breaker back on, run cold tap water, and run the disposal for 10 seconds to clear the line completely.
How Do I Clear a Blocked P-Trap Manually?
If you plunged the sink aggressively and the water absolutely refuses to budge, the blockage is likely compacted in the P-trap. The P-trap is the curved, U-shaped pipe located directly beneath the garbage disposal. Its job is to hold a small amount of water to block sewer gases from entering your home, but that same curve makes it a prime location for major clogs.
Removing the P-trap sounds intimidating, but it only requires a bucket, a pair of channel-lock pliers, and about 10 minutes of your time.
- Prepare your workspace. Clear out all the cleaning supplies under the sink and place a 5-gallon bucket directly under the P-trap. The standing water in your sink is going to dump out as soon as you loosen the pipe.
- Loosen the slip nuts. The P-trap is held in place by two plastic or metal slip nuts—one on each end of the curve. Try turning them counterclockwise by hand. If they are too tight, use your channel-lock pliers to gently break them loose.
- Remove the trap. Carefully pull the U-shaped pipe straight down. Be prepared for a rush of dirty water and debris to fall into your bucket.
- Clean the pipe. Take the P-trap to an outside hose or a different bathroom sink. Push a bottle brush or a bent wire hanger through the curve to force out the compacted food, grease, or coffee grounds.
- Reassemble the plumbing. Slide the clean P-trap back into position. Hand-tighten the slip nuts firmly, but avoid over-tightening with pliers, which can crack plastic threads.
Keeping Your Drain Clear
Once the water is flowing freely again, a little preventative care goes a long way. Always run cold water for a few seconds before turning the disposal on, and keep it running for 10 seconds after the food clears to ensure the debris makes it all the way past the P-trap. Avoid putting stringy vegetables like celery, expandable foods like pasta, and cooking grease down the sink entirely. With these simple habits, you can keep your kitchen plumbing running smoothly year-round.
- A flat cup sink plunger is your most effective first line of defense against standing water in a disposal.
- Flushing with baking soda and vinegar can break up grease and light food residue without damaging internal components.
- If plunging fails, the clog is likely trapped in the curved P-trap pipe below the sink, which you can manually remove and clean in under 15 minutes.
- Never use harsh liquid drain cleaners in a garbage disposal; they generate intense heat that melts seals and damages grinding blades.