How to Fix a Dripping Bathtub Faucet (The Simple Way)
Stop the annoying drip and save on your water bill. Learn how to fix a dripping bathtub faucet yourself with basic tools—no expensive plumber required.
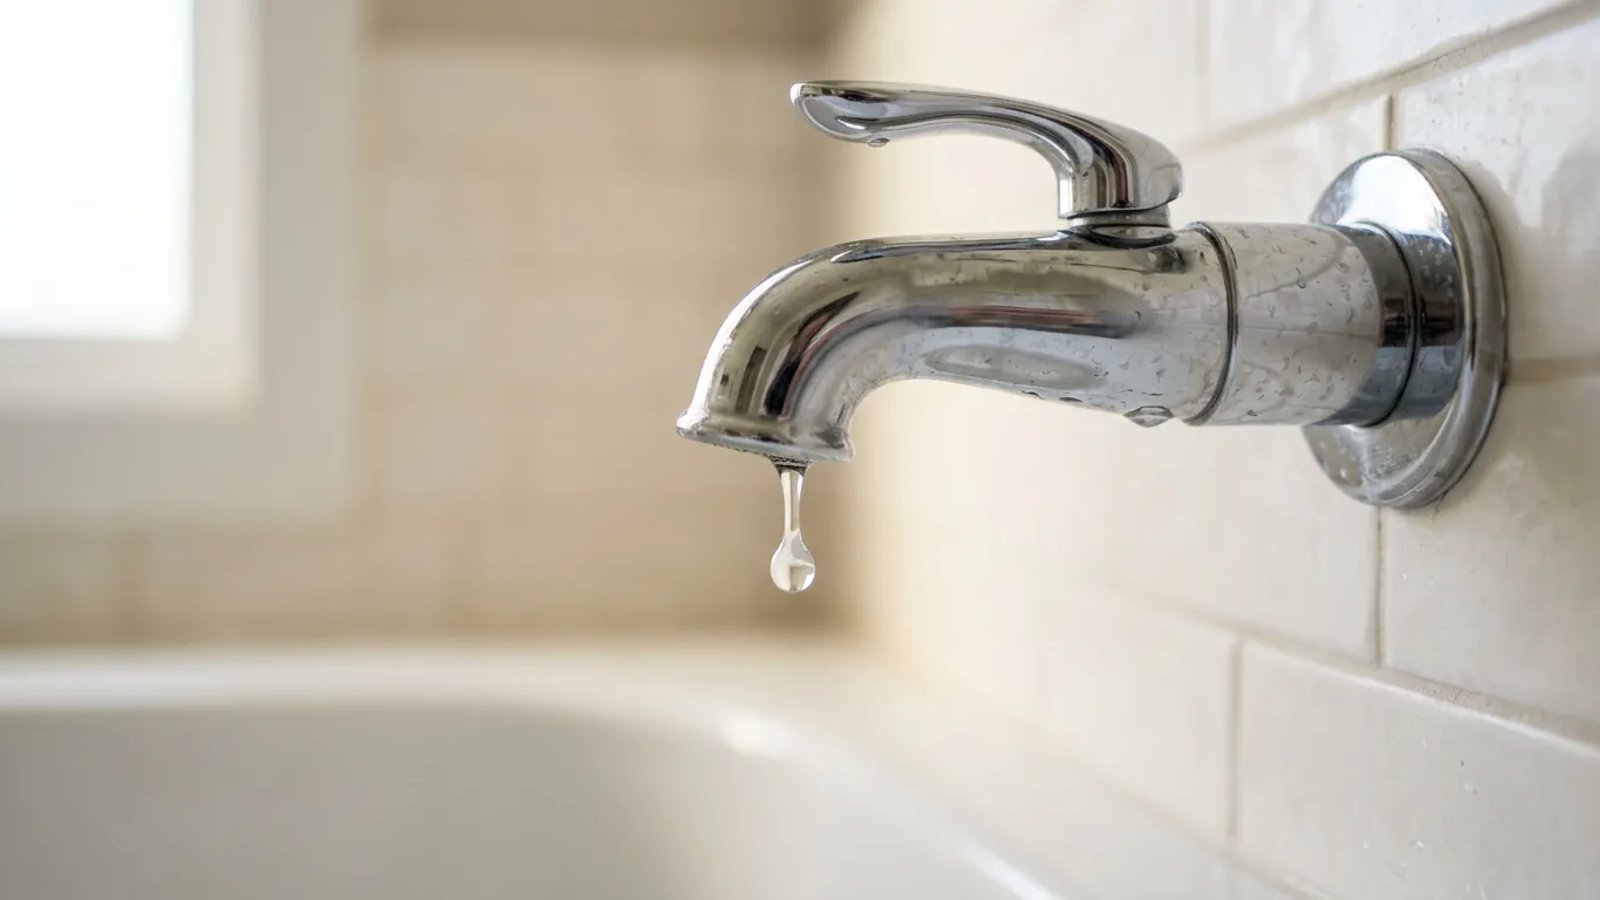
That slow, steady drip echoing in the bathroom is enough to drive anyone crazy. If you want to **fix dripping bathtub faucet** issues, you're in the right place. Learning how to fix a dripping bathtub faucet can save you money and sanity. A dripping bathtub faucet is one of those household annoyances that is easy to ignore for a few days, but over time, it becomes a major headache. Not only does it leave stubborn, hard-to-clean mineral stains on your tub basin, but it also silently drives up your utility bills.
Many homeowners put up with the noise because they assume fixing it requires a costly visit from a plumber. But if you have basic hand tools and an hour of free time, you can fix a dripping bathtub faucet yourself. The job is straightforward once you understand what is happening behind the wall.
How to Fix Dripping Bathtub Faucet Issues: Understanding the Problem
Your home's plumbing system keeps water under constant pressure—usually between 40 and 60 pounds per square inch. The only thing holding that pressurized water back from pouring out of your spout is a small internal valve mechanism. In older two-handle faucets, this mechanism relies on small rubber washers. In modern single-handle faucets, the job is handled by a self-contained plastic or brass cylinder called a cartridge.
Over years of use, rubber washers harden and crack, and the rubber O-rings inside cartridges wear down from friction and hard water minerals. When those seals degrade, water sneaks past the barrier, resulting in a drip.
A single dripping faucet can waste over 3,000 gallons of water a year—that's the equivalent of 180 showers.
Ignoring the problem costs real money. According to EPA WaterSense data, household leaks can waste nearly 10,000 gallons of water per home every year. Fixing a simple drip is one of the easiest ways to stop throwing money down the drain.
Tools You Need to Fix a Dripping Bathtub Faucet
You do not need a truck full of specialized gear to tackle this repair. Most of the items required are likely already sitting in your toolbox.
- Adjustable wrench or locking pliers: For loosening large nuts.
- Allen wrench set: Many single-handle faucets use a small hex screw to secure the handle.
- Phillips and flathead screwdrivers: For removing faceplates and retaining screws.
- Plumber's grease: A small tube of silicone grease helps lubricate the new O-rings so they slide into place smoothly.
- A thick rag or towel: To protect your tub finish and plug the drain.
- White vinegar: Useful for dissolving hard water buildup on stuck parts.
How to Fix a Dripping Bathtub Faucet (Single-Handle)
Most modern homes use a single-handle shower and tub valve. This means you have one knob or lever that controls both the temperature and the flow of the water. These rely on a cartridge system. Here is exactly how to swap out a faulty cartridge.
- Shut off the water supply. This is non-negotiable. Locate your home's main water shutoff valve (usually in the basement, garage, or utility closet) and turn it completely off. Open a sink faucet on the lowest level of your home to relieve the pressure in the lines.
- Remove the handle. Look underneath the faucet handle for a small hole. Insert an Allen wrench (usually 1/8-inch or 3/32-inch) to loosen the set screw. You do not need to take the screw all the way out; just loosen it enough to pull the handle straight off.
- Take off the escutcheon plate. This is the decorative metal plate resting against the shower wall. Remove the two long Phillips-head screws holding it in place, then gently pull the plate away.
- Remove the retaining clip. Look closely at the brass valve body in the wall. You will see a small, U-shaped metal or plastic clip holding the cartridge in place. Grab the top of the clip with needle-nose pliers and pull it straight up. Keep it safe—you will need it later.
- Extract the old cartridge. Grip the end of the cartridge stem with pliers and pull straight out toward you. Wiggle it slightly side to side if it resists.
- Install the new cartridge. Smear a light coat of silicone plumber's grease on the rubber O-rings of your new cartridge. Slide it firmly into the brass valve body in the exact same orientation as the old one.
- Reinsert the retaining clip. Slide the U-shaped clip back down into its slots to lock the cartridge in place.
- Reassemble and test. Screw the escutcheon plate back on, reattach the handle, and tighten the set screw. Turn your home's main water supply back on and check the tub spout. The drip should be completely gone.
What If the Cartridge Is Stuck?
A few years back, I tackled a dripping single-handle shower in my own guest bathroom. The hardest part wasn't the plumbing itself—it was getting the old, calcified cartridge out of the wall.
I learned the hard way that a $15 "cartridge puller" tool from the hardware store is worth its weight in gold. If you feel heavy resistance when pulling your old cartridge out, do not force it with pliers. Yanking too hard can break the plastic stem off entirely, leaving the body of the cartridge trapped deep inside the pipe. If it feels stuck, stop, drive to the hardware store, and buy the specific puller tool for your brand of faucet.
How to Fix a Two-Handle Faucet
If your bathtub has separate handles for hot and cold water, you have a compression faucet. These are slightly different but equally simple to fix. The drip is almost always caused by a flattened rubber seat washer located at the very end of the valve stem.
To fix this, shut off the water and remove the handle (usually by popping off the decorative cap and unscrewing the Phillips screw underneath). Use an adjustable wrench to loosen the packing nut, then unscrew the entire brass valve stem from the wall. At the bottom of the stem, you will see a small rubber washer held in place by a single brass screw. Remove the screw, peel off the old washer, and replace it with a new one of the exact same size. Reinstall the stem, tighten the packing nut, and put the handle back on.
Should I Repair or Replace the Whole Faucet?
Most of the time, a simple cartridge or washer replacement will keep your faucet running perfectly for another decade. The brass valve body hidden behind your shower wall rarely goes bad because it is made of thick, solid metal.
However, if your faucet handles are heavily corroded on the outside, or if the finish is flaking off, you might be tempted to replace the whole unit. Keep in mind that replacing the external trim usually requires buying parts that match the specific internal valve currently installed in your wall. If you want to switch brands entirely (for example, moving from a Moen to a Delta), you will have to cut into the drywall or tile to cut out the old brass valve and solder in a new one.
Taking care of a dripping bathtub faucet is a highly rewarding weekend project. It instantly improves your bathroom, cuts down on your water bill, and gives you the confidence to handle other minor plumbing tasks around the house. Just remember the golden rule: double-check that the water is completely off before you start turning any wrenches.
- Identify whether you have a single-handle (cartridge) or two-handle (compression) faucet before you start.
- Cover your tub drain with a thick rag so you don't lose small screws down the pipe.
- Take the old cartridge or stem to the hardware store to guarantee you buy the exact matching replacement part.
- Use a dedicated cartridge puller tool if the old cartridge is stuck in the wall—do not force it with pliers.