How to Stop a Smoke Alarm Beep (And What the Chirps Mean)
A relentless smoke alarm beep is frustrating, especially in the middle of the night. Learn how to decode the chirps, safely reset hardwired units, and stop the noise for good.
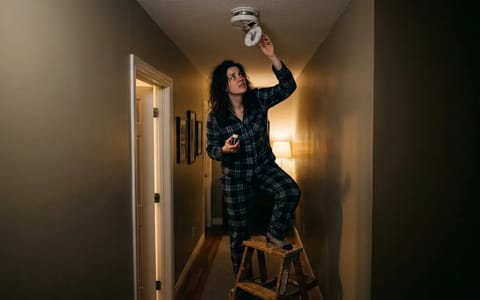
Few things are more jarring than being jolted awake at 3 AM by a relentless smoke alarm beep. That piercing sound is designed to save your life, but when there is no fire, it quickly becomes a test of your sanity. Getting the noise to stop requires understanding exactly what your detector is trying to tell you, because different chirps mean very different things.
Instead of ripping the unit off the ceiling and burying it under a pile of blankets, you can diagnose the problem in a few minutes. Whether you are dealing with a dying battery, a dusty sensor, or a unit that has simply reached the end of its lifespan, fixing it is a straightforward process.
Decoding the Noise: Why Is My Fire Detector Beeping?
Before you start pulling batteries, listen to the rhythm of the sound. Smoke alarm manufacturers use **three distinct audio patterns** to communicate different issues. Misinterpreting these signals is the most common reason homeowners struggle to silence their alarms.
One chirp every 30 to 60 seconds: This is the universal sign of a low battery. Even hardwired units have backup batteries that will chirp when they run low. If the unit is sealed with a 10-year lithium battery, a single chirp means the entire device has reached the end of its life and needs to be replaced.
Three beeps, a pause, and three beeps: This means smoke is detected. If you hear 3 beeps from a smoke detector and there is clearly no smoke, you likely have heavy dust buildup mimicking smoke particles, or a severe sensor error.
Continuous, uninterrupted alarm: This signals immediate danger or a catastrophic malfunction. Evacuate the house to be safe, and only investigate once you are certain there is no fire.
How to Stop a Smoke Alarm Beep (Step-by-Step)
Once you confirm there is no fire, you can take action to silence the noise. Follow this sequence to troubleshoot and resolve the issue safely.
- Press the test/hush button. Most modern units have a button on the front that silences non-emergency chirps for about 10 minutes, giving you time to fetch a ladder and a fresh battery.
- Remove the unit from the ceiling. Twist the alarm counter-clockwise to detach it from the mounting bracket. If it is hardwired, gently pinch the plastic wiring harness plug and pull it out of the back of the detector.
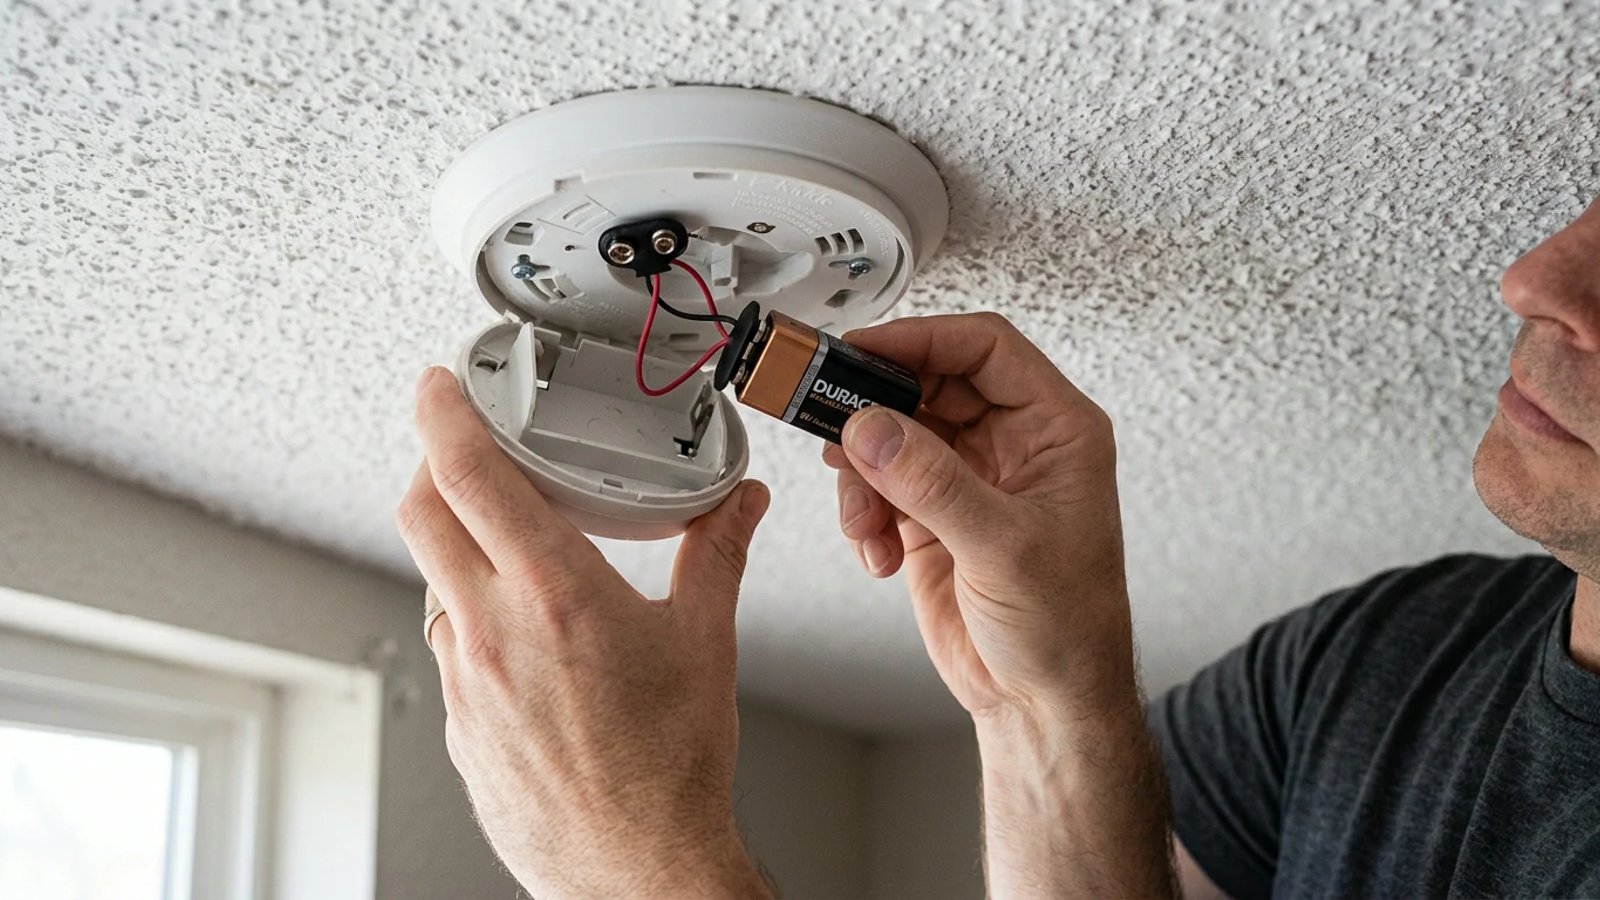
- Swap the battery. Open the battery door and replace the old 9-volt or AA batteries with fresh ones. Make sure the positive and negative terminals are aligned correctly.
- Drain the residual power. If it is a hardwired unit, you must reset the internal memory by holding the test button while disconnected (more on this below).
- Clean the sensor chamber. Use a vacuum or canned air to blow dust out of the side vents.
- Check the expiration date. Look at the back of the device for the manufacturing date to ensure the unit is still viable.
A smoke detector will never stop chirping if the internal sensor is blocked by dust or if the unit is past its 10-year expiration date.
The Hardwired Reset Trick (Clearing Residual Charge)
Last year, I replaced the backup batteries in all five hardwired detectors in my house, but one unit in the hallway kept chirping every minute. In my experience, hardwired alarms often hold a residual electrical charge that traps them in an error state, even after you put a brand-new battery in.
To fix this, you have to drain the leftover power. First, turn off the breaker to the smoke alarm circuit. Disconnect the chirping unit from the ceiling wiring harness and remove the new battery you just installed. With the alarm completely unpowered, press and hold the "Test" button on the front for 15 to 20 seconds. You might hear a faint, dying chirp as the internal capacitor drains.
Once the power is drained, put the fresh battery back in, plug the wiring harness back into the unit, twist it onto the ceiling bracket, and flip the breaker back on. The chirping should be gone.
Cleaning Dust and Bugs Out of the Sensor
Smoke alarms use either photoelectric or ionization sensors to detect fires. Both types rely on an internal chamber that must remain clear. Spiders, dust mites, and pet dander easily accumulate inside the dark, warm casing of a ceiling-mounted alarm. When a speck of dust or a small bug crosses the sensor beam, the alarm reacts exactly as it would to smoke particles.
If you have changed the battery and reset the power but the alarm still sounds 3 beeps intermittently, it needs a cleaning. Grab a vacuum cleaner with a soft brush attachment and run it along the outside vents. Alternatively, a $5 can of compressed air works perfectly. Give the side vents a few short, sharp bursts to dislodge any debris trapped near the sensor.
Understanding the Different Types of Smoke Alarms
While all smoke alarms are designed to protect you, they don't all detect fire in the same way. There are two primary types of sensors used in residential smoke detectors: ionization and photoelectric. Knowing the difference can help you understand why your alarm might be reacting, or how to choose the right replacement.
Ionization Smoke Alarms
Ionization alarms contain a small amount of radioactive material that ionizes the air between two electrically charged plates. When smoke particles enter this chamber, they disrupt the flow of ions, triggering the alarm. These alarms are generally more responsive to fast-flaming fires that produce smaller, less visible smoke particles, like those from burning paper or cooking grease fires.
Photoelectric Smoke Alarms
Photoelectric alarms work by using a light source and a sensor within a chamber. When smoke enters the chamber, it scatters the light beam, directing it towards the sensor and activating the alarm. These detectors are typically more effective at sensing smoldering fires, which produce large, visible smoke particles and can burn for hours before erupting into flames, such as those caused by cigarettes smoldering in furniture.
Dual-Sensor Alarms
Many modern smoke detectors are dual-sensor units, combining both ionization and photoelectric technologies. These provide the best all-around protection, as they are designed to detect both fast-flaming and slow-smoldering fires. If you're replacing an old unit, a dual-sensor alarm is often the recommended choice for comprehensive home safety.
Don't Forget Carbon Monoxide Detectors
While we're talking about alarms, it's crucial to distinguish smoke detectors from carbon monoxide (CO) detectors. Carbon monoxide is an invisible, odorless, and tasteless gas produced by incomplete combustion. It's often called "the silent killer" because it can quickly incapacitate and kill without warning. Sources include faulty furnaces, water heaters, gas ranges, or even clogged chimneys.
CO detectors are designed specifically to sense this dangerous gas and will typically alert with a different pattern of beeps than a smoke alarm. Most CO detectors have a lifespan similar to smoke alarms, usually 5-7 years, so always check their manufacturing date as well. Many homeowners opt for combination smoke and CO detectors for convenience and comprehensive protection.
The 10-Year Expiration Rule
Smoke detectors do not last forever. The internal sensors degrade over time, losing their sensitivity and eventually failing completely. The National Fire Protection Association (NFPA) requires replacing all smoke alarms—both battery-operated and hardwired models—every 10 years from the date of manufacture.
Take the unit down and look at the back. You will find a sticker or a stamped imprint showing the exact manufacture date. If that date is more than a decade ago, no amount of battery swapping or cleaning will stop the chirp. The unit is programmed to alert you that it is dead. A standard replacement unit typically costs $15 to $30 at any local hardware store, and hardwired units use universal plugs that make swapping them out a five-minute job.
A quiet house is a safe house. Once you swap the battery, clear out the dust, or replace an expired unit, press the test button one last time to ensure the system is armed and ready. Maintaining your smoke alarms takes only a few minutes, but it ensures they will work flawlessly when you actually need them.
- Always check the manufacturing date on the back of the unit before buying new batteries; if it's over 10 years old, the whole unit needs replacing.
- Hold the test button for 15 to 20 seconds with the battery removed to drain residual charge from hardwired detectors.
- Vacuum the side vents of your alarm twice a year to prevent dust and bugs from triggering false alarms.