How to Clean Your Bathroom Exhaust Fan Before Summer
As mid-spring rolls into summer, rising humidity combined with hot showers creates the perfect breeding ground for mold. Learn how to clean your bathroom exhaust fan to protect your home's air quality.
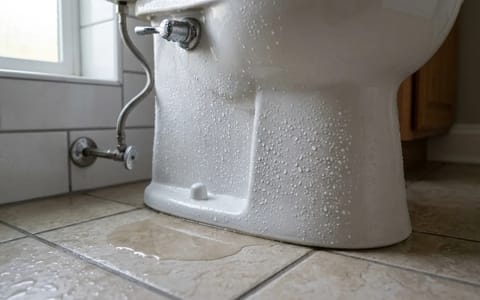
As mid-spring rolls into summer, the air outside begins to hold significantly more moisture. Combine that rising outdoor humidity with the steam from daily hot showers, and your bathroom quickly becomes the perfect breeding ground for mold, mildew, and peeling paint. The only thing standing between your pristine drywall and a costly mold remediation project is that small, often-ignored plastic square on your ceiling. If you want to handle the sticky season effectively, you need to clean your bathroom exhaust fan before the heavy humidity fully sets in.
A dust-clogged exhaust fan simply cannot move heavy, moist air out of your home. Over months of use, the fan pulls up airborne lint, toilet paper dust, and hairspray residue, packing it tightly against the grille and around the motor. I remember pulling down a fan cover in my first house and finding a dust bunny so dense it looked like a small mammal. No wonder the mirrors never cleared up. Taking 15 minutes to clear out this hidden debris will dramatically improve your indoor air quality and protect your home's structural integrity.
The Hidden Risks of a Dust-Choked Vent
Most homeowners view a noisy, dusty fan as a minor aesthetic annoyance, but the structural and safety implications are surprisingly severe. A standard builder-grade bathroom fan is designed to move about 50 Cubic Feet per Minute (CFM) of air. When the intake slots are blocked by a thick layer of lint, that airflow can drop by more than half. The moist air is left to settle on your walls, seeping into the drywall paper and providing the exact environment mold spores need to thrive.
A bathroom exhaust fan is your home's first line of defense against structural rot and indoor mold.
Beyond the threat of dampness, a neglected fan poses a legitimate safety risk. The small 120-volt motor inside the housing generates heat as it spins. Dust is a fantastic insulator. When the copper coils and motor housing are blanketed in lint, the heat cannot escape. The motor works harder to spin the weighted blades, driving the internal temperature well past 150 degrees Fahrenheit. Eventually, the thermal overload can melt the wiring or ignite the dust itself. Regular cleaning completely eliminates this hidden fire hazard.
Tools You Need to Clean Your Bathroom Exhaust Fan
You do not need specialized HVAC equipment to get this job done. A quick trip to your utility closet and under the kitchen sink will provide everything required for a thorough cleaning. Gathering your supplies beforehand ensures you aren't climbing up and down the ladder with dusty hands.
Here is what you will need to grab:
- A sturdy step stool or aluminum A-frame ladder.
- A vacuum cleaner equipped with a brush attachment and a narrow crevice tool.
- A clean, dry microfiber cloth.
- A few drops of mild dish soap (like Dawn) and a sink full of warm water.
- A standard Phillips-head screwdriver (just in case your specific fan model uses screws instead of tension springs).
- A single square of toilet paper for the final suction test.
Having a high-quality flashlight or a headlamp is also incredibly helpful, as the interior of the ceiling housing is often shadowed and difficult to see clearly.
Step-by-Step DIY Cleaning Guide
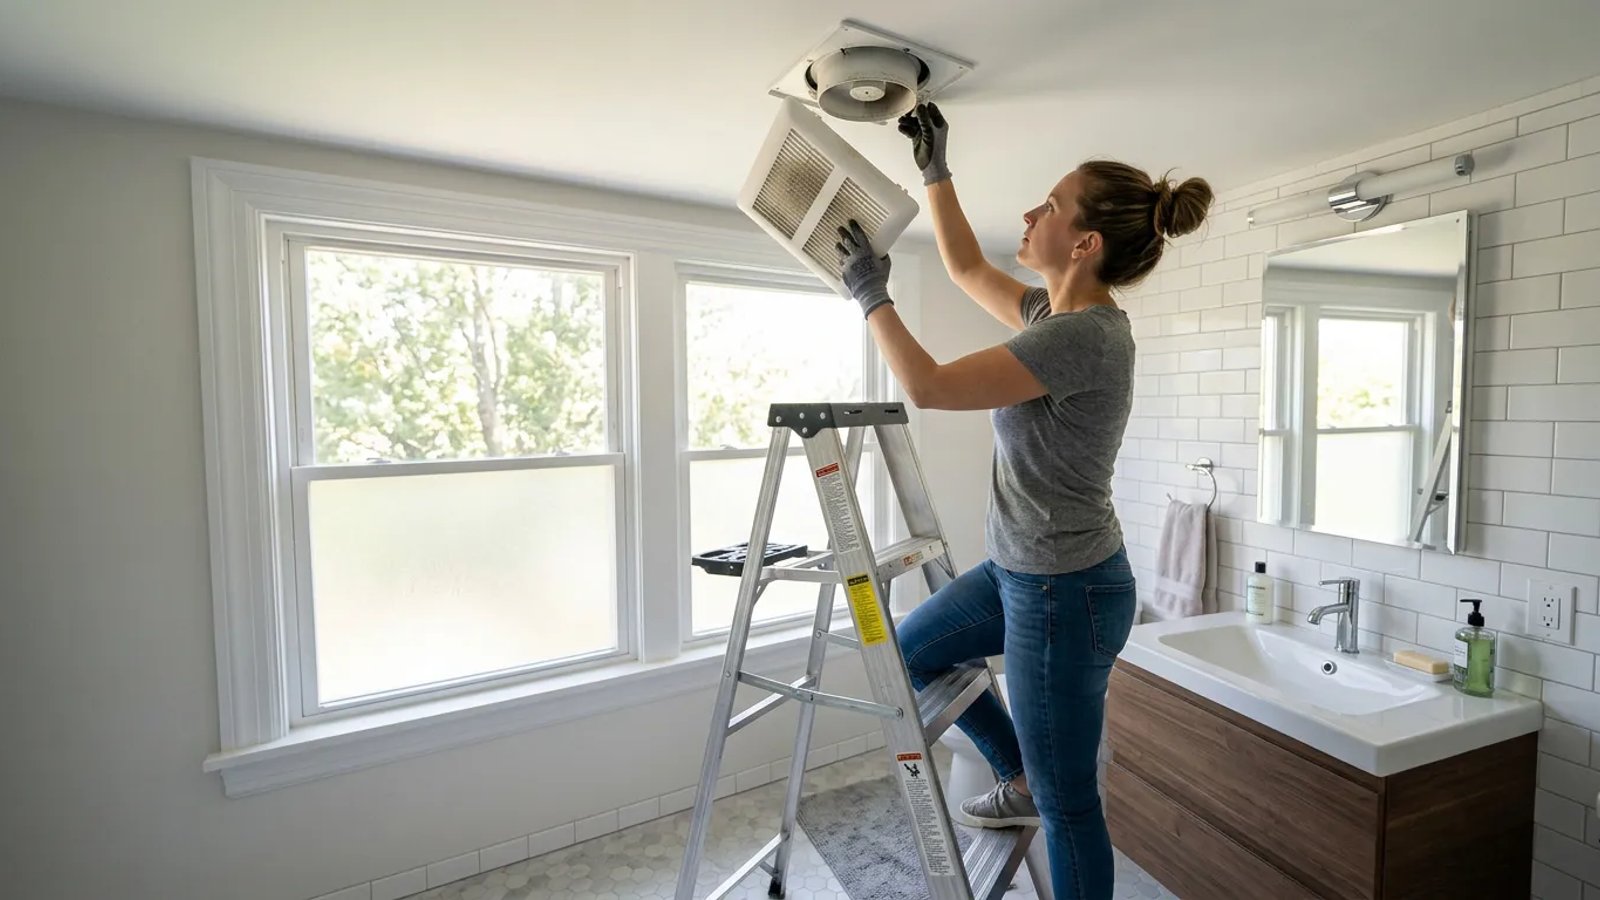
With your tools gathered, block out about 15 to 20 minutes for the actual work. The process is straightforward, but taking your time ensures you don't accidentally crack the aged plastic grille or bend the delicate fan blades.
- Kill the power. Locate your main breaker box and turn off the circuit supplying the bathroom. Verify the power is off by flipping the wall switch; the fan and lights should remain dead.
- Remove the plastic grille. Climb your step stool and gently pull straight down on the edges of the plastic cover. It will drop about two inches and stop. Look inside the gap to find two V-shaped metal tension springs. Squeeze the prongs of each spring together to slide them out of the mounting slots in the metal housing. The cover will now pull completely free.
- Wash the cover. Take the dusty grille to your sink. Fill the basin with warm water and a few drops of dish soap. Let the cover soak for about 5 minutes. The warm soapy water will effortlessly cut through the sticky, humid dust that binds to the plastic. Rinse it clean and set it on a towel to air dry completely.
- Vacuum the motor and housing. Attach the narrow crevice tool to your vacuum hose. Carefully reach up into the ceiling housing and vacuum the heavy dust off the internal motor, the copper coils, and the black plastic fan blades. Use a gentle touch—if you bend the blades or knock the motor off balance, the fan will vibrate loudly when turned back on.
- Wipe down the interior. Take your dry microfiber cloth and wipe away any remaining fine dust from the metal walls of the housing and the edges of the drywall opening.
- Reassemble the unit. Once the plastic grille is 100 percent dry, squeeze the metal tension springs together and slide them back into the mounting slots inside the housing. Push the cover straight up until it sits flush against the ceiling. Finally, turn the breaker back on.
The 5-Second Tissue Paper Test
After you have reassembled the unit and restored the power, it is time to verify that your hard work actually improved the airflow. You can perform this simple diagnostic check instantly without any specialized airflow meters.
Turn the bathroom exhaust fan on. Take a single square of standard toilet paper and hold it flat against the plastic ceiling grille. Let go of the paper. If the fan has sufficient suction power, the toilet paper will snap tightly against the plastic slots and hold itself in place indefinitely. If the paper slides off and flutters to the floor, your fan is not pulling enough air.
When Cleaning Isn't Enough: Upgrading Your Fan
Sometimes, a deep clean reveals that the hardware itself is simply past its prime. If your exhaust fan is more than 10 years old, passes the tissue test but still leaves your mirrors completely fogged after a 10-minute shower, it may be undersized for your square footage.
When shopping for a replacement, you need to look at two specific numbers: CFM and Sones. The CFM rating dictates how much air the unit moves. A strict rule of thumb is that you need at least 1 CFM for every square foot of bathroom space (with a minimum baseline of 50 CFM for any room). If you have a 80-square-foot bathroom, you need an 80 CFM fan. The Sones rating measures the noise level. Older fans often operate at a loud 3.0 or 4.0 Sones. Modern, high-quality units operate at 1.0 Sones or lower, making them nearly whisper-quiet.
Taking a few minutes to handle this simple chore now pays massive dividends as the weather warms up. A clean, efficient exhaust fan works quietly in the background, protecting your drywall, preventing mildew odors, and keeping your indoor air fresh. Add it to your spring maintenance routine, and you can enjoy those long, hot showers without worrying about the humidity lingering behind.