How to Install a Moisture Barrier for Crawl Space Dampness
Stop musty odors and high indoor humidity by installing a proper crawl space moisture barrier. Learn how to choose the right material and seal it correctly.
Full guide Foundation & Structure Learn how to spot dangerous foundation cracks and protect your home from costly structural damage.Summer brings high humidity, and in my experience, if you notice buckling hardwood floors or a persistent musty smell inside your house, the culprit is often right under your feet. A bare dirt crawl space acts like a massive moisture pump, pushing damp air straight into your living areas. Installing a moisture barrier for crawl space protection is the most effective way to stop this cycle, protect your wood framing from rot, and make your home more comfortable.
Many homeowners know they need to cover the dirt, but the options at the hardware store are confusing. Grabbing a few rolls of cheap plastic and tossing them under the house rarely solves the problem. A true moisture solution requires the right materials and a few specific installation techniques to ensure the ground vapor stays trapped where it belongs.
Why Does a Dirt Crawl Space Ruin Indoor Air Quality?
Houses breathe from the bottom up. Due to a physical process called the stack effect, warm air naturally rises and escapes through your attic and upper floors. As that air leaves, it creates negative pressure lower down, sucking replacement air from your crawl space into your living areas.
If your crawl space is exposed dirt, that dirt is constantly evaporating moisture into the air. Even if the ground looks dry on the surface, the soil just a few inches down holds an enormous amount of water. According to EPA guidelines on moisture control, uncontrolled dampness is the leading cause of mold growth and poor indoor air quality. When you breathe the air in your living room, you are breathing up to 40% of the air that originated in your crawl space.
High humidity under your house also invites pests. Termites, carpenter ants, and wood-boring beetles thrive in damp wood. By laying down a physical barrier, you cut off the moisture supply, keeping your floor joists dry and making your foundation far less attractive to wood-destroying insects.
The Material Guide: 6-Mil vs. 20-Mil Plastic
When you shop for a moisture barrier, you will primarily see materials rated by "mils" (one mil equals one-thousandth of an inch). The building code minimum in many areas is a 6-mil polyethylene sheet. However, just because it meets the minimum code does not mean it works well in the real world.
Last summer, I inspected a 15-year-old crawl space where the builder had laid down standard 6-mil clear plastic. Just from plumbers and HVAC technicians crawling over it over the years, the plastic was torn to shreds. It looked like Swiss cheese. Huge sections of dirt were exposed, pumping water vapor directly into the floor joists above.
Standard 6-mil plastic is unreinforced. If it catches on a sharp rock or a dropped tool, it tears easily. Once it tears, the moisture barrier is compromised. It also tends to degrade faster over time.
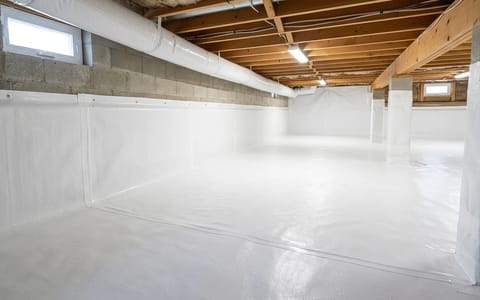
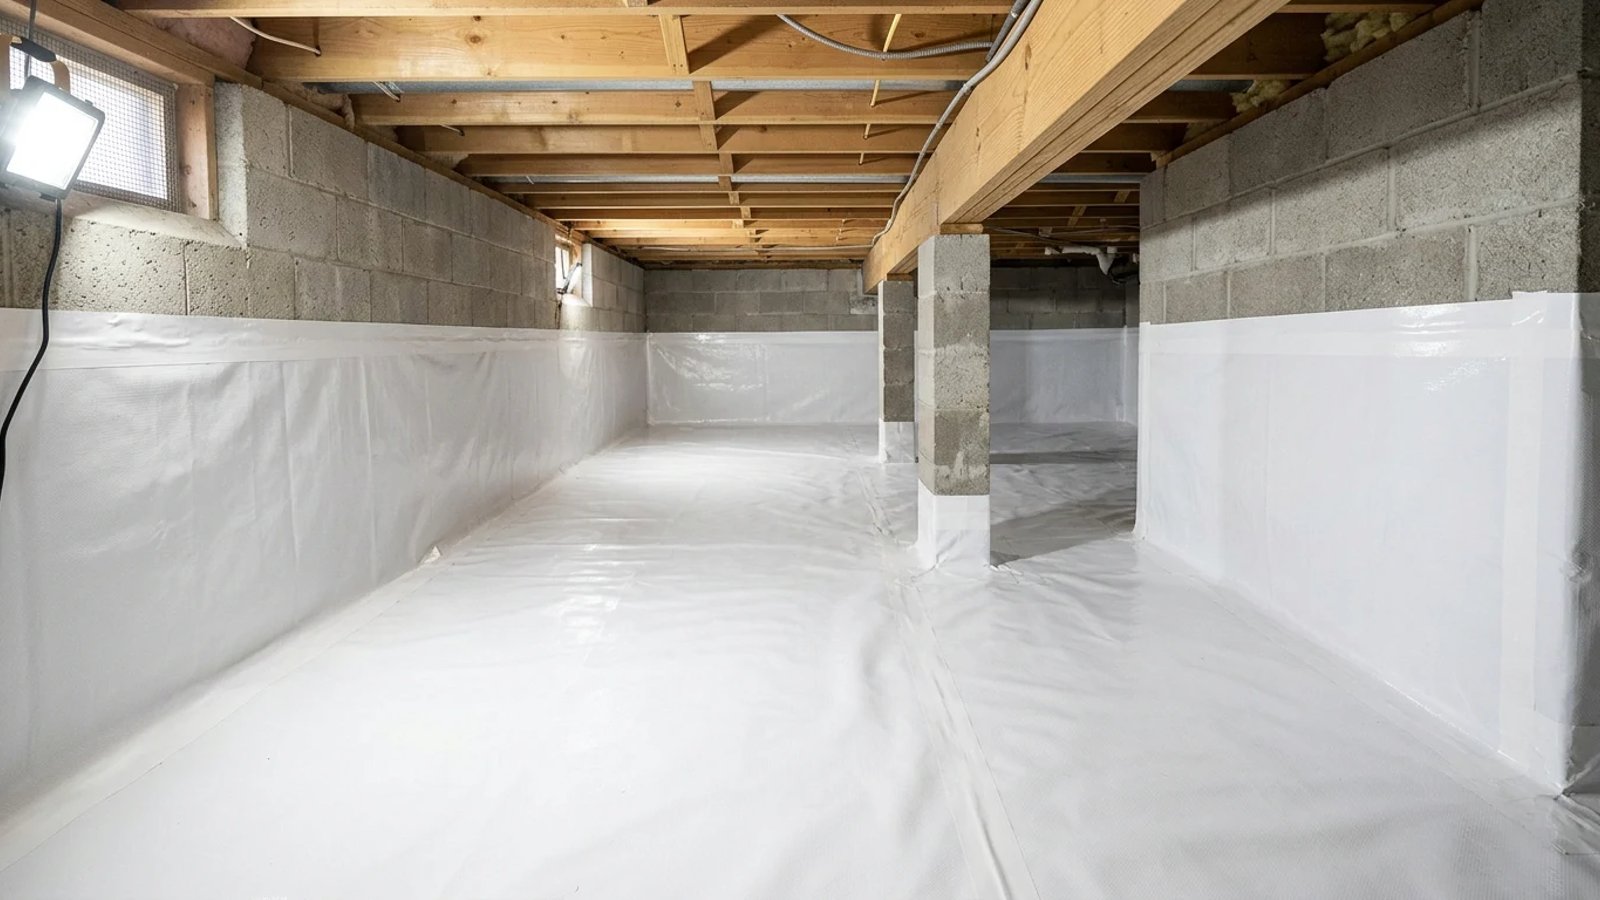
For a durable DIY project, you want a 20-mil reinforced vapor barrier. This material is heavy, bright white, and features a woven mesh layer sandwiched between the plastic. You can crawl on it, drag toolboxes across it, and slide heavy equipment over it without puncturing the material. The bright white color also reflects light, making your dark crawl space significantly brighter and easier to inspect for pests or plumbing leaks in the future.
How to Install a Moisture Barrier for Crawl Space Floors
Laying the plastic is physically demanding work simply because you are maneuvering in a tight space, but the actual process is straightforward. You will need your rolls of plastic, heavy-duty shears or a utility knife, double-sided butyl tape, 4-inch seam tape, and a drill with a masonry bit for the foundation walls.
- Clear and level the ground. Remove all rocks, old wood debris, sharp roots, and any existing torn plastic. Rake the dirt as flat as possible so the new barrier lays smoothly.
- Measure and cut outside. Crawl spaces are cramped. Measure your runs inside, but unroll and cut the heavy 20-mil plastic out in your yard where you have room to work.
- Roll out the main runs. Bring the cut sheets into the crawl space and lay them flat over the dirt. Leave at least 6 to 12 inches of excess material around the perimeter walls and concrete piers.
- Overlap the seams by 12 inches. Where two sheets meet, do not just butt them together. Overlap the edges by a full 12 inches to ensure ground moisture cannot snake its way up between the sheets.
- Seal the seams with butyl tape. Lift the top overlapping edge and run a continuous line of double-sided butyl tape (usually 1 to 2 inches wide) along the bottom sheet. Press the top sheet down firmly. For extra security, tape over the top edge of the seam with a 4-inch waterproof seam tape.
- Run the barrier up the walls. To fully seal the floor, run the plastic at least 6 inches up the concrete foundation walls and the center support piers.
- Secure the edges to the masonry. Drill holes through the plastic into the concrete wall every 18 to 24 inches. Fasten the plastic to the wall using 1.5-inch masonry fasteners (often called Christmas tree fasteners). Run a bead of polyurethane caulk or butyl tape along the top edge to seal the plastic to the concrete.
Working around plumbing pipes and structural posts takes patience. Cut a slit in the plastic to slide it around the pipe, then cut a separate patch piece to place over the slit. Tape every edge heavily. The goal is to leave absolutely zero dirt visible.
DIY vs. Pro: When Should You Call for Backup?
Laying down a moisture barrier is a highly rewarding DIY project because it saves a massive amount of labor costs. However, a vapor barrier only stops ground moisture. It does not solve bulk water problems.
If you crawl under your house and find puddles of water after a rainstorm, you have a drainage issue. You need to fix your exterior gutters, adjust the soil grading outside, or install an interior French drain and sump pump before laying down plastic. Covering up a puddle does not make it go away.
Taking the time to install a heavy-duty moisture barrier transforms a damp, nasty crawl space into a clean, dry environment. Once the plastic is down and taped, make it a habit to poke your head into the crawl space once a year with a flashlight just to ensure the tape seams are holding and no new plumbing leaks have developed above the barrier.
- Upgrade to a 20-mil reinforced vapor barrier to ensure it survives foot traffic and lasts for decades.
- Overlap all seams by at least 12 inches and seal them completely with double-sided butyl tape.
- Run the plastic at least 6 inches up the foundation walls and secure it with masonry fasteners.
- Fix bulk water problems, like standing puddles or exterior grading issues, before installing any vapor barrier.