Know Your Foundation Type
Your house sits on one of three main foundation types. A slab is a single thick layer of concrete poured directly on the ground. A crawlspace lifts your home off the dirt, leaving a shallow empty area underneath. A basement is just a deep crawlspace you can stand up in. No matter which type you have, its job is to carry the weight of your house and keep moisture out.
Slab Foundation Basics
A concrete slab foundation is one continuous pad of poured concrete, usually four to six inches thick, that sits directly on prepared ground. Your home is built right on top of it, with no crawlspace or basement underneath. Slabs are common in warm regions and on flat lots because they are fast to build and resist termites and ground moisture better than a raised wood floor. The trade off is that the plumbing and electrical lines run inside or under the concrete, so reaching them later means cutting into the slab.
A typical slab is poured over a bed of compacted gravel and a plastic vapor barrier, with thicker reinforced edges called grade beams that carry the weight of the exterior walls. In cold climates those edges have to reach below the frost line, or a frost-protected design has to be used, so the ground does not heave the slab in winter. Knowing which kind you have helps you read its cracks correctly.
| Slab Type | Where It Is Used | Key Trait |
|---|---|---|
| Monolithic slab | Warm, flat lots | Footing and floor poured as one piece. Fast and cheap. |
| Stem wall slab | Sloped or colder lots | Footing, short wall, then slab. Handles grade changes. |
| Post-tension slab | Expansive clay soils | Steel cables tensioned inside the concrete. Do not drill into it. |
Most slab problems trace back to soil moisture. When clay soil under one corner dries out and shrinks, that corner drops and the slab cracks. Watering the soil evenly around the whole perimeter in a long dry spell, and keeping water away during wet spells, is the single best thing you can do to protect a slab. The grading and gutter rules in the section below apply doubly to slab homes because there is no basement to absorb a mistake.
Which Cracks Are Normal?
Concrete shrinks as it cures. It also expands and contracts with changing temperatures. Because of this, almost all concrete cracks eventually. Most cracks are harmless.
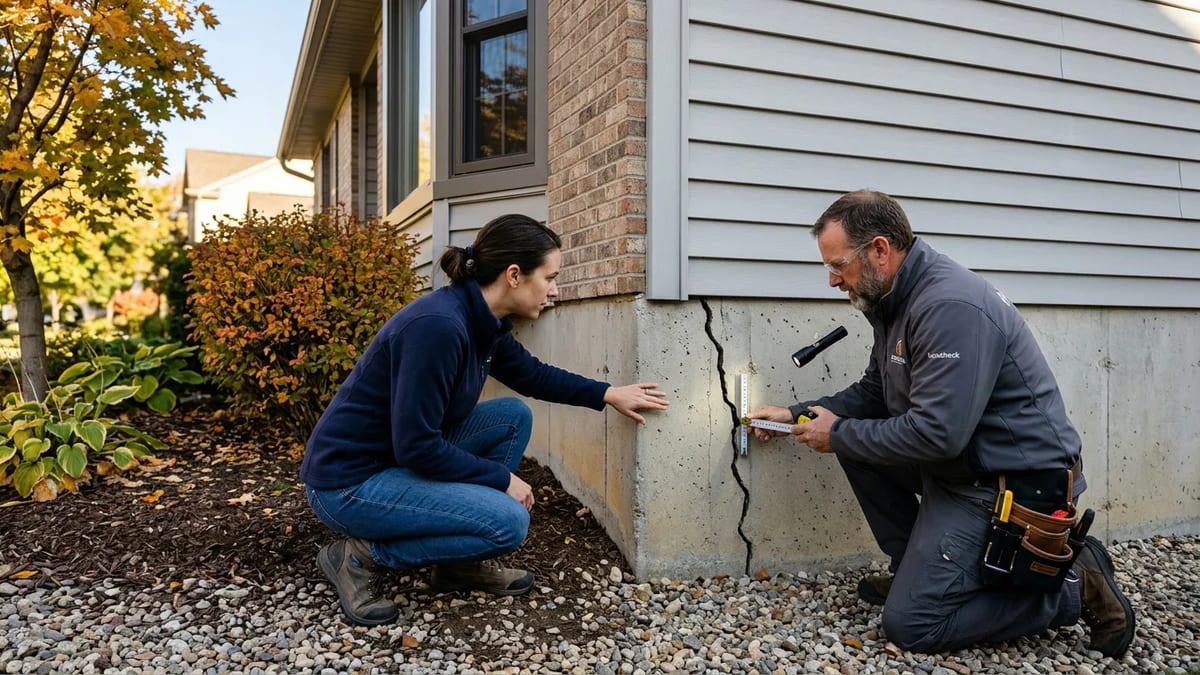
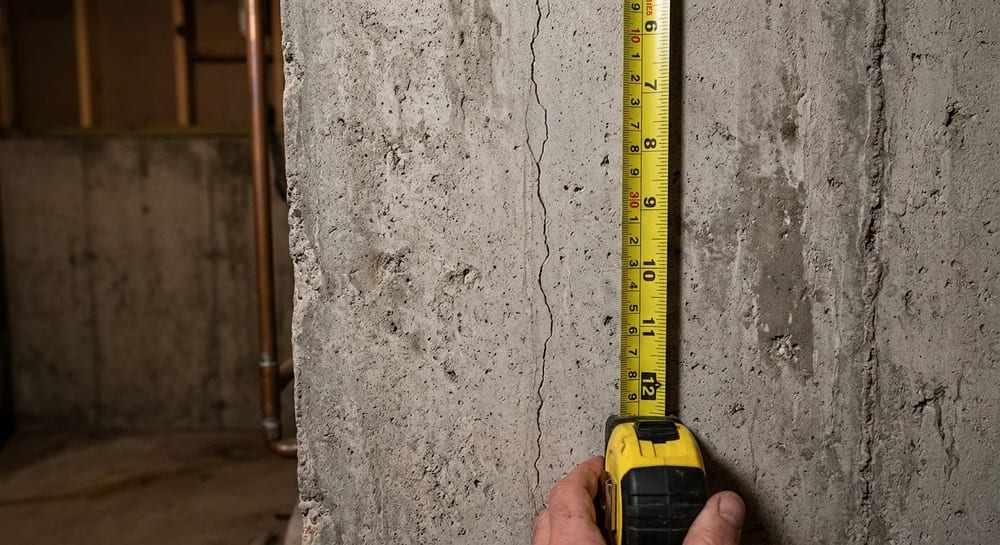
Hairline cracks are thin lines that look like a pencil mark. Vertical cracks that run straight up and down are usually just shrinkage. If a crack is less than 1/8 inch wide and does not grow over time, you probably have nothing to worry about. You can patch these with epoxy to keep water out.
When to Worry About Cracks
Some cracks tell you the earth under your house is shifting. This puts dangerous stress on your structure.
- Horizontal cracks: A crack running sideways along a basement wall is bad news. It means the soil outside is pushing inward against the wall.
- Stair step cracks: Cracks in brick or cinderblock walls that look like a staircase mean your foundation is settling unevenly.
- Wide cracks: Any crack wider than a quarter inch needs professional attention.
- Growing cracks: If a crack gets longer or wider over a few months, your foundation is actively moving.
| Crack Type | Danger Level | What to Do |
|---|---|---|
| Vertical hairline | Low | Seal with epoxy and monitor. |
| L shaped corner crack | Low | Seal to keep water out. |
| Stair step in block | High | Call a structural engineer. |
| Horizontal crack | Very High | Requires urgent professional repair. |
Water is the Biggest Enemy
Water destroys more foundations than anything else. When soil gets wet, it swells and pushes against your walls. When it dries out, it shrinks and leaves your foundation unsupported. The goal is to keep the soil around your house perfectly damp, not too wet and not too dry.
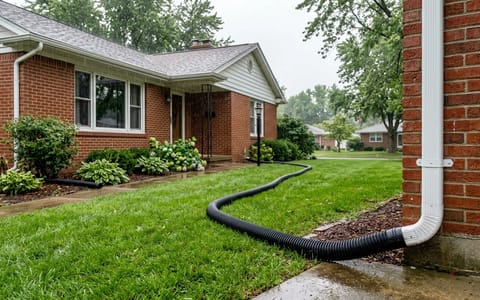
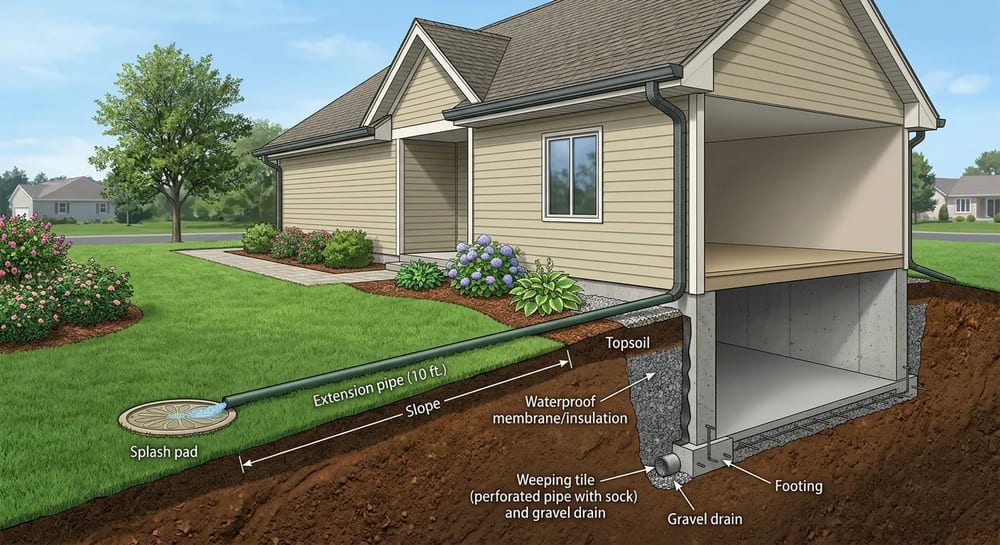
Check the dirt right next to your house. It should slope down and away from your foundation. This is called grading. If the dirt slopes toward your house, water will pool against your walls. You also need clean gutters and long downspouts. Your downspouts should dump water at least six feet away from your home. For bigger yard water issues, read up on landscaping and drainage solutions.
How to Waterproof a Basement
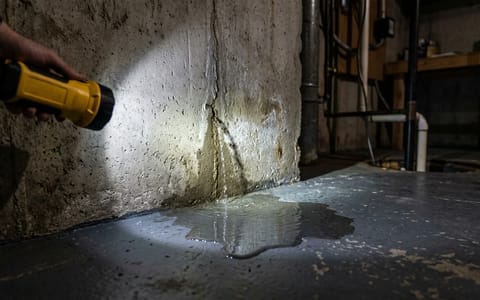
A wet basement is almost always a water management problem, not a crack problem. Before you spend money sealing walls from the inside, fix the water outside. Most leaks stop once gutters, downspouts, and grading send rainwater far away from the house. Waterproofing works from the outside in: keep water out of the soil first, manage what does reach the wall second, and seal the wall surface last.
Interior sealers and waterproof paints can slow seepage on a damp wall, but they do not stop water that is under pressure from saturated soil. For that you need either an exterior membrane and drainage board against the outside of the wall, or an interior drain channel that catches water at the footing and pipes it to a sump pump. The same logic protects foundation walls in a crawlspace home.
Step by Step: Stop a Leaky Basement Wall
- Clean your gutters and confirm every downspout dumps water at least six feet from the wall. Add downspout extensions if needed.
- Build up the soil so it slopes down and away from the house, dropping about six inches over the first ten feet.
- Seal small, non-moving wall cracks from the inside with a polyurethane or epoxy injection kit to block weeping.
- If water still pushes through, install an interior perimeter drain and a sump pump to relieve pressure at the footing.
- For chronic, heavy leaks, excavate the outside wall and apply an exterior waterproof membrane with a dimpled drainage board.
| Method | Best For | Typical Cost |
|---|---|---|
| Grading and downspout extensions | Most damp basements | $100 to $600 |
| Interior crack injection | A single weeping crack | $50 to $150 DIY |
| Interior drain and sump pump | Water rising at the floor | $3,000 to $8,000 |
| Exterior membrane and drain | Severe, recurring flooding | $8,000 to $20,000+ |
Whatever method you choose, a working sump pump is your insurance against a flood. Test it once a year and consider a battery backup, since the storms that flood basements are also the ones that knock out power. Our plumbing guide covers sump pump upkeep, and the home emergencies guide walks through cleaning up if a basement does flood.
Warning Signs Inside the House
You do not have to go into a dark crawlspace to find foundation trouble. Your house will give you hints upstairs. If your doors suddenly start sticking or will not latch, the frame might be shifting. Look for gaps around your window frames.
Uneven floors are another big clue. If a marble rolls across your kitchen floor on its own, your joists might be sagging. You might also see diagonal tears in your drywall, especially extending from the top corners of doors and windows. Before you spend time fixing paint and drywall, make sure the framing behind the wall is actually stable.
Basements and Crawlspaces
If you have a crawlspace, it should have a thick plastic sheet covering the dirt floor. This vapor barrier stops ground moisture from rotting your wooden floor joists. The space should also feel dry and smell clean. Musty smells mean you have a moisture problem.
Basements often rely on a pit in the floor and a motorized pump to stay dry. Make sure you test your sump pump every year. You can learn more about maintaining those in our plumbing guide. Basements are also prime spots for dangerous soil gases to enter your home. It is smart to test for environmental hazards like radon gas if you spend time down there.
Crawl Space Sealing and Encapsulation
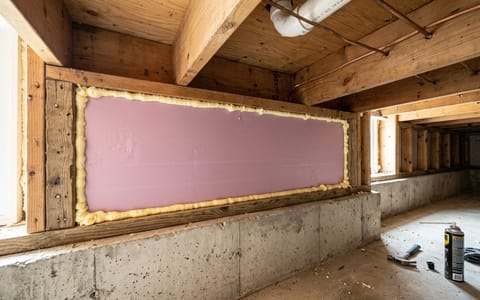
A crawl space is the open gap between the dirt and the first floor of your home. Left bare, it pulls ground moisture and humid outside air right into the wood structure above, which feeds mold, rot, and musty odors that drift up into your living space. Sealing the crawl space keeps that moisture out, and full encapsulation turns it into a dry, conditioned zone that protects the whole house. This is one of the highest-payback projects a homeowner can do, and parts of it are well within DIY reach.
The cheapest fix is a moisture barrier, also called a crawl space liner: a thick polyethylene sheet laid over the dirt floor to block ground moisture. Full encapsulation goes further, lining the floor and walls with a heavy sealed liner, covering or closing the vents, and adding a dehumidifier so the space stays dry year round. Older advice said to ventilate a crawl space with open vents, but in humid climates those vents let damp summer air in, where it condenses and makes things worse. Today, sealing and conditioning the space is the preferred approach.
Step by Step: Seal a Crawl Space
- Fix any standing water or active leaks first. A liner over wet ground just traps the water and breeds mold.
- Clear debris, old insulation, and any visible mold from the floor and joists.
- Lay a heavy moisture barrier, at least 6 mil and ideally 12 to 20 mil, across the entire dirt floor, overlapping seams and taping them.
- Run the liner up the foundation walls and seal it to them, leaving a small inspection gap at the top to spot termites.
- Cover or seal the vents from the inside, then add a small dehumidifier or a supply duct to keep the air dry.
| Approach | What It Includes | Typical Cost |
|---|---|---|
| Floor moisture barrier (DIY) | Liner over the dirt floor only | $200 to $800 |
| Vent sealing | Closing or covering crawl space vents | $15 to $40 per vent |
| Full encapsulation | Sealed floor and walls plus dehumidifier | $3,000 to $8,000 |
| Flooded crawl space repair | Water removal, drying, drainage, new liner | $1,500 to $6,000 |
Foundation Repair Costs
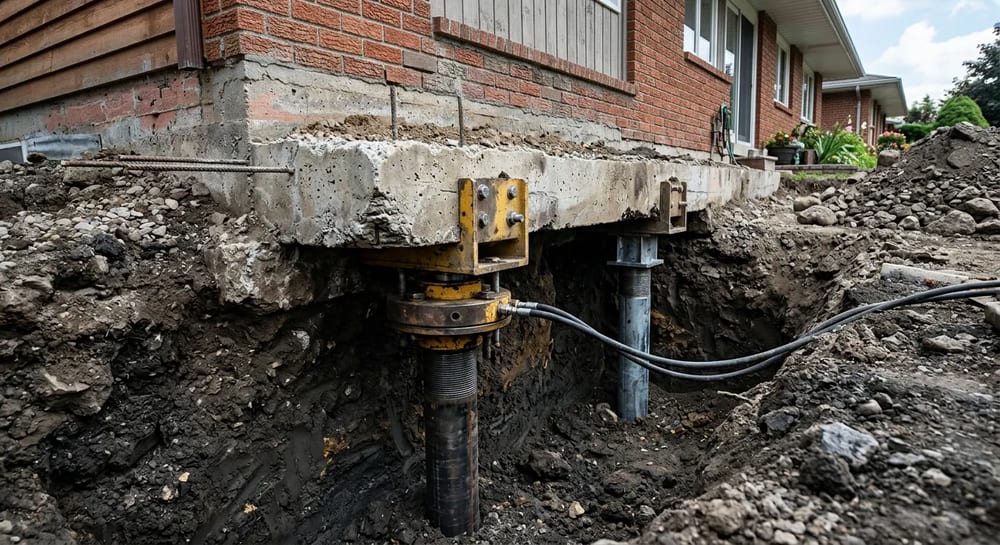
Fixing a foundation is rarely cheap. Simple crack sealing might only cost a few hundred dollars. Major structural fixes like underpinning can cost tens of thousands. Underpinning involves driving steel piers deep into the earth to lift and support a sinking house.
Here is a rough look at what different repairs might cost. Keep in mind that these are ballpark estimates. Prices vary a lot based on your region, the size of the job, and the age of your home.