Vapour Barrier Concrete: How to Stop Moisture Under Slabs
Concrete acts like a sponge, drawing moisture from the ground right into your home. Learn how to choose and install the right vapor barrier to protect your floors from hidden dampness.
Full guide Foundation & Structure Learn how to spot dangerous foundation cracks and protect your home from costly structural damage.Concrete looks dense, heavy, and completely solid. But under a microscope, a concrete slab looks more like a rigid sponge. As concrete cures, the water inside it evaporates, leaving behind millions of microscopic capillary tubes. If that slab is sitting directly on damp soil, those tiny tubes will actively suck water up from the ground and push it right into your living space.
If you are planning to finish a basement, convert a garage, or pour a brand-new floor, figuring out your vapour barrier concrete strategy is the single most critical step for a dry space. Skip it, and you will eventually face peeling floorboards, damp carpets, and a persistent musty smell that ruins the room.
Understanding how to stop this moisture transfer is straightforward once you know the materials. We will break down exactly what a vapor barrier does, why specific thicknesses matter, and how to install one so your floors stay completely dry.
Why Does Concrete Sweat?
Many homeowners notice their basement floors looking dark or feeling damp, especially during wet weather. Often, people assume the concrete is "sweating" due to humidity in the air. While condensation does happen on cold concrete, the far more common culprit, in my experience, is capillary action pulling moisture from the earth.
Soil is almost always holding moisture. Even if you don't have a high water table or active flooding, the dirt beneath your house is damp. Because concrete is porous, that moisture moves from the wet soil into the dry concrete, traveling upward until it hits the surface. If that surface is covered by a hardwood floor, laminate, or carpet, the moisture gets trapped. Over time, this trapped dampness destroys adhesives, warps wood, and creates the perfect dark, wet environment for mold.
You might also see a white, chalky powder on bare concrete floors. This is called efflorescence. It happens when ground moisture travels through the slab, dissolves natural salts in the concrete, and carries them to the surface. When the water evaporates, the salt is left behind, often forming a powdery layer up to 1/8 inch thick. Seeing efflorescence is a guaranteed sign that moisture is moving through your slab.
What Makes a Proper Vapour Barrier Concrete Setup?
A vapor barrier (technically called a vapor retarder in many building codes) is a layer of impermeable material placed directly beneath a concrete slab to stop ground moisture from wicking upward. The barrier physically blocks the capillary tubes in the concrete from making contact with the damp soil or gravel base.
A vapor barrier is the cheapest insurance policy you will ever buy for your finished floors.
Years ago, contractors often poured a layer of sand over the vapor barrier before pouring the concrete, thinking it would help the slab cure evenly. Modern building science has largely abandoned this practice for interior slabs. If the sand gets wet during construction, it traps a layer of water right against the bottom of the concrete, defeating the purpose of the barrier. Today, the standard practice is to pour the concrete directly onto the plastic sheeting.
Comparing Materials: Finding the Best Vapor Barrier for Concrete
Not all plastic sheeting is created equal. If you walk into a home improvement store, you will see rolls of plastic ranging from thin painter's drop cloths to thick, heavy-duty mats. Choosing the right thickness is where many DIY projects go wrong.
When we laid the floor for my brother's basement remodel a few years back, we started with a cheap 6-mil roll from a local hardware store. Just walking on it to lay the steel rebar poked dozens of tiny holes in the plastic. We ended up ripping it all out and upgrading to a 10-mil barrier. It cost a bit more, but it saved us hours of patching and worrying about future leaks.
Here is how the options break down for residential concrete work:
6-Mil Plastic (Not Recommended)
Six thousandths of an inch (6-mil) used to be the minimum code requirement. However, it is highly prone to puncturing. Between work boots, heavy wheelbarrows, and the sharp edges of gravel and wire mesh, 6-mil plastic rarely survives a concrete pour intact. Every hole is a direct path for moisture.
10-Mil Plastic (The Residential Standard)
A vapor barrier 10 mil thick is the sweet spot for almost all residential projects. It is thick enough to withstand heavy foot traffic and the dragging of hoses during a concrete pour, but still flexible enough to easily fold into corners and tape around plumbing pipes. If you are pouring a new basement floor or garage slab, this is the material to buy.
15-Mil Plastic (Maximum Protection)
At 15 mils, the plastic is incredibly stiff and nearly impossible to tear by accident. This is often used in commercial construction or in areas where the sub-base is made of particularly sharp, jagged crushed stone. It is harder to work with, but offers absolute protection.
How to Install a Plastic Vapor Barrier for Concrete
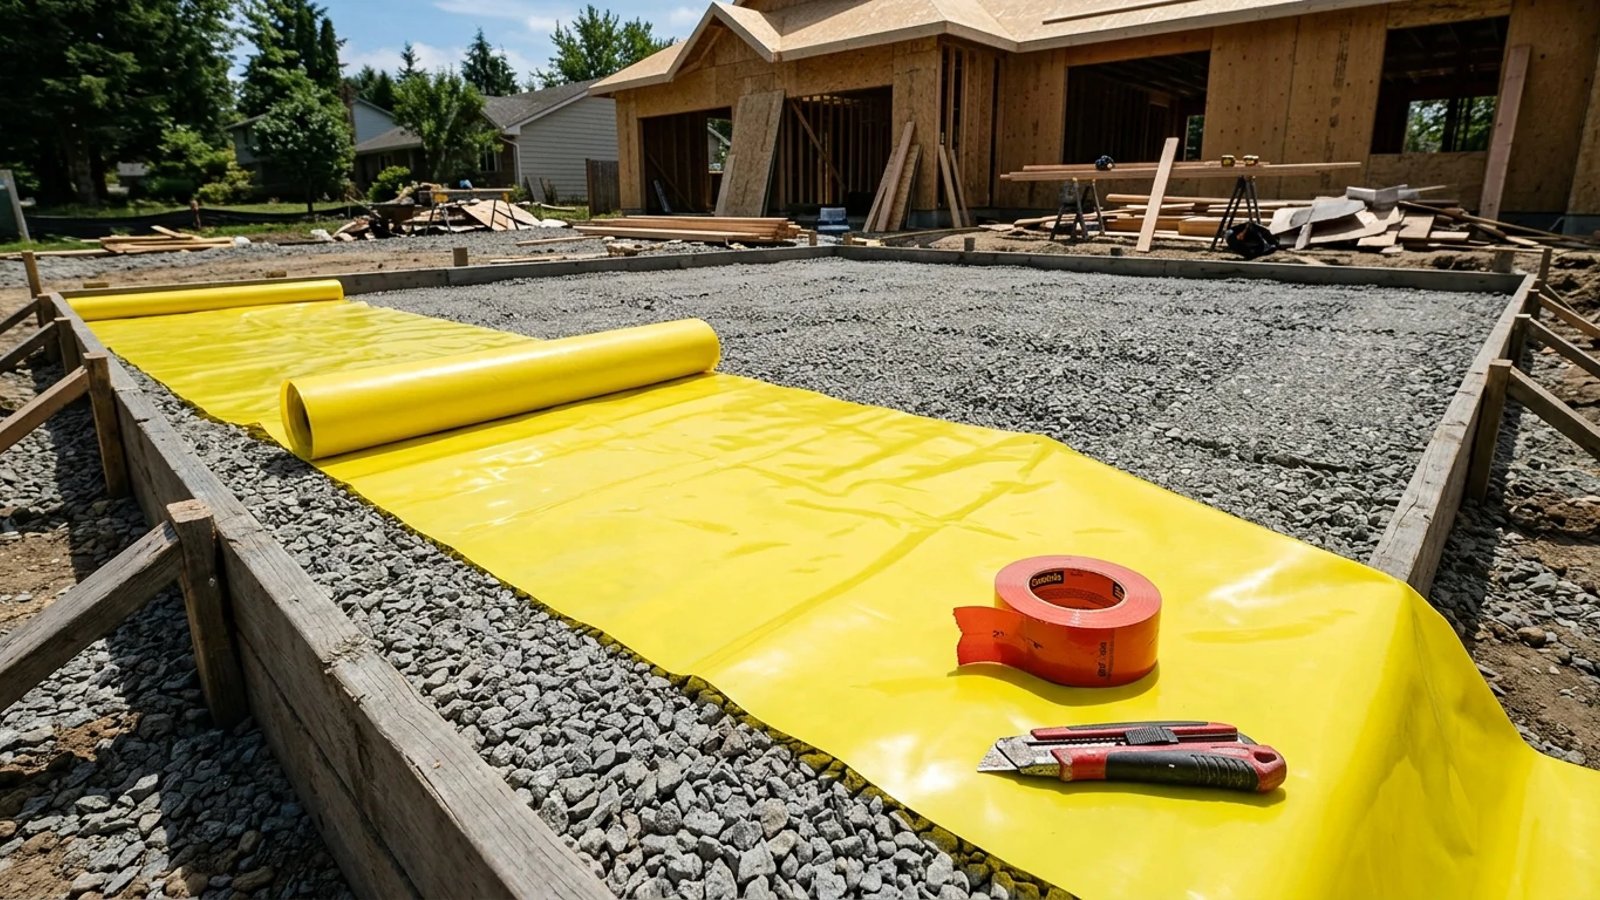
Installing the barrier correctly is just as important as buying the right material. A thick plastic sheet does no good if the seams are left open or if it is torn around plumbing pipes. Here is exactly how a plastic vapor barrier for concrete is installed before a pour.
- Level and compact the sub-base. The gravel or crushed stone base must be entirely flat and heavily compacted. Remove any sharp rocks pointing upward that could stress the plastic.
- Roll out the primary sheets. Lay the plastic sheeting across the floor, running it up the perimeter foundation walls by at least 6 to 8 inches. You will trim this excess off later after the concrete cures.
- Overlap the seams generously. Where two sheets meet, overlap them by a minimum of 6 to 12 inches. Never butt the edges up against each other.
- Tape the seams completely. Use a specialized, waterproof vapor barrier tape (usually 4 inches wide) to seal the entire length of the overlap. Press it down firmly so there are no wrinkles or air bubbles.
- Seal around all penetrations. Cut the plastic as tightly as possible around any PVC plumbing pipes or electrical conduits sticking out of the ground. Tape the plastic directly to the pipe, ensuring there are no gaps for soil gas or moisture to escape.
- Repair any accidental punctures. Before the concrete truck arrives, inspect the entire floor. If a dropped tool or piece of rebar has pierced the plastic, cut a patch of barrier material, place it over the hole, and tape all four sides securely.
What If the Slab Is Already Poured?
The steps above are perfect for new construction. But what if you bought an older home with a damp, unfinished basement, and you want to lay down carpet or laminate? You cannot put a plastic sheet under a slab that already exists.
If you lay a standard plastic sheet on top of an existing basement slab and put flooring over it, moisture will wick up from the concrete, hit the plastic, and pool there. This creates a stagnant layer of water directly under your floor, leading to severe mold growth.
For existing slabs, you have two reliable options to manage moisture before laying finished flooring:
Option 1: Epoxy Moisture Mitigation Systems
These are thick, two-part liquid epoxy sealers that you roll directly onto the bare, clean concrete. They soak into the pores of the slab and harden, creating a waterproof barrier right on the surface. Because they bond directly to the concrete, there is no gap for water to pool. This is an excellent choice if you plan to glue down engineered hardwood or luxury vinyl plank (LVP).
Option 2: Dimpled Plastic Underlayments
These come in rolls and look like heavy-duty plastic bubble wrap. You lay them over the concrete with the "dimples" facing down. This creates a tiny, continuous air gap between the damp concrete and the plastic surface. The moisture can slowly evaporate into the air gap and dry out, while the top surface of the plastic remains bone dry for your floating laminate or carpet pad.
Whether you are prepping a gravel bed for a brand-new pour or trying to tame a damp basement floor in an older home, controlling ground moisture is mandatory. Taking the time to select a heavy-duty material and seal every seam ensures your finished space stays dry, clean, and structurally sound for decades to come.
- Never skip the vapor barrier when pouring a new interior concrete slab—it is cheap insurance against ruined flooring and mold.
- Avoid standard 6-mil plastic for under-slab use; it punctures too easily under the stress of the concrete pouring process.
- Seal every single seam and pipe penetration. Even a tiny gap can let significant ground moisture into your home over time.
- Use specialized vapor barrier tape rather than standard duct tape, which will quickly degrade underground.