Outdoor GFCI Won't Reset After Rain? The Safe Fix
If your outdoor GFCI outlet won't reset after a heavy rainstorm, it is doing exactly what it was designed to do. Learn why forcing the button is dangerous and how to safely dry the receptacle.
Heavy summer storms bring plenty of water, and sometimes that water finds its way right into your outdoor electrical boxes. You walk outside to plug in a string of patio lights, a pressure washer, or an electric string trimmer, only to find the outlet is completely dead. You push the reset button, but it instantly pops back out with a sharp click. If your outdoor GFCI won't reset after rain, your first instinct might be to assume the unit is permanently broken or defective.
Standing on a wet patio and repeatedly jamming your thumb into the reset button is a common reaction, but it is also highly dangerous. That outlet is actually doing exactly what it was engineered to do. By refusing to reset, it is actively preventing 120 volts of electricity from finding a path through the rainwater—and potentially through you.
Understanding exactly how these life-saving devices work, how to safely dry them out, and how to prevent water intrusion in the future will save you unnecessary frustration and keep your home safe during storm season.
Why Your Outdoor GFCI Won't Reset After Rain
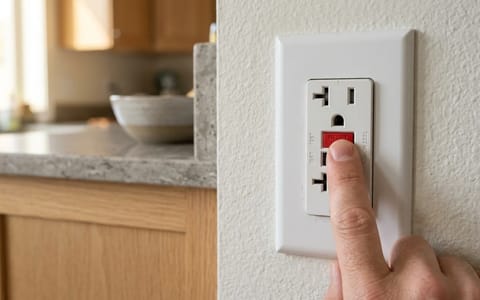
To understand why the outlet is being so stubborn, it helps to know the science behind a Ground Fault Circuit Interrupter (GFCI). Unlike a standard electrical outlet, a GFCI has a built-in computer sensor that constantly monitors the flow of electrical current. These devices are commonly rated for either 15 or 20 amps, suitable for most household circuits. It measures the exact amount of electricity going out on the hot wire and returning on the neutral wire.
Under normal conditions, those two numbers should match perfectly. If the sensor detects a difference of as little as 4 to 5 milliamps—a fraction of the current needed to light a small bulb—it assumes the electricity has found an unintended path to the ground. This is called a ground fault. The GFCI reacts by snapping a set of internal contacts open, cutting off the power in about 1/40th of a second.
A GFCI outlet that refuses to reset after a storm isn't broken—it's actively protecting you from a dangerous electrical shock.
When heavy rain blows sideways against your house, moisture can easily seep behind a degraded weather cover or blow into the slots of the receptacle. Because water is an excellent conductor of electricity, it creates a microscopic bridge between the hot electrical contacts and the ground wire inside the box. As soon as you press the reset button, the GFCI detects that moisture bridge. It instantly reads the ground fault and trips again before you can even pull your finger away.
According to the Electrical Safety Foundation, GFCI protection has cut the number of home electrocutions in half since they were widely introduced. When the outlet refuses to reset, it is telling you that the hazard is still present.
Immediate Steps for Electrical Safety
Last summer, I tested a tripped outlet on my own back patio after a massive July thunderstorm. I thought the outlet was perfectly dry just because the sun had finally come out and the plastic cover felt warm. But the moment I pushed the reset button, it sparked audibly and tripped the main breaker inside the house. It was a harsh reminder that external appearances mean very little when water is trapped inside a sealed wall box.
If you find yourself with a wet outlet that won't reset, your immediate priority is making the area safe. Stop pressing the reset button immediately. Every time you force it, you risk sending current through a wet connection, which can cause internal arcing and permanently damage the outlet's sensitive copper contacts.
Leave the outlet alone and walk inside to your main electrical panel. Locate the breaker that controls your outdoor receptacles and flip it to the "Off" position. This ensures no electricity is flowing to the wet box while you inspect it. Once the breaker is off, go back outside and carefully unplug any extension cords, lawn equipment, or patio lights that were connected to the outlet. Cords left plugged in can trap moisture against the face of the receptacle and dramatically slow down the drying process.
How to Safely Dry Out a Wet GFCI Outlet
Once you have secured the power, the only thing that will fix the ground fault is time and evaporation. Water trapped inside a tight plastic or metal electrical box takes significantly longer to dry than water resting on an open surface. You need to encourage air circulation without introducing dangerous heat.
- Verify the power is off. Double-check that the breaker is flipped and use a non-contact voltage tester on the outlet face just to be absolutely certain the box is dead.
- Open the weather cover. Lift the plastic flap or bubble cover and prop it open. This allows the humid, trapped air inside the box to escape.
- Set up air circulation. Run an extension cord from a safe, dry indoor outlet and aim a standard box fan directly at the wet outdoor receptacle. A steady breeze works wonders.
- Wait at least 24 hours. Give the internal copper components and the plastic housing plenty of time to dry completely. In highly humid climates, this may take up to 48 hours.
If you are in a rush and need the outlet for yard work, you will simply have to find a different power source for the day. Patience is the only safe tool for this specific job.
Inspecting the Weather-Resistant Cover
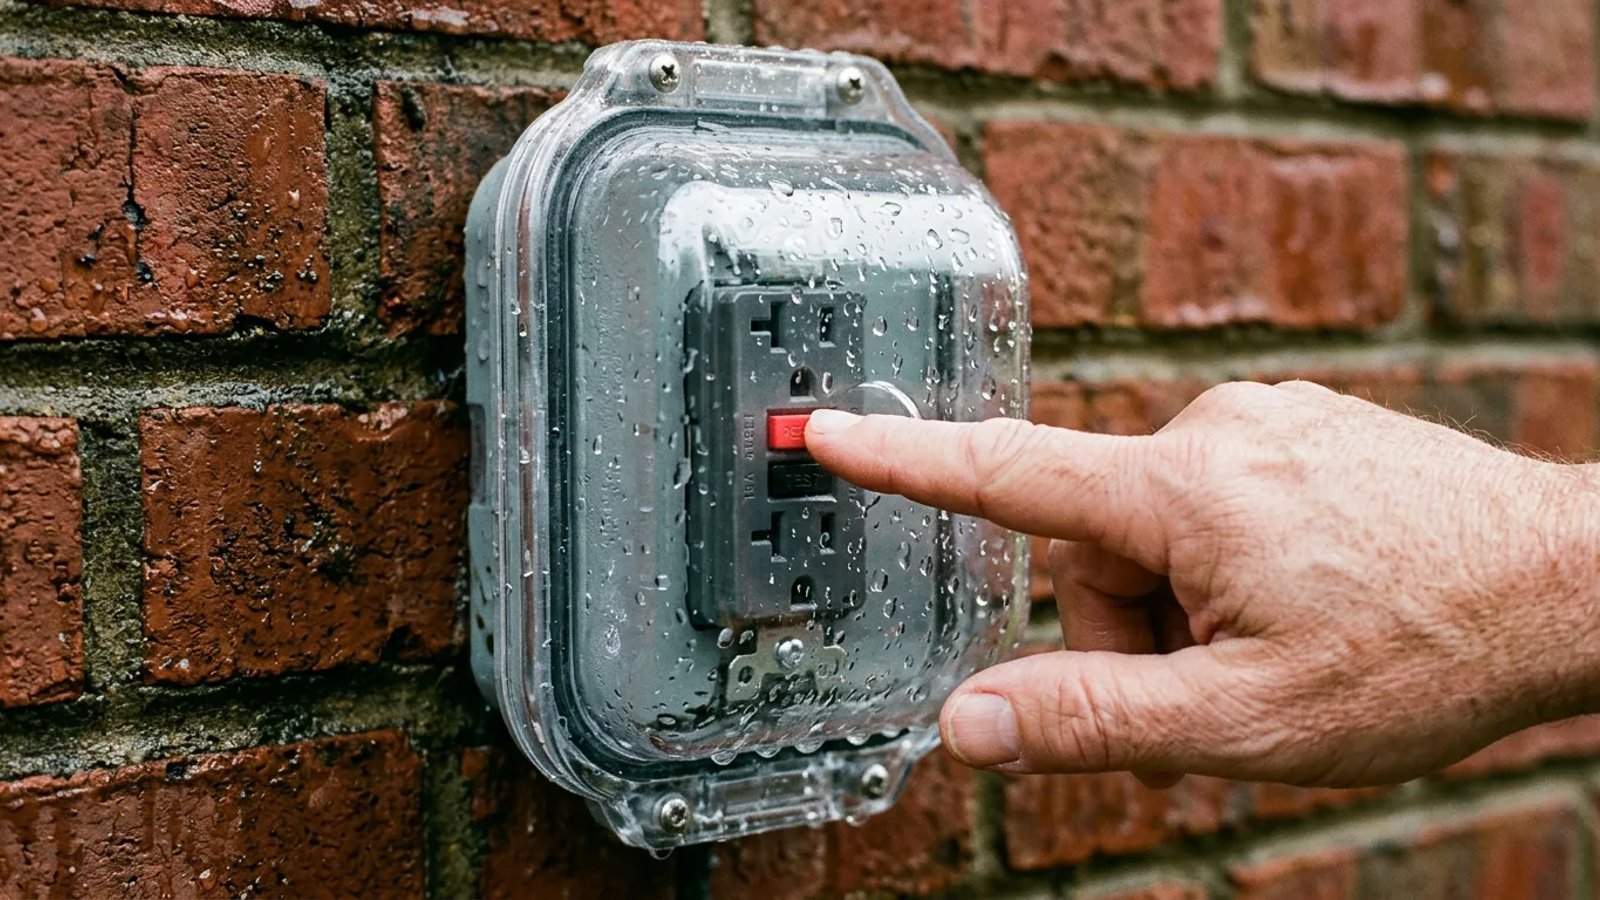
While you wait for the outlet to dry, it is the perfect time to investigate exactly how the water got inside in the first place. Outdoor outlets are required by building codes to have specific protections against the elements, but these components degrade over time under harsh UV rays and extreme temperature swings.
First, look at the cover itself. Older homes often have flat metal or plastic covers with two small spring-loaded flaps. These are practically useless if you leave something plugged in during a rainstorm, as the flaps are forced open, funneling water directly into the slots. Current electrical codes require "extra-duty in-use" covers for wet locations. These are the large, clear plastic bubble covers that allow you to plug in a cord and close the lid completely, maintaining a watertight seal even while the outlet is providing power.
If you already have a bubble cover, inspect the foam gasket sandwiched between the cover plate and the exterior wall of your house. Run your finger along the edges of the foam. If it feels brittle, crumbly, or has visible gaps where it has pulled away from the brick or siding, water is likely running down the wall and seeping in from behind. A replacement extra-duty cover costs about $15 to $25 at a local hardware store and takes less than 10 minutes to install with a single screwdriver.
Additionally, check the caulking around the top and sides of the electrical box. A solid bead of exterior-grade silicone caulk across the top edge prevents water from dripping down behind the box. However, never caulk the bottom edge; you want to leave the bottom open so any condensation that forms inside the box has a way to weep out.
Should I Repair or Replace the Outlet?
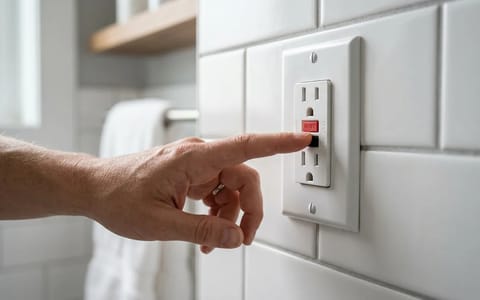
After a full 24 to 48 hours of drying time, you are ready to test the system. Head back to your electrical panel and flip the breaker to the "On" position. Walk outside and firmly press the "Reset" button on the GFCI. You should hear a solid click, and the button should stay flush with the face of the outlet.
To confirm it is working, plug in a simple device like a radio or a small lamp, or use a $10 plug-in GFCI tester. If the light turns on, the moisture has successfully evaporated, the ground fault is cleared, and your outlet is back in business.
It is important to remember that GFCI outlets do not last forever. Even under perfect conditions, the internal circuitry degrades over time. Most manufacturers state that a GFCI receptacle has a functional lifespan of about 10 to 15 years. If your home is older and the outlet has tripped dozens of times over its life, the locking mechanism inside may simply be worn out. Replacing a GFCI is a straightforward DIY project for homeowners comfortable with basic wiring, but hiring an electrician ensures the new unit is properly grounded and sealed.
A tripped outdoor outlet is certainly an inconvenience when you are trying to finish yard work or enjoy a summer evening on the patio. But it is also a reassuring sign that your home's safety systems are working exactly as intended. By keeping the cover closed, replacing worn-out gaskets, and having the patience to let things dry out naturally after a storm, you can keep your exterior power running smoothly and safely all season long.
- Turn off the breaker at the main panel before inspecting a wet outlet.
- Use a box fan to circulate air and dry the box—never use a heat gun.
- Upgrade to an 'extra-duty' in-use weatherproof cover to meet current safety codes.
- If the outlet still refuses to reset after 48 hours, the internal contacts are likely corroded and the unit must be replaced.