Radiator Cold at Top? How to Bleed a Radiator in 5 Minutes
Got a radiator that's cold at the top and warm at the bottom? Trapped air is the likely culprit. Learn how to bleed a radiator in 5 minutes and restore your home's heating efficiency.
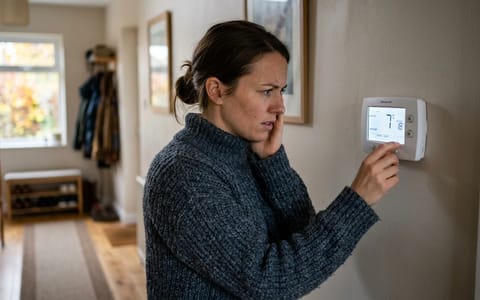
Full guide HVAC & Climate Control How your home heats, cools, and moves air, and the decisions that matter.As the mid-fall chill sets in and the thermostat gets bumped up, many of us expect that familiar, comforting clank of the heating system waking up. But instead of a cozy room, you might walk into a surprisingly chilly space. You place a hand on the radiator and find the culprit: it is warm at the bottom but ice-cold at the top. This is a classic sign of trapped air, and learning how to bleed a radiator is the key to solving it.
This is a classic sign of trapped air. When air gets stuck in the top of a radiator, it creates a physical barrier that hot water simply cannot push through. Your boiler ends up working overtime, burning more fuel to heat the room, while you sit there shivering. Learning how to bleed a radiator is a five-minute DIY fix that restores your system's efficiency and saves you from an unnecessary and expensive service call.
Why Is My Radiator Cold at the Top?
Hot water heating systems are essentially closed loops. Water is heated by the boiler and pumped through pipes into your radiators, where it radiates heat into the room before returning to the boiler to be reheated. Over time, small amounts of air can enter the system. Because air is lighter than water, it naturally rises to the highest points in your house—usually the top of your upstairs radiators.
Air can enter your heating system in several ways. When the system is initially filled or topped up with fresh water, dissolved oxygen naturally separates and forms small bubbles. Minor leaks in pipes or connections can also allow air to be drawn in, especially when the system cools down and pressure drops. Even tiny pinholes, too small to show water drips, can be enough for air infiltration. Over time, these small pockets coalesce and rise to the highest points, often the top of your radiators, where they become trapped.
Last October, I noticed my daughter's second-floor bedroom was freezing despite the downstairs thermostat reading a comfortable 68°F. A quick touch of her cast-iron radiator revealed the telltale symptom: hot near the floor, entirely cold across the top three inches. The air pocket was completely blocking the hot water from circulating through the upper fins.
Leaving air trapped in your system doesn't just make the room cold. The oxygen in that trapped air can cause the inside of your radiators to rust prematurely, leading to a buildup of sludge that can eventually damage your boiler.
What Tools Do You Need?
You do not need a plumbing license or an expensive tool kit to fix this. You likely have most of what you need already, and the one specialized tool, a radiator bleed key, is incredibly cheap.
- Radiator bleed key: This is a small metal tool with a square socket that fits over the bleed valve. You can buy one at any local hardware store or online for about $3.
- A thick rag or small towel: To catch splashes and protect your hand from hot metal.
- A small cup or mug: To catch the water that escapes once the air is completely purged.
While a standard four-sided square radiator key is the most common, some modern radiators, particularly designer models or towel rails, might use a different type of bleed valve. Occasionally, you might encounter valves that require an Allen key or a specific coin slot. It's always a good idea to inspect your radiator's bleed valve before purchasing a key to ensure you get the correct fit. Having the right key saves you a frustrating trip back to the hardware store!
If you have modern panel radiators, you might be able to use a standard flathead screwdriver instead of a traditional brass bleed key. Check the small valve at the top corner of your unit to see what type of fitting it takes before you head to the store.
How to Bleed a Radiator (Step-by-Step)
Before you touch any valves, you must turn your heating system off. If the circulation pump is running while you open a valve, you can actually suck more air into the system. Turn the thermostat down or switch the boiler off at the breaker, and wait about 30 to 60 minutes for the radiators to cool. The water inside can be scalding hot, so patience is a strict safety requirement.
- Locate the bleed valve. Look for a small metal square pin inside a round nut, typically located near the top corner of the radiator.
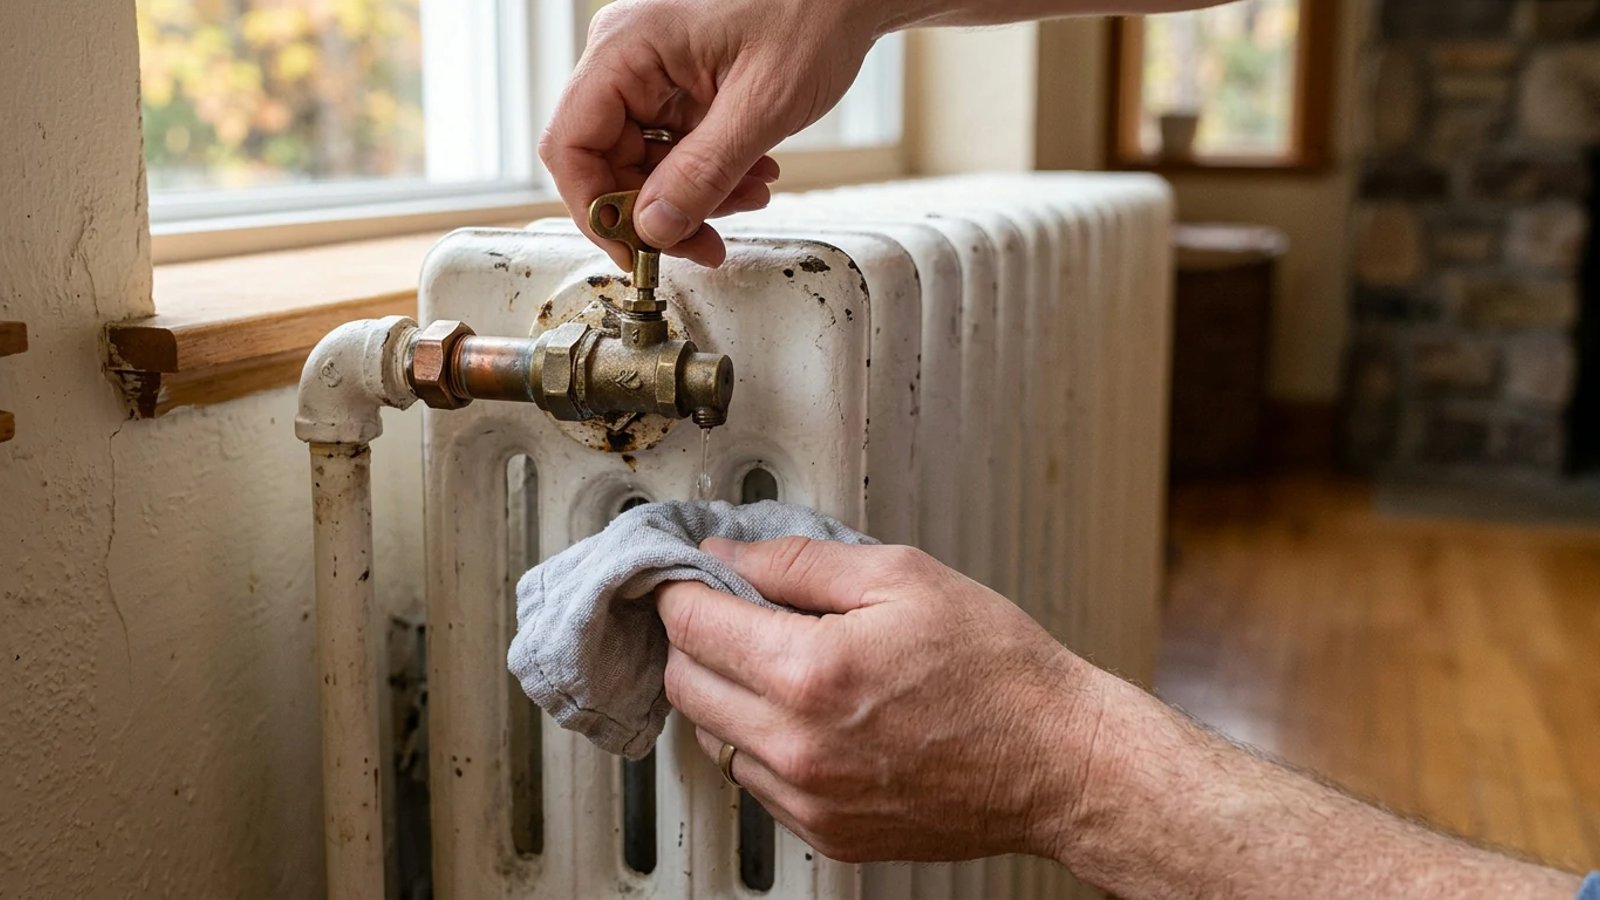
- Position your tools. Hold your rag or small cup directly under the valve to catch any drips or sudden squirts.
- Insert the key and turn. Fit the radiator key over the square pin and slowly turn it counterclockwise. Usually, a quarter to a half turn is all it takes to open the valve.
- Listen for the hiss. As the valve opens, you will hear a distinct hissing sound. That is the trapped air escaping from the system.
- Close the valve quickly. The moment the hissing stops and a steady stream of water squirts out, turn the key clockwise to close the valve tightly. Wipe away any moisture.
What if you open the valve and nothing happens? If no air hisses out and no water emerges, the valve might be blocked, or there might be no air trapped at that specific point. First, ensure the valve is fully open (usually a half-turn is sufficient). If still nothing, try another radiator. If the issue persists across multiple radiators, or if you only get water immediately, it might indicate a more significant system issue, like a partially closed valve on the radiator's supply pipe, or insufficient system pressure, which you'll check later.
Bleeding a radiator is a five-minute fix that can save your boiler from working overtime all winter.
Should I Check the Boiler Pressure Afterward?
Yes, absolutely. When you bleed air out of a closed heating system, the overall internal pressure drops. If you bleed several radiators, the pressure can drop low enough that the boiler's safety sensors will prevent it from firing up at all.
Head down to your basement or utility room and look at the boiler's pressure gauge. Most residential systems should read between 12 and 15 psi (or 1 to 1.5 bar) when cold. If the needle has dropped below 10 psi, you will need to add water back into the system. This is done using the filling loop—a small manual valve, often with a braided hose, on the cold water pipe connected to the boiler. It's crucial to identify this correctly, as opening the wrong valve could lead to different problems. Consult your boiler's manual if you're unsure where your filling loop is located.
According to the U.S. Department of Energy, maintaining proper water levels and pressure is critical for both the efficiency and longevity of your boiler. Slowly open the filling loop while watching the gauge, and close it firmly once the needle hits 12 psi.
While low pressure is common after bleeding, it's also important to be aware of excessively high pressure. If your boiler pressure consistently rises above 20-25 psi (or 2-2.5 bar), especially when the system is hot, it could indicate a fault with the pressure relief valve or a waterlogged expansion vessel. Both issues require professional attention, as sustained high pressure can damage your boiler and pipework, potentially leading to leaks or system failure.
When Is It More Than Just Trapped Air?
Bleeding your radiators once a year in the fall is normal preventative maintenance. As fresh water is occasionally introduced to the system, dissolved oxygen separates and forms these minor air pockets. However, if you find yourself doing this constantly, you have a bigger issue on your hands.
What About Radiator Balancing?
Sometimes, a radiator might be cold even after bleeding, but not necessarily cold at the top or bottom in the classic trapped-air or sludge pattern. Instead, it might be generally cooler than other radiators in your home, or only partially warm. This could be a sign that your heating system is imbalanced, meaning some radiators are getting more hot water than others.
Balancing your radiators involves adjusting the lockshield valve (the one typically covered by a plastic cap, opposite the thermostatic valve) on each radiator. The goal is to restrict the flow to radiators closest to the boiler and open up the flow to those further away, ensuring an even distribution of heat throughout your home. This is a slightly more advanced DIY task than bleeding but can significantly improve overall system efficiency and comfort if performed correctly. If you're unsure, a professional can balance your system during a routine service.
Once you have closed all the radiator valves and verified the boiler pressure is correct, turn your heating system back on. Give it about twenty minutes to get up to temperature, then walk through the house and feel the tops of your radiators. They should now be throwing off consistent, even heat from top to bottom, keeping your rooms perfectly comfortable as the winter weather sets in.
- Bleed your radiators once a year in the fall to maintain heating efficiency and lower utility bills.
- Start with the radiators on the lowest floor of your home and work your way up to the top floor.
- Check your boiler pressure gauge after bleeding to ensure it sits between 12 and 15 psi.
- If you find yourself bleeding the same radiator every few weeks, you likely have a leak or a failing expansion tank.