The Safe DIY Furnace Maintenance Checklist for Fall
Prepare your heating system for winter with this safe, step-by-step DIY furnace maintenance checklist. Learn exactly what you can clean yourself and when to call a pro.
Full guide HVAC & Climate Control How your home heats, cools, and moves air, and the decisions that matter.The temperature is dropping, and your heating system is about to start working overtime. Waking up to a freezing house because the heater failed overnight is a frustrating and expensive ordeal. Fortunately, a few simple furnace maintenance checks right now can keep your system running efficiently all winter long.
Beyond just preventing breakdowns, proactive furnace maintenance significantly enhances your home's overall comfort and air quality. It's an investment in your peace of mind, ensuring your heating system runs reliably and efficiently throughout the coldest months. Simple tasks performed regularly can save you hundreds, if not thousands, in potential repair costs and extend the life of your valuable equipment.
Many homeowners assume that furnace upkeep is entirely a job for contractors. While certain parts of your heating system strictly require a licensed professional, there are several basic maintenance tasks you can safely handle yourself. A clean system moves air easier, which lowers your utility bills and prevents the blower motor from overheating.
Taking on basic furnace maintenance yourself empowers you to understand your home's heating system better. This knowledge can also help you communicate more effectively with professionals if a larger issue arises. It's about being informed, not a full-time HVAC technician. Plus, the satisfaction of keeping your home warm and cozy through your own efforts is pretty rewarding!
What Parts of a Furnace Are Safe for DIY?
Before you grab a screwdriver, you need to know exactly where the safety lines are drawn. Your furnace has two main sides: the air-handling side and the combustion side. You can safely maintain the air-handling components yourself.
You are safe to inspect and clean the air filter, the exterior cabinet, the blower motor compartment, the thermostat, and your room vents. For the blower compartment, you'll often need a 1/4-inch or 5/16-inch nut driver to open the access panel. These parts deal exclusively with moving household air.
Focusing on the air-handling side means dealing with everything that touches the air circulating through your living spaces. This includes the return air ducts that pull air in, the supply ducts that push warm air out, and all the components within the furnace that facilitate this movement, like the filter and blower. Keeping these areas clean is paramount for both efficiency and indoor air quality.
Safety is paramount when working with any home system, especially one involving gas and electricity. Always double-check that the power is off before opening any panels. If you're ever unsure about a step or feel uncomfortable, it's always best to err on the side of caution and consult a professional. Your well-being and the integrity of your heating system are worth it.
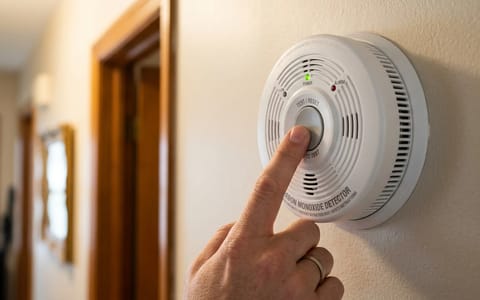
You must completely avoid the combustion components. The gas valve, the burner assembly, the heat exchanger, and the exhaust flue are strictly off-limits. Tinkering with these parts risks carbon monoxide leaks and fire hazards.
The combustion side of your furnace is where the magic (and potential danger) happens. Natural gas or propane is ignited to create heat, and the heat exchanger prevents the combustion gases from mixing with your breathable air. Any compromise to these parts, even minor, can lead to serious risks like carbon monoxide leaks, which are colorless and odorless but deadly, or even explosions. This is why professionals use specialized tools and detectors to ensure these critical components are operating flawlessly.
What Tools Do You Need?
You do not need specialized HVAC equipment for this basic inspection. You likely already have everything required in your garage or utility closet.
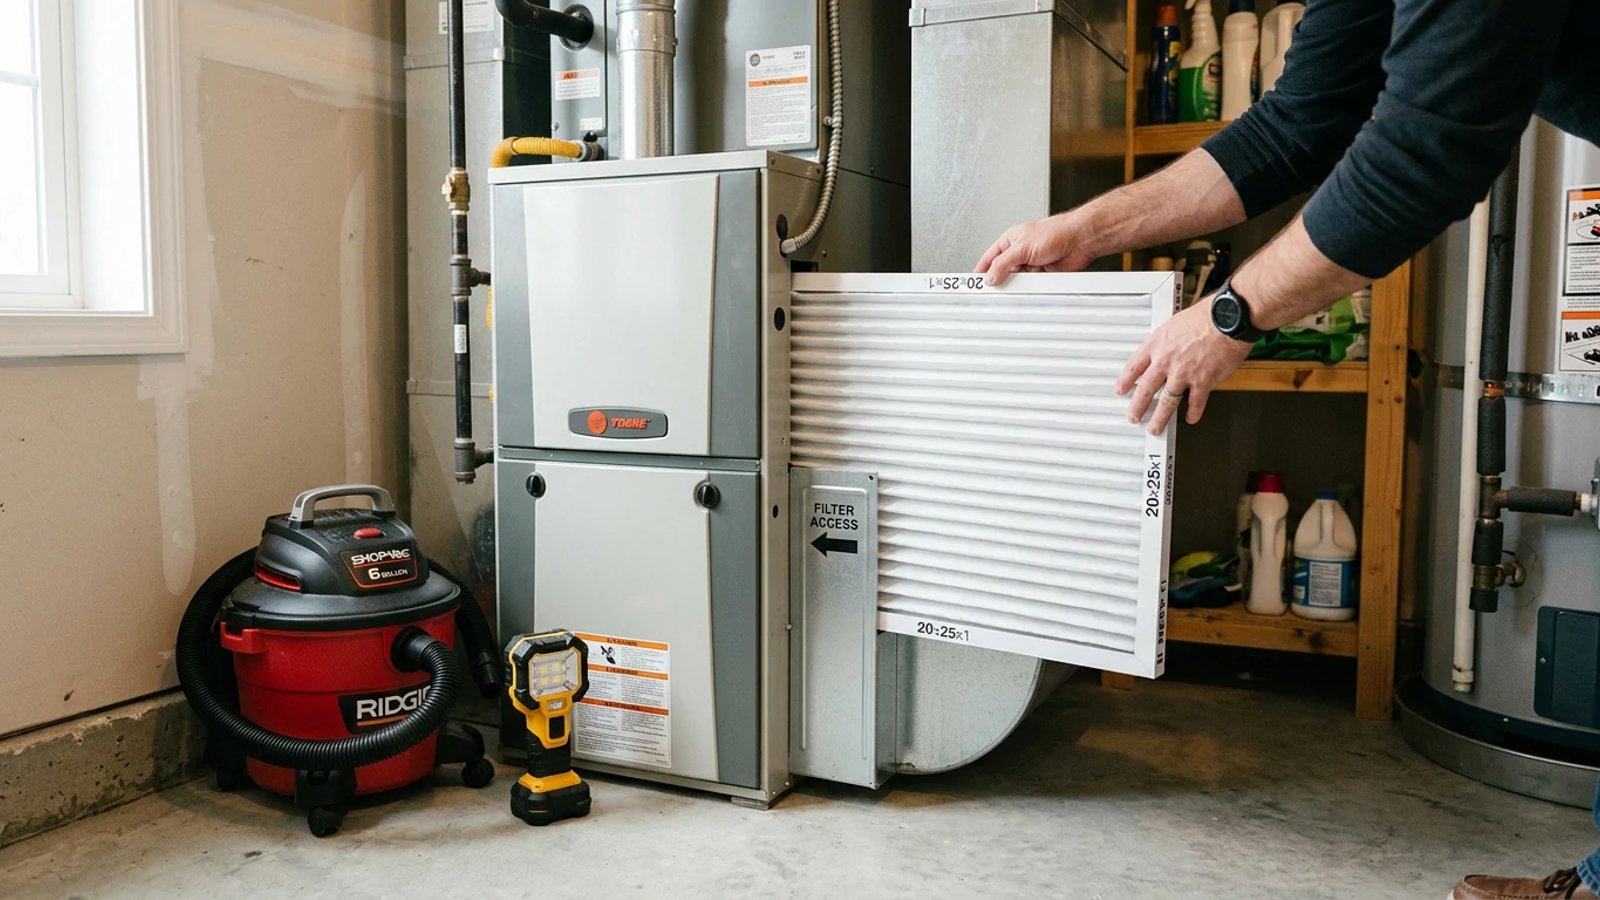
- A wet/dry shop vacuum with a soft brush attachment
- A 1/4-inch and 5/16-inch nut driver (or a standard drill with these bits)
- A fresh pleated air filter (MERV 8 to 11 is ideal for most homes)
- A clean microfiber cloth
- A bright LED flashlight
Having the right tools makes any job easier, and furnace maintenance is no exception. Before you begin, gather everything in one place to avoid interruptions. A headlamp can be incredibly useful for illuminating tight spaces within the furnace cabinet, leaving your hands free. Remember to wear gloves to protect your hands from dust and sharp edges, and consider a dust mask, especially if your furnace hasn't been cleaned in a while.
Understanding your furnace filter is key to effective DIY furnace maintenance. Filters are rated by their MERV (Minimum Efficiency Reporting Value) number, which indicates how effectively they capture airborne particles. While higher MERV ratings (like MERV 13-16) are great for trapping tiny particles like pollen and pet dander, they can also restrict airflow in older systems not designed for them. A MERV 8-11 filter strikes a good balance for most homes, offering decent filtration without overworking your furnace. Always check your furnace manual for the maximum MERV rating it can handle.
Your Step-by-Step Fall Furnace Maintenance Tune-Up
Set aside 30 to 45 minutes for this process. Work slowly, and never force a panel or a part that seems stuck.
Following a systematic approach ensures you don't miss any critical steps. This checklist is designed to guide you through the process safely and efficiently, ensuring each component is properly addressed. Think of it as your flight pre-check before takeoff; every item matters for a smooth journey through winter.
Follow these specific steps to safely clean and test your system.
- Cut the power. Locate the dedicated power switch on the side of the furnace (it looks like a standard light switch) and flip it off, or turn off the breaker at your main electrical panel.
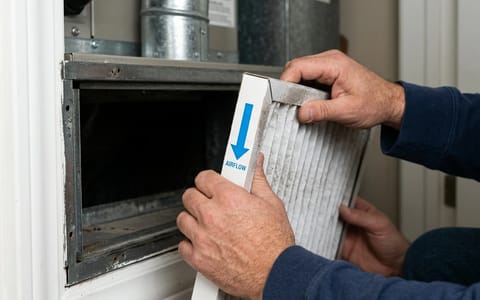
- Swap the air filter. Pull out the old filter and slide the new one in. Make sure the airflow arrows printed on the cardboard frame point toward the furnace unit.
- Clean the cabinet exterior. Use your microfiber cloth and vacuum brush to remove dust from the outside of the metal cabinet, paying close attention to any slotted louvers where air enters.
- Open the blower compartment. Use your nut driver to remove the two screws holding the bottom panel in place. Slide the panel off and set it aside.
- Vacuum the blower area. Shine your flashlight inside. Use the vacuum to gently pull loose dust, cobwebs, and pet hair out of the bottom of the cabinet and off the visible fan blades. Do not poke the vacuum nozzle directly into the motor wiring.
- Close the cabinet and restore power. Put the metal door back on, tighten the screws, and flip the power switch back on.
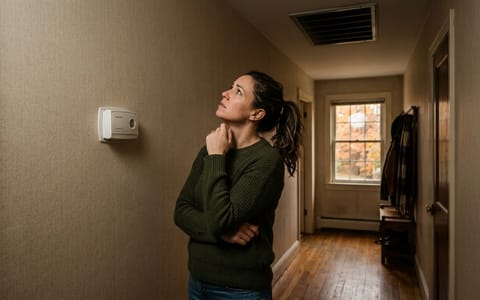
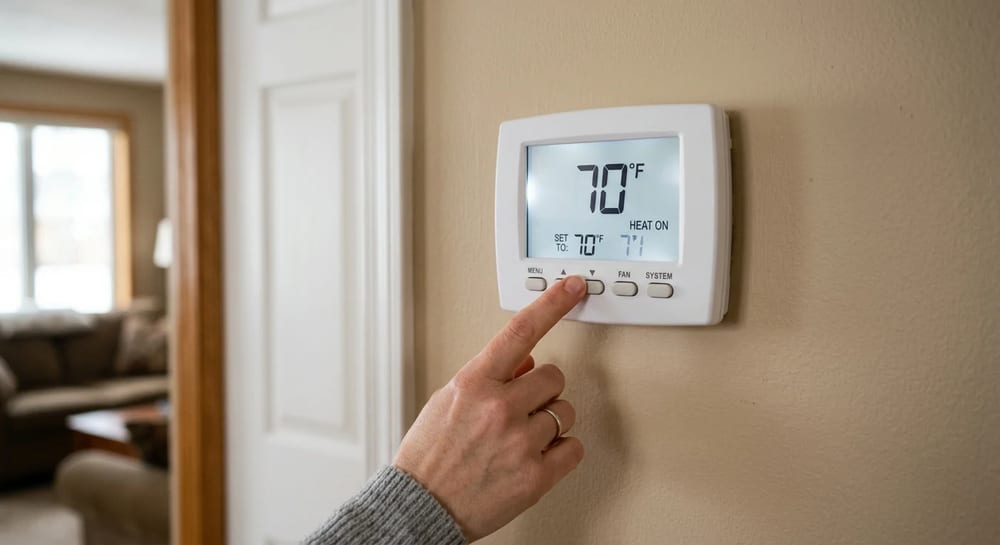
- Test the heating cycle. Go to your thermostat and set it to 72 degrees. Listen as the system clicks on, the draft inducer starts, the burners ignite, and the main blower pushes warm air into your rooms.
During your tune-up, pay attention to anything unusual. If you notice excessive dust, strange odors (beyond the initial 'burning dust' smell when it first kicks on), or unusual noises, make a note. These observations can be crucial if you eventually need to call a professional. For example, a persistent musty smell could indicate moisture issues, while a rattling noise might point to a loose panel or component.
When we replaced the filter in my own home last November, I noticed the blower motor sounded like it was straining. A quick vacuuming of the thick dust caked on the motor housing dropped the noise level noticeably and stopped the fan from running hot.
A $15 air filter is the cheapest insurance policy you can buy for a $5,000 heating system.
Consistent, proactive furnace maintenance doesn't just address immediate needs; it builds resilience into your heating system. It helps prevent wear and tear from escalating into major malfunctions, extends the operational life of your furnace, and ensures that your home remains a warm, comfortable sanctuary for years to come. It’s a small effort with significant long-term returns.
While DIY tasks are invaluable, recognizing the limits of your expertise is equally important. Think of your annual professional inspection as a deeper dive, a comprehensive health check that complements your regular home care. They have the specialized equipment and training to diagnose complex issues and ensure all safety mechanisms are functioning perfectly, providing an essential layer of protection.
How Do You Know When to Call a Professional?
Even with perfect DIY maintenance, furnaces require professional oversight. You should schedule a licensed HVAC technician for an inspection once a year, ideally in the early fall. They possess the tools to test gas pressure, measure electrical draw, and inspect the heat exchanger for microscopic cracks.
According to the National Fire Protection Association (NFPA), heating equipment is a leading cause of home fire deaths. Professional checks ensure your safety limits and exhaust systems are functioning properly.
Ultimately, the goal of any home maintenance, especially with critical systems like your furnace, is safety and peace of mind. By performing the tasks you can safely handle and knowing when to call in the experts, you're taking responsible steps to protect your home and family. Stay warm and worry-free this winter!
Taking an afternoon to swap your filter, clear away summer dust, and test your thermostat puts you ahead of the game. A well-maintained heater runs quieter, costs less to operate, and keeps your family comfortable. Grab a flashlight and a new filter, head to your utility closet, and get your house ready for the cold months ahead.
- Always turn off the power at the breaker or the dedicated furnace switch before opening the cabinet.
- Vacuum the exterior and blower compartment carefully to remove dust and pet hair that restrict airflow.
- If you smell rotten eggs or sulfur, evacuate immediately and call 911—do not touch any electrical switches.