Furnace Pilot Light Won't Stay Lit? The Safe DIY Fix
Waking up to a freezing house is a stressful winter headache. Learn how to safely troubleshoot, clean your thermocouple, and fix a furnace pilot light that refuses to stay lit.
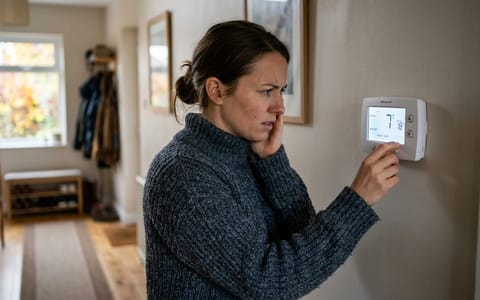
Full guide HVAC & Climate Control How your home heats, cools, and moves air, and the decisions that matter.Waking up to a freezing house because your heating system quit overnight is a stressful cold-weather headache. If your furnace pilot light won't stay lit, you are likely dealing with a minor sensor issue rather than a catastrophic failure. Older gas furnaces rely on a continuous small flame to ignite the main burners, and when that flame dies, the whole system shuts down to keep you safe.
Before you grab a flashlight and a wrench, you have to approach gas appliances with strict safety protocols. A pilot light outage is easy to fix, but a gas leak is a serious emergency. Here is exactly how to diagnose the problem, safely restore your heat, and know when it is time to call for backup.
The Non-Negotiable Safety Check
Before you touch the furnace, you must use your nose. Natural gas is naturally odorless, but utility companies add a chemical called mercaptan to give it a distinct, heavy "rotten egg" or sulfur smell. Propane has a similarly strong, skunk-like odor. For an extra layer of protection, consider installing a dedicated natural gas detector near your furnace.
If you walk into your basement or utility room and smell this odor, stop immediately. Do not attempt to light the furnace. According to the National Fire Protection Association (NFPA), any suspected gas leak requires immediate evacuation. Do not flip any light switches, do not use your cell phone in the room, and do not unplug appliances, as a tiny electrical spark can ignite the gas. Get your family outside and call 911 or your local gas utility's emergency line.
If the air smells completely clear and you only feel the chill of a cold house, it is safe to proceed with troubleshooting the pilot assembly.
How to Safely Relight Your Furnace Pilot Light
Many homeowners assume their pilot is broken when, in reality, they just did not hold the button down long enough during the relighting process. The system is designed to cut off gas flow if the flame is not hot enough, which prevents unburned gas from filling your home.
Here is the standard procedure for relighting a standing pilot light on an older gas furnace:
- Turn the gas valve to the "Off" position. Look for the small control box near the bottom of the furnace with a knob labeled ON, OFF, and PILOT.
- Wait five full minutes. This gives any lingering, unburned gas time to safely dissipate before you introduce a spark.
- Turn the knob to "Pilot". This aligns the internal valve to allow a tiny stream of gas specifically for the pilot tube.
- Press and hold the knob down. While holding it down, use a long-reach barbecue lighter to ignite the pilot opening.
- Keep holding the knob for 30 to 60 seconds. The flame needs this time to heat up the nearby sensor (the thermocouple).
- Release the knob slowly. The pilot flame should remain lit.
- Turn the knob to "On". Your main burners should ignite shortly after, assuming your thermostat is calling for heat.
Why Your Furnace Pilot Light Won't Stay Lit?
If you followed the steps above and the tiny blue flame died the exact second you took your finger off the knob, your furnace is doing exactly what it was designed to do: shutting down because it thinks the flame is out. The component responsible for this safety check is the thermocouple.
A thermocouple is a small copper rod that sits directly in the path of the pilot flame. When two dissimilar metals inside the rod get hot, they generate a tiny electrical current (usually around 20 to 30 millivolts). This current travels down a copper wire to an electromagnet inside the gas valve, holding the valve open. If the flame goes out, the rod cools down, the voltage drops to zero, and the valve snaps shut.
The Thermocouple Needs Cleaning
Over months of continuous burning, soot and carbon buildup can coat the outside of the copper thermocouple. This soot acts as an insulator, preventing the heat of the flame from reaching the metal inside. The result is a weak electrical signal that cannot hold the gas valve open.
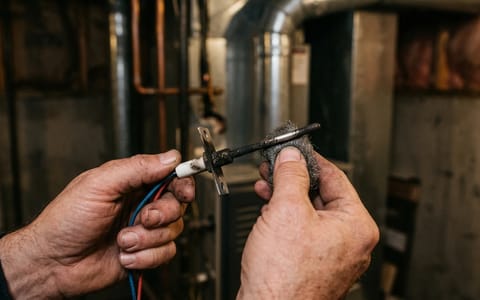
When I cleaned the thermocouple on my older 80% efficiency unit last fall, a quick swipe with 120-grit sandpaper removed a barely visible layer of gray soot and saved a $150 service call. To do this yourself, ensure the gas is off and the parts are cool to the touch. Gently rub the top inch of the copper rod with fine emery cloth, a wire brush, or fine sandpaper until the metal is shiny again. Do not pull or bend the rod aggressively, as the internal wiring is fragile.
The Thermocouple Has Failed
If cleaning the rod does not solve the problem, the thermocouple has likely burned out entirely. These parts undergo extreme thermal stress and typically last between three and five years. Replacing one is a straightforward DIY task.
You can buy a universal replacement thermocouple at any major hardware store for $15 to $25. You will need an adjustable wrench to unscrew the copper line from the gas valve and to unclip the rod from the pilot bracket. Take the old part with you to the store to ensure you buy a replacement with the correct wire length (usually 18, 24, or 30 inches).
Drafts and Dirty Orifices
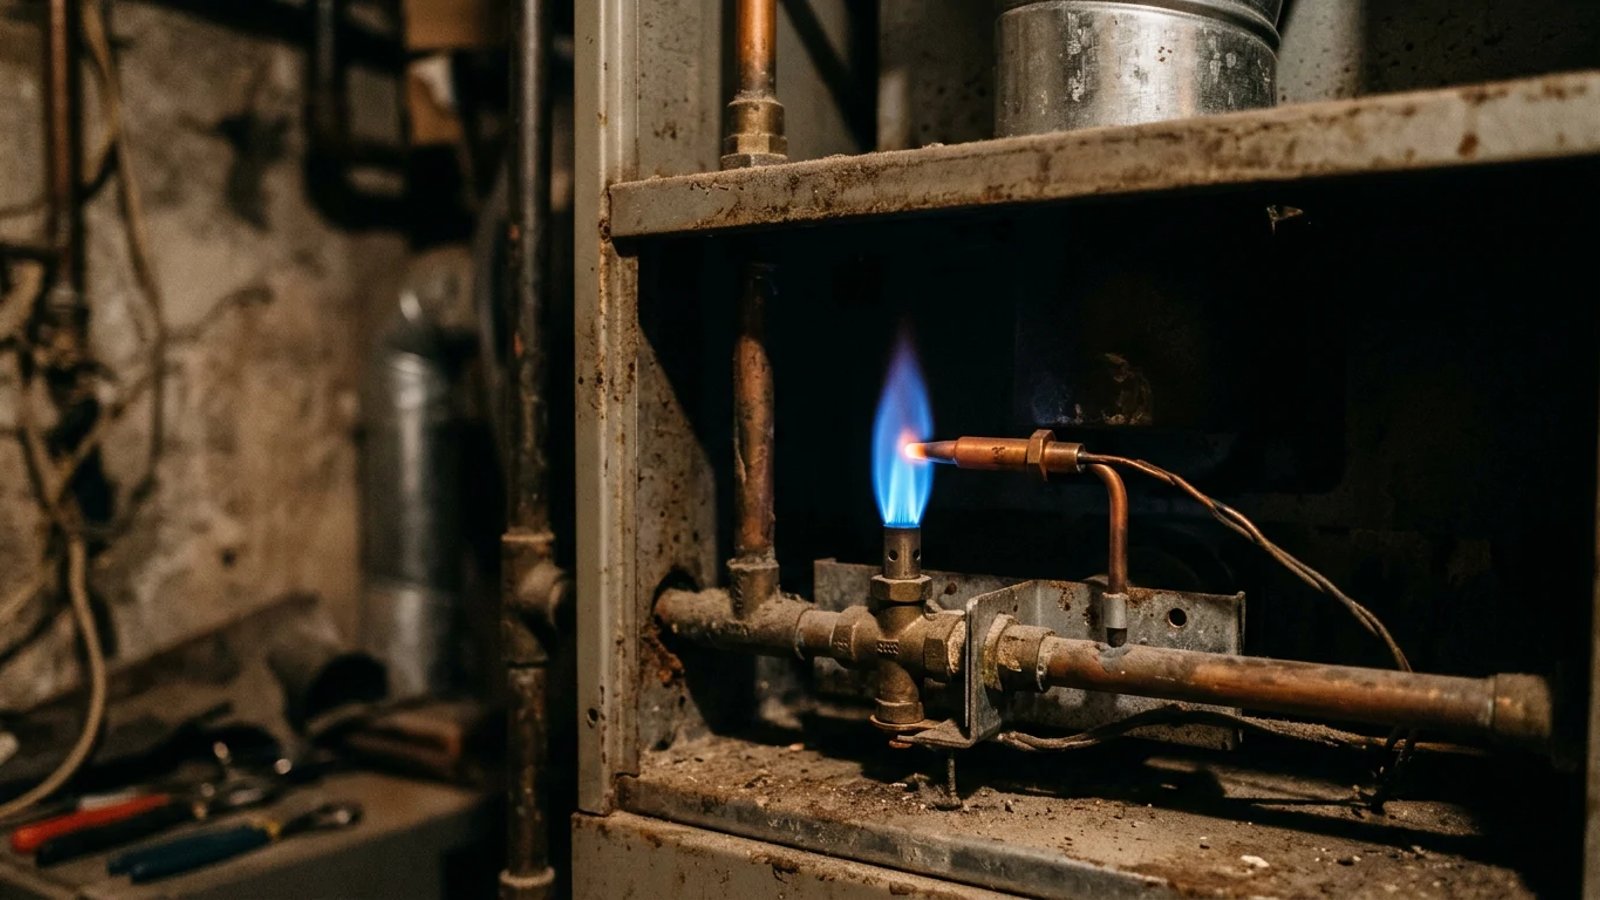
Sometimes the sensor is perfectly fine, but the flame itself is the problem. A healthy pilot flame should be a sharp, steady blue cone that engulfs the top half-inch of the thermocouple. If the flame is weak, yellow, and wavy, the pilot orifice might be clogged with dust. You can clear this by turning off the gas and blowing compressed air directly into the pilot tube.
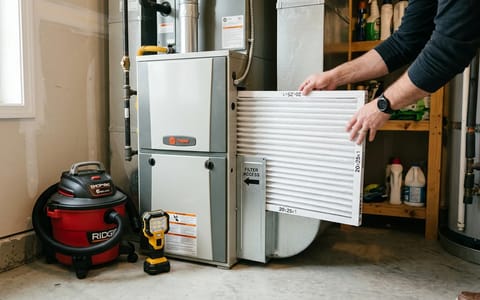
Additionally, check the physical environment around the furnace. A missing burner cover panel or a drafty basement window can create enough cross-breeze to blow out a small pilot flame. Ensure all factory covers are securely screwed into place.
A healthy pilot flame should be a sharp, steady blue cone that directly engulfs the top half-inch of the thermocouple.
When to Call a Heating Professional
While cleaning and swapping a thermocouple are well within the abilities of a handy homeowner, the rest of the gas furnace system requires specialized training and tools to service safely.
If you have replaced the thermocouple and the pilot still refuses to stay lit, the electromagnet inside the main gas control valve has likely failed. Gas valves cannot be repaired or bypassed; they must be entirely replaced. Because this involves disassembling the main gas manifold and checking for explosive leaks, it is not a DIY job.
A cold house is stressful, but a methodical approach keeps you safe. By checking for gas odors, properly timing your relighting attempt, and giving the thermocouple a quick cleaning, you can usually get the warm air flowing again in under an hour. Stay warm, and do not hesitate to call an expert if the fix requires more than a piece of sandpaper.
- Safety comes first: never try to light a furnace or flip electrical switches if you smell gas.
- Pressing and holding the pilot valve for 30 to 60 seconds is required to heat the thermocouple enough to keep the gas flowing.
- Routine maintenance, like gently sanding soot off the thermocouple, can prevent mid-winter heat loss.
- If cleaning doesn't work, replacing a thermocouple is an inexpensive $15 to $20 DIY project.
- Drafts from missing furnace covers can blow out a weak pilot flame.