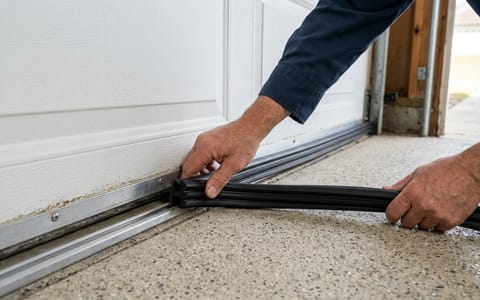
The Best Outdoor Caulk for Windows (And How to Apply It)
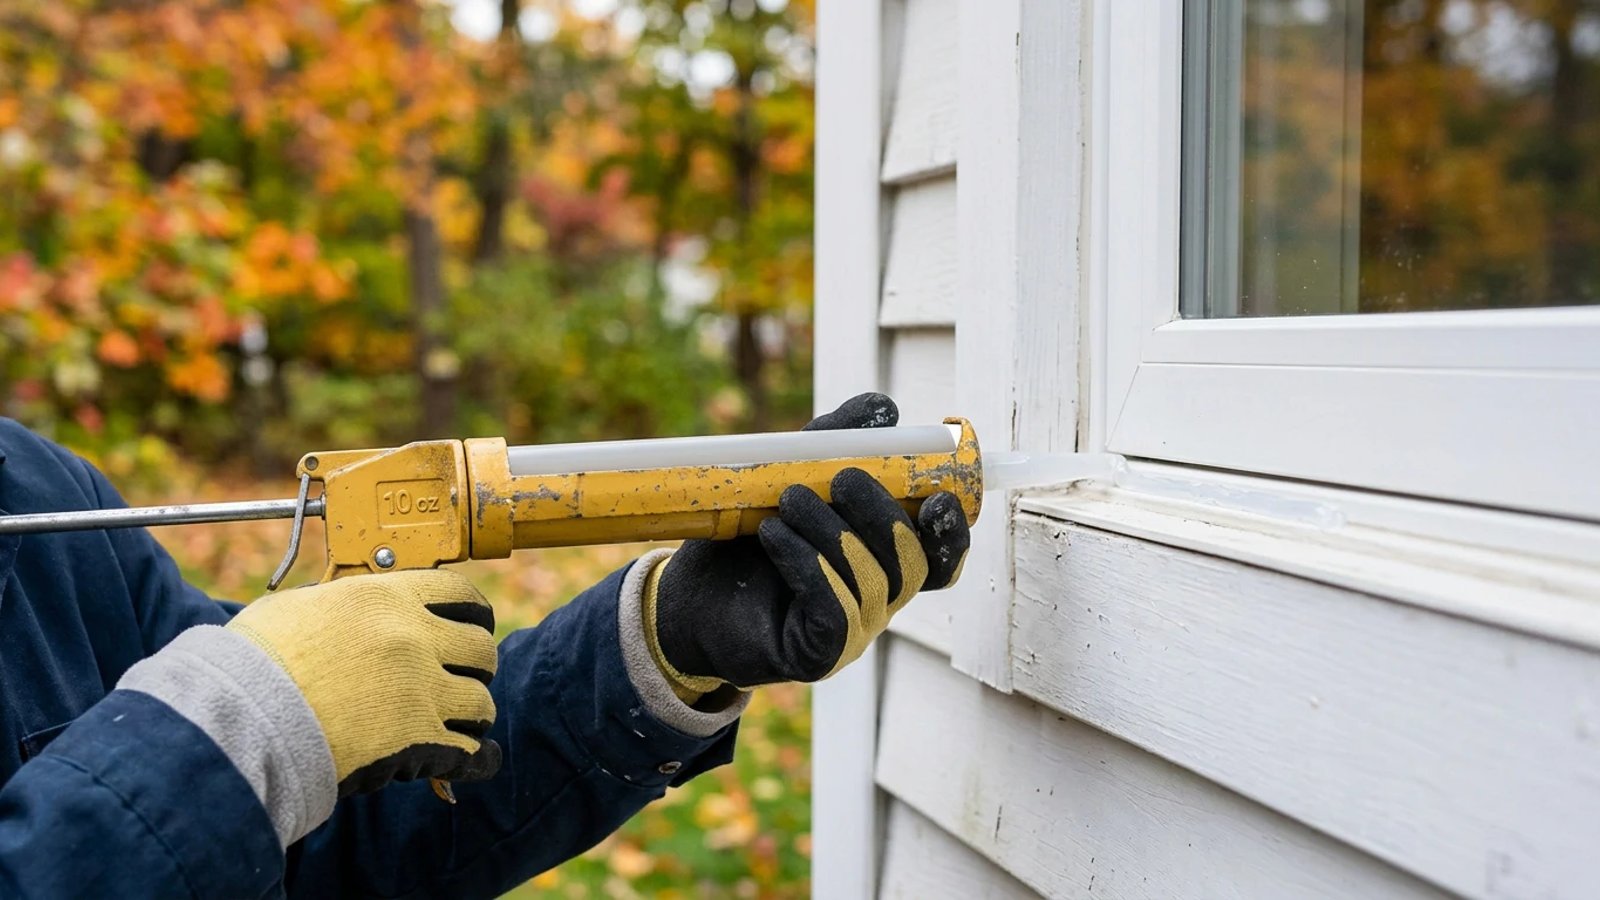
Stop winter drafts before they start. Learn how to choose the right exterior caulk for your windows and apply it perfectly for lower energy bills.
Full guide Windows & Doors Learn how to spot energy leaks, fix drafts, and decide when to replace your windows and doors.Mid-fall means dropping temperatures, falling leaves, and the sudden realization that your windows are leaking cold air. Standing in the paint aisle of the hardware store, staring at dozens of tubes labeled "window and door," can leave you freezing in your tracks. You just want to stop the drafts and keep your heating bill under control, but picking the wrong product means you will be doing the exact same job all over again next year.
Finding the best outdoor caulk for your home comes down to understanding what happens to materials when the weather turns harsh. Houses shift, wood expands and contracts, and winter ice tests every seam. You need a sealant that can handle the abuse.
What is the Best Outdoor Caulk for Windows?
When sealing the exterior of your home, you need a product that offers extreme flexibility, total waterproofing, and resistance to UV rays. For most exterior window applications, your best options narrow down to two specific categories: 100% silicone and advanced polymers.
100% Silicone: This is the gold standard for waterproofing. Silicone remains permanently flexible, meaning it will stretch and compress as your window frames expand in the summer heat and shrink in the winter cold. It will not crack or crumble, and it easily repels rain and snow. The major downside to 100% silicone is that it is not paintable. If you have white window frames and white siding, a tube of white silicone is perfect. If you need the caulk to match a custom trim color, standard silicone will not work.
Advanced Polymers (and Polyurethane): Often branded as "advanced window and door sealant" or "elastomeric," these products combine the flexibility and weatherproofing of silicone with the paintability of traditional caulks. Brands like OSI QUAD Max or Geocel fall into this category. They adhere aggressively to almost any building material—wood, vinyl, brick, or stucco—and can stretch up to 300% without breaking the seal. Many of these can even be applied to wet surfaces or in below-freezing temperatures.
Last October, I tested three different brands of exterior sealant on a 1920s craftsman home with original wood frames. The cheap acrylic latex cracked by February. The advanced polymer held tight through a week of single-digit temperatures, and we were able to paint it to match the historic trim perfectly. There is nothing quite as frustrating as spending a Saturday sealing windows, only to watch the caulk split open during the first hard freeze.
Why You Should Skip Standard Acrylic Latex
If you see a tube labeled simply "Painter's Caulk" or "Acrylic Latex" for two or three dollars, leave it on the shelf. While acrylic latex is fantastic for interior baseboards and crown molding because it cleans up easily with water and takes paint beautifully, it fails miserably outdoors.
Standard acrylic latex shrinks as it dries. Over time, UV exposure turns it brittle, often failing within a single year outdoors. When winter arrives and your house materials contract, that brittle latex simply snaps, leaving a wide-open gap for cold air and moisture to enter your walls. While some "siliconized acrylic latex" products perform slightly better, they still do not offer the long-term durability of true silicone or advanced polymers for exterior window sealing.
Tools and Materials You Need
A professional-looking result requires the right tools. Skip the flimsy dollar-bin caulk guns and invest in a quality setup. You can gather everything you need for around $30 to $40 at your local home center.
- High-Quality Caulk Gun: Look for a "drip-free" model with a high thrust ratio (at least 10:1). This makes squeezing thick exterior sealants much easier and stops the flow immediately when you release the trigger.
- 5-in-1 Painter's Tool: Essential for scraping out the old, stubborn caulk.
- Utility Knife: For cutting the caulk tube nozzle and slicing away leftover bits of old sealant.
- Foam Backer Rod: A squishy foam rope used to fill deep gaps before caulking.
- Mineral Spirits or Rubbing Alcohol: For cleaning the surface and smoothing silicone beads.
- Stiff Wire Brush: To scrub away loose paint and dirt from the joint.
A $10 tube of the right sealant can save you ten times that amount on your winter heating bills.
How to Apply Exterior Window Caulk Like a Pro
The secret to a perfect caulking job is realizing that 80% of the work is preparation. Applying the actual sealant takes only minutes, but if you apply it over dirt, peeling paint, or old caulk, it will fail within a year.
- Remove the old caulk. Use your 5-in-1 tool or a dedicated caulk removal tool to scrape away all the old, cracked sealant. Never apply new caulk directly over old caulk; it will not adhere properly.
- Clean and dry the surface. Use a stiff wire brush to remove loose paint flakes and dirt. Wipe the area down with a rag lightly dampened with rubbing alcohol to remove grease and dust. Let the frame dry completely.
- Insert backer rod in wide gaps. If the gap between your window frame and the siding is wider or deeper than 1/4 inch, press a foam backer rod into the crack. Caulk is designed to seal surfaces, not to fill massive voids. The backer rod gives the caulk something to rest against and allows it to stretch properly.
- Cut the nozzle at a 45-degree angle. Use your utility knife to slice the tip off the caulk tube. Start small—cut an opening about 1/8 to 1/4 inch wide. You can always cut more off, but you cannot put it back. Puncture the inner foil seal using the metal rod attached to your caulk gun.
- Run the bead carefully. Hold the gun at a 45-degree angle to the joint. Squeeze the trigger with steady pressure and move the gun smoothly along the gap. It is generally better to push the gun forward slightly rather than dragging it, as pushing forces the sealant deep into the crack.
- Tool the joint smooth. Immediately after running a line, smooth it out. If you are using an advanced polymer, a wet, gloved finger works well. If you are using 100% silicone, dip your gloved finger in mineral spirits or rubbing alcohol first so the silicone does not stick to you. Press firmly to ensure the caulk bonds to both the window frame and the siding.
Where Should You NOT Caulk? (Crucial Mistakes)
While sealing up drafts is the goal, sealing the wrong areas can cause severe water damage to your home. Windows are designed to manage water, and blocking their drainage paths is a costly mistake.
Never caulk the weep holes. Look at the bottom of your exterior window frame. You will likely see small rectangular holes or slits. These are weep holes, designed to allow any water that gets inside the window track to drain out. If you caulk over them, water will back up into your walls and rot the framing.
Do not caulk moving parts. Only caulk the perimeter where the window frame meets the house siding. Never apply caulk to the sashes (the parts of the window that slide up and down or crank open). If you have drafts coming from the moving parts of the window, you need to replace the weatherstripping, not apply caulk.
Avoid caulking siding overlaps. If your house has lap siding (like vinyl or wood clapboard), do not run caulk horizontally along the bottom edge of the siding boards above the window. Siding needs to breathe and allow trapped moisture to escape.
Wrapping Up Your Winter Prep
Taking a few hours on a crisp fall weekend to inspect and seal your exterior windows pays off all winter long. By choosing a high-quality 100% silicone or advanced polymer sealant, removing the old material completely, and tooling the bead for a watertight finish, you lock out the cold and protect your home from moisture damage. Grab your caulk gun, pick the right tube, and enjoy a warmer, quieter house this season.
- Choose a highly flexible, waterproof sealant rated for extreme temperatures to prevent winter cracking.
- Spend 80% of your project time on prep work: scraping, cleaning, and drying the window frame.
- Use a foam backer rod for gaps wider than 1/4 inch to save caulk and improve flexibility.
- Keep a rag soaked in mineral spirits or rubbing alcohol nearby to easily smooth silicone beads.